Epson LabelWorks LW-C610 Label Maker Review
It’s no secret that I go where my interests lie with Gadgetoid. For a while now I’ve been angling for a label maker. As a prolific electronics tinkerer, parent and owner of far too many cables I am not short of reasons to need one.
Enter Epson’s LabelWorks LW-C610, a very unassuming looking mains or battery powered, desktop label printer that uses Bluetooth and a comprehensive companion app as its front end.
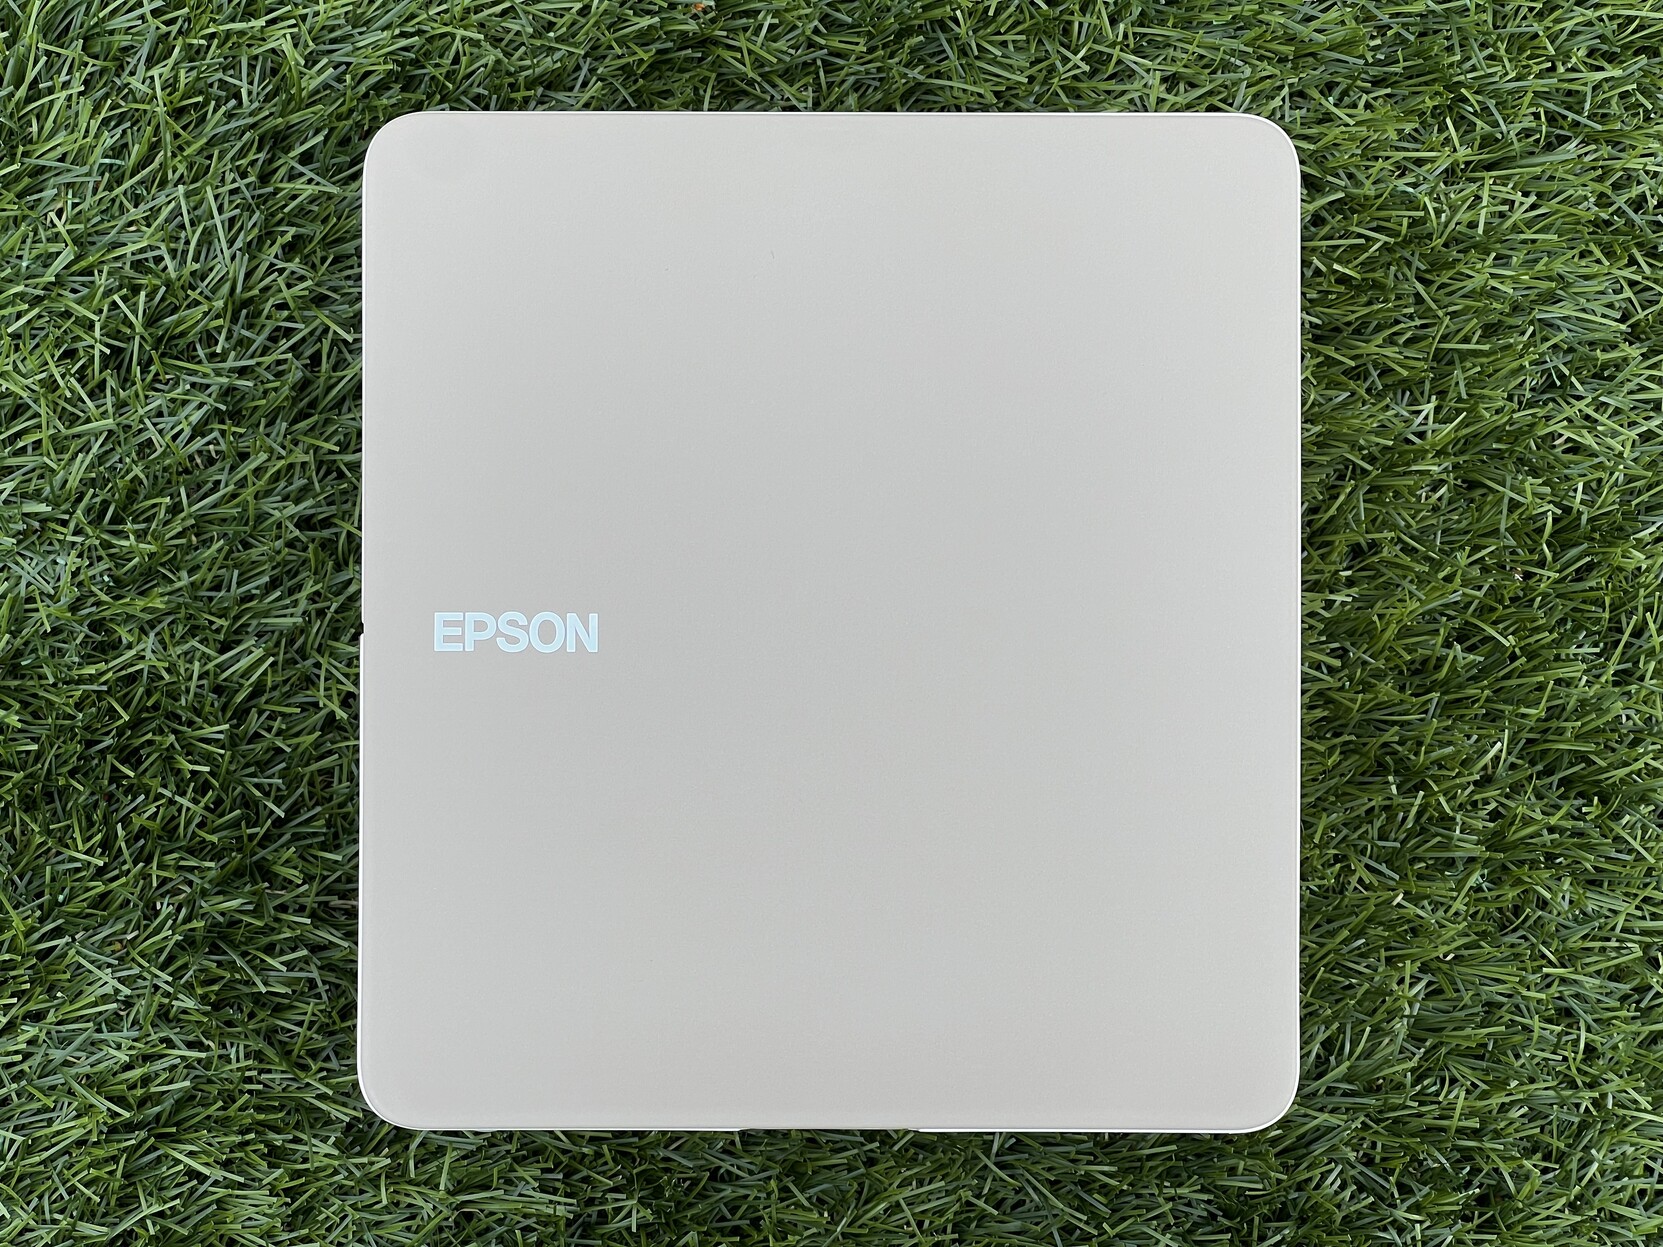
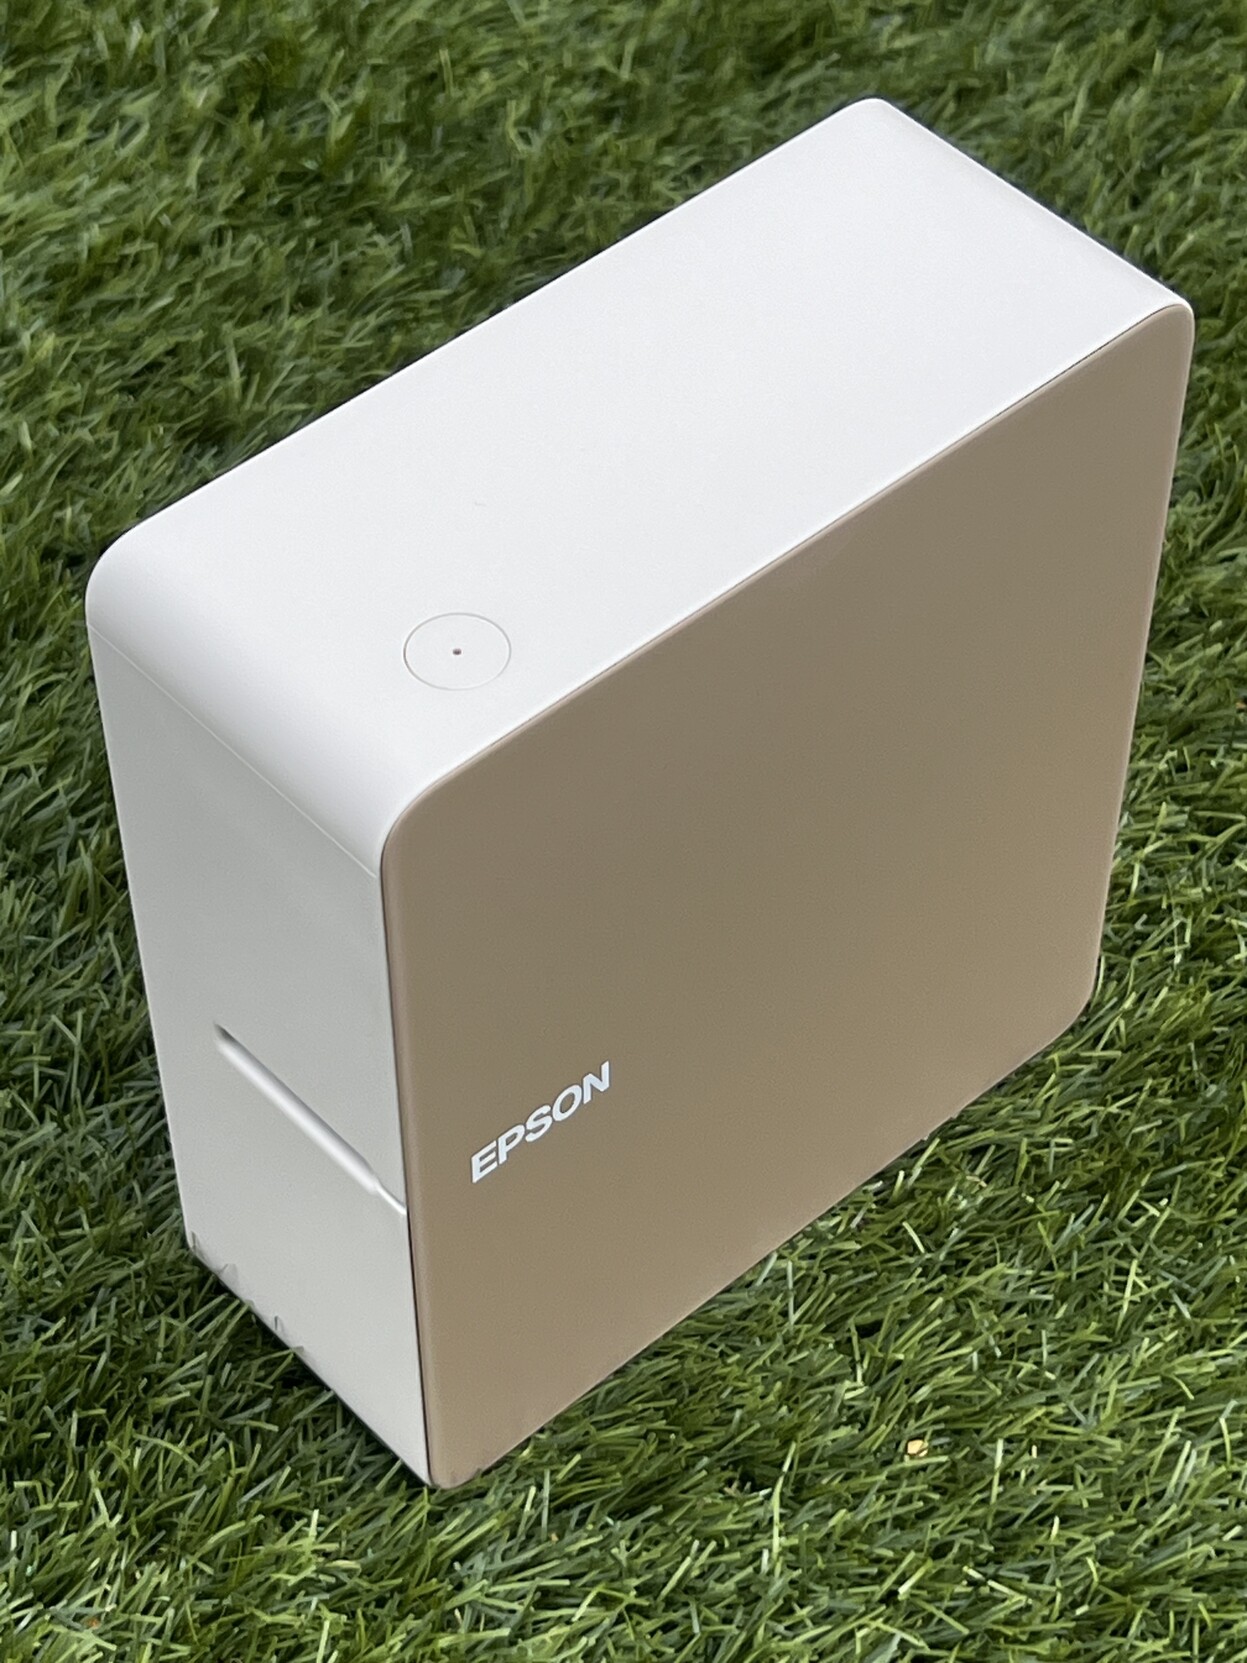
The Epson LW-C610 label printer doesn’t look like much. All the user interface is via your phone- which is very, very convenient.
The LW-C610 can print labels in a variety of colours, finishes and sizes from 4mm up to 24mm. It came with a single, 12mm, black on white cartridge so I availed myself of some fun alternatives to get a feel for the print quality across the range. I picked up 12mm grey on soft purple/lilac (it was cheap), 18mm gold in black (fancy!), and 24mm black on matte yellow (for all my warning sign needs.). This trio of cartridges came to just over £26 which was more than I’d want to spend on printing labels in total, but oh boy are the colours fun. This price averages out to just over £1 a metre (two of the tapes were 8m and one was 9m) or approximately an average of 5p a modest sized label, assuming two lines of text and taking into account the printers habit of spewing small offcuts before every print.
While this isn’t earth shatteringly expensive for fun labels, it’s quite expensive compared to cheap and cheerful A4 which could net you 50 (yes, fifty) metres of not very fancy labels for roughly 20p a metre. Suffice to say if you’re batch printing a lot of boring, white labels then this isn’t the product for you. If you want something to intermittently label projects, component drawers, place cards, school stationery, cables and more in a variety of fun colours then read on. LabelWorks pitch really is on-demand, stylish and durable labels, and it delivers with impressive fidelity.
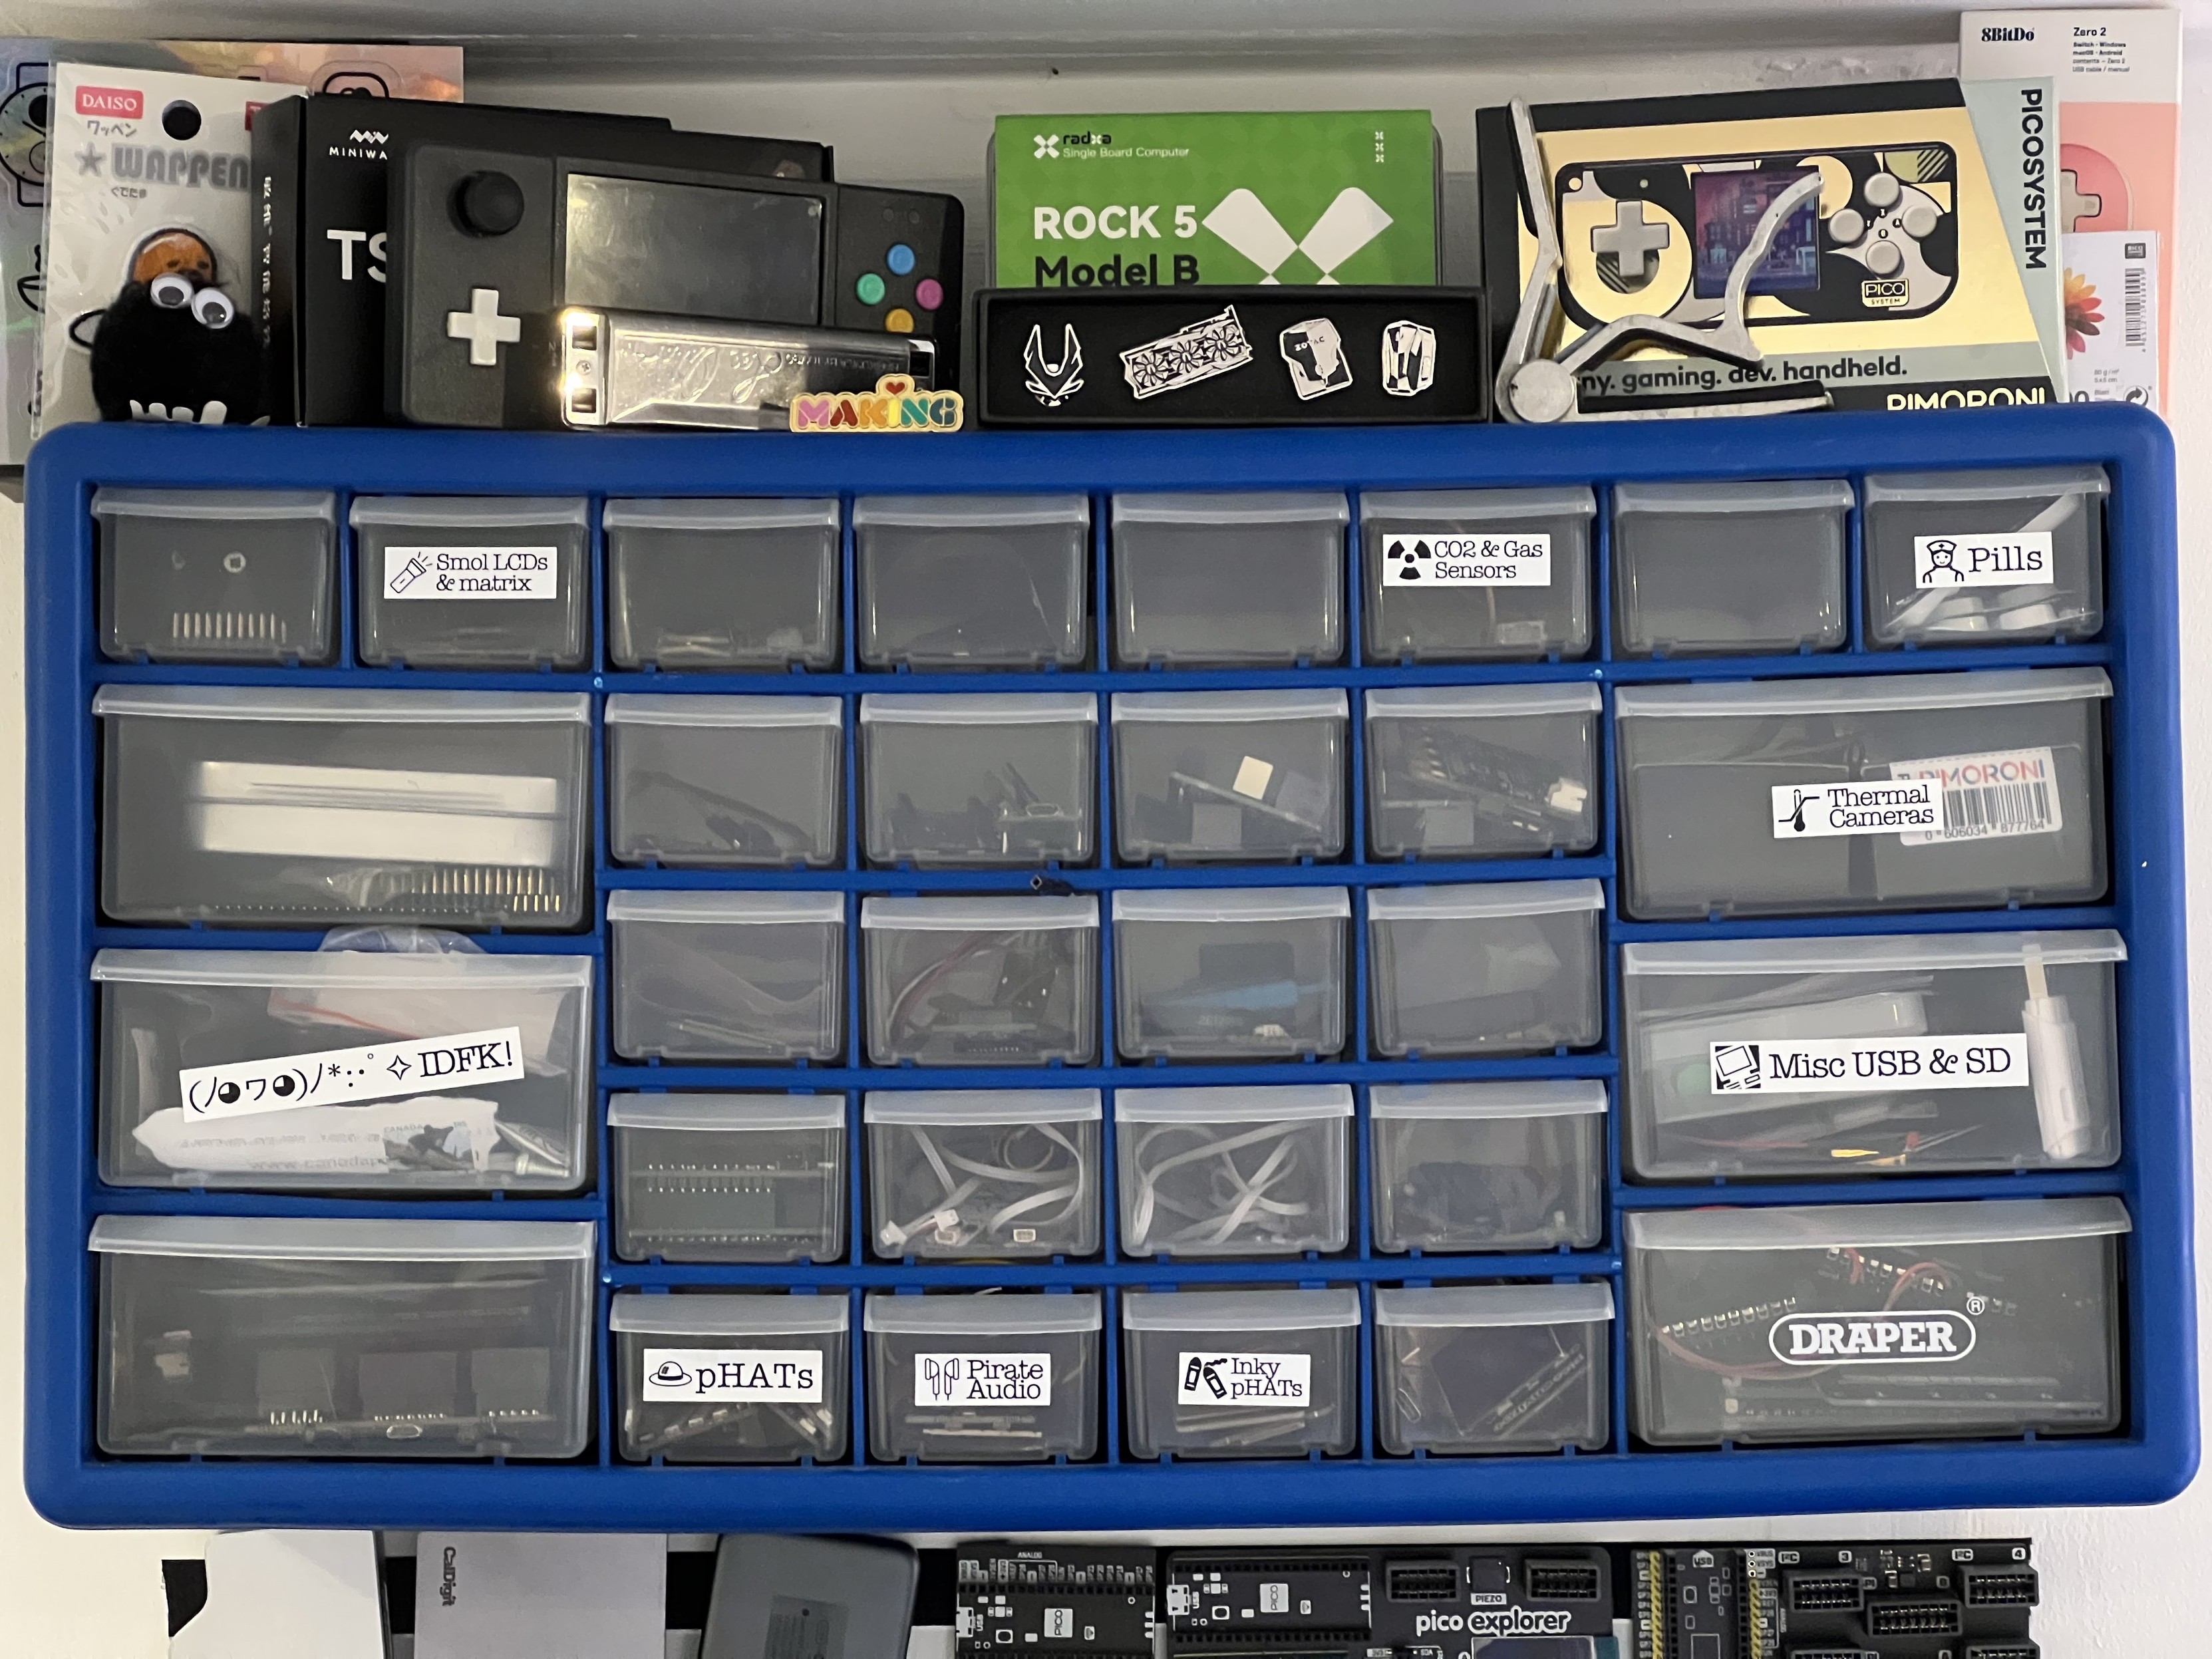
Still haven’t finished labelling my component drawers… or even really started by the looks of it!
Oh and with Amazon’s dynamic pricing you’ll probably be able to pick up an unpopular colour for much, much less than RRP. I grabbed 18mm “Black On Matte Green” for £3.67. Handy for experimenting with print results or labelling things I just don’t care to look pretty.
But first- cartridges? Yeah, every reel of labels comes in a bulky plastic cartridge that makes storage and loading a breeze but might give you pause for thought if you’re expecting something like the comparatively eco-friendly rolls of thermal paper. Fortunately Epson offer a collection and recycling program that extends to LabelWorks cartridges.
Cartridges And Power
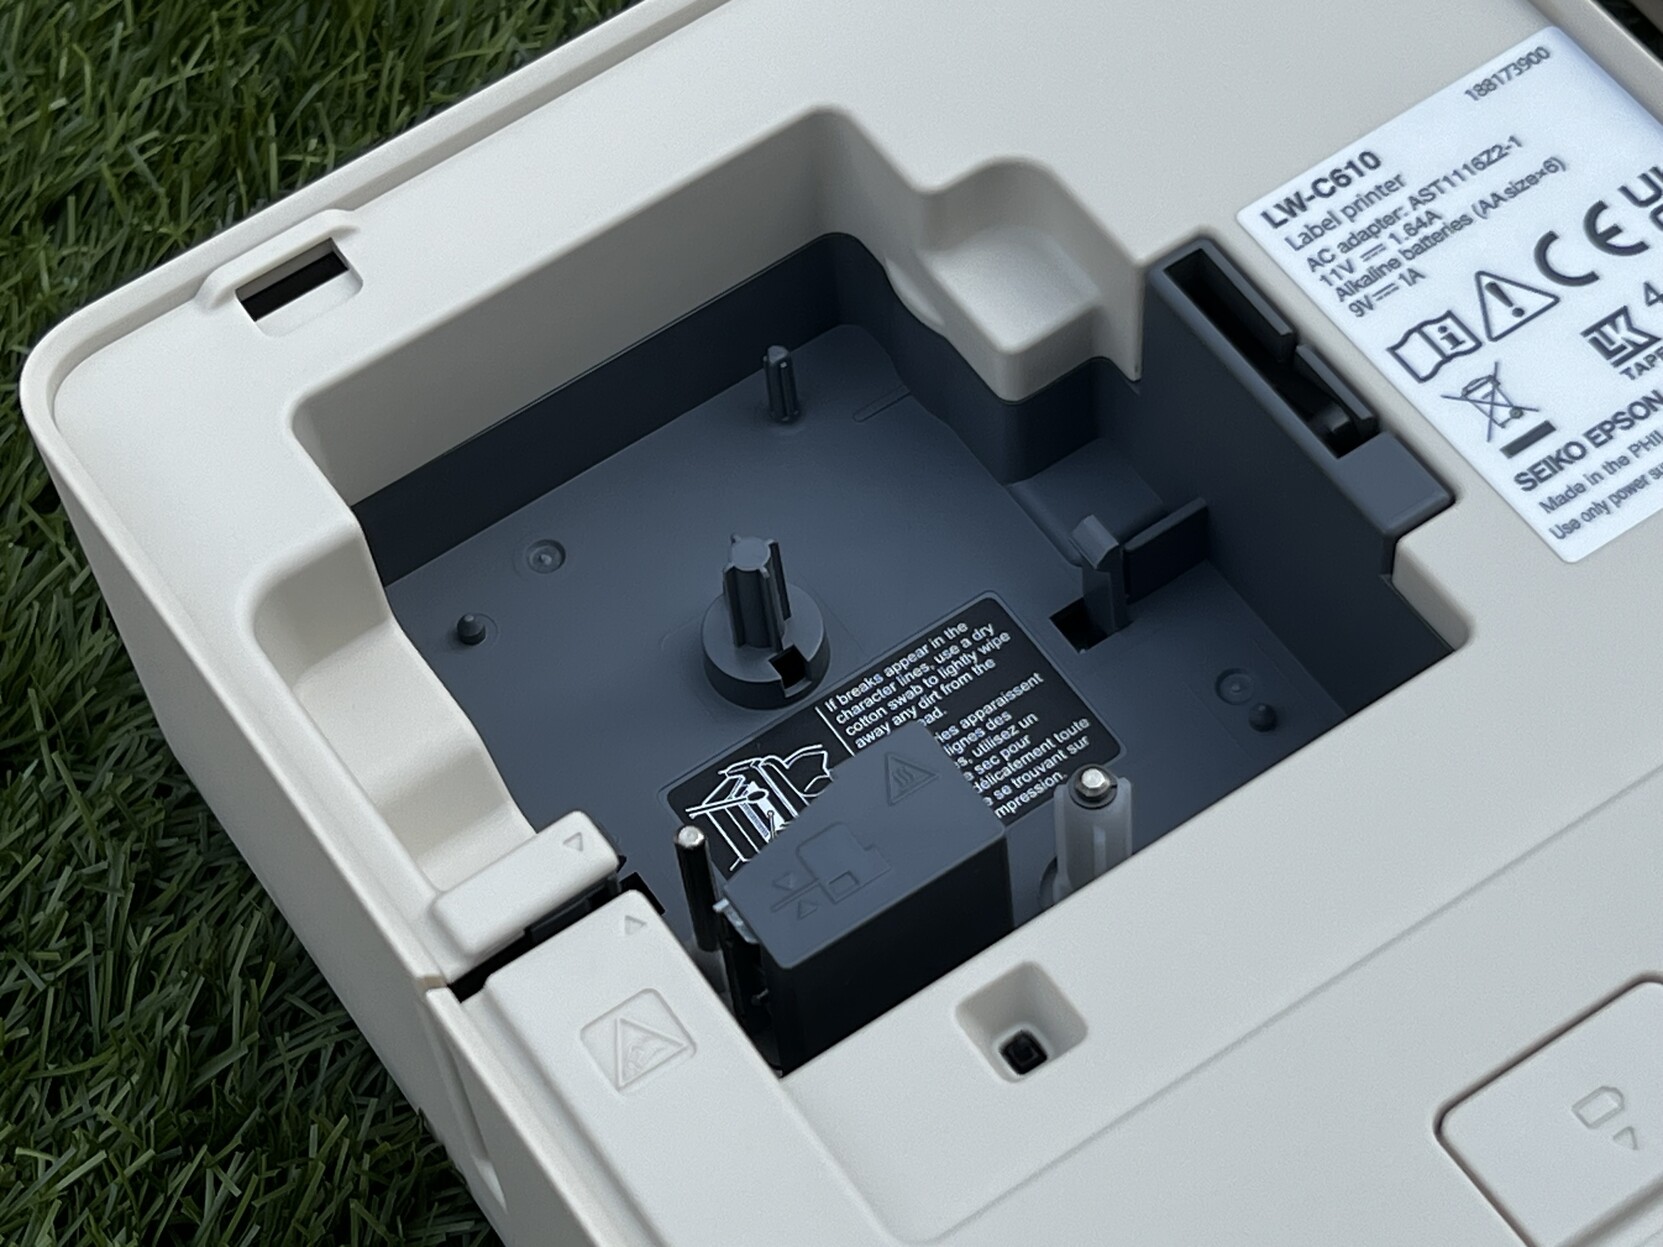
The side cover of the C610 pops off to give access to a large recess for cartridge insertion. Cartridges slot in and pull out with relative ease, though the instructions say the printer should be turned off before doing so- making them a little trickier to hot swap than I’d prefer. This may be a uniquely me problem, however, since testing a label printer means I want to swap often and try new label designs across multiple tape finishes.
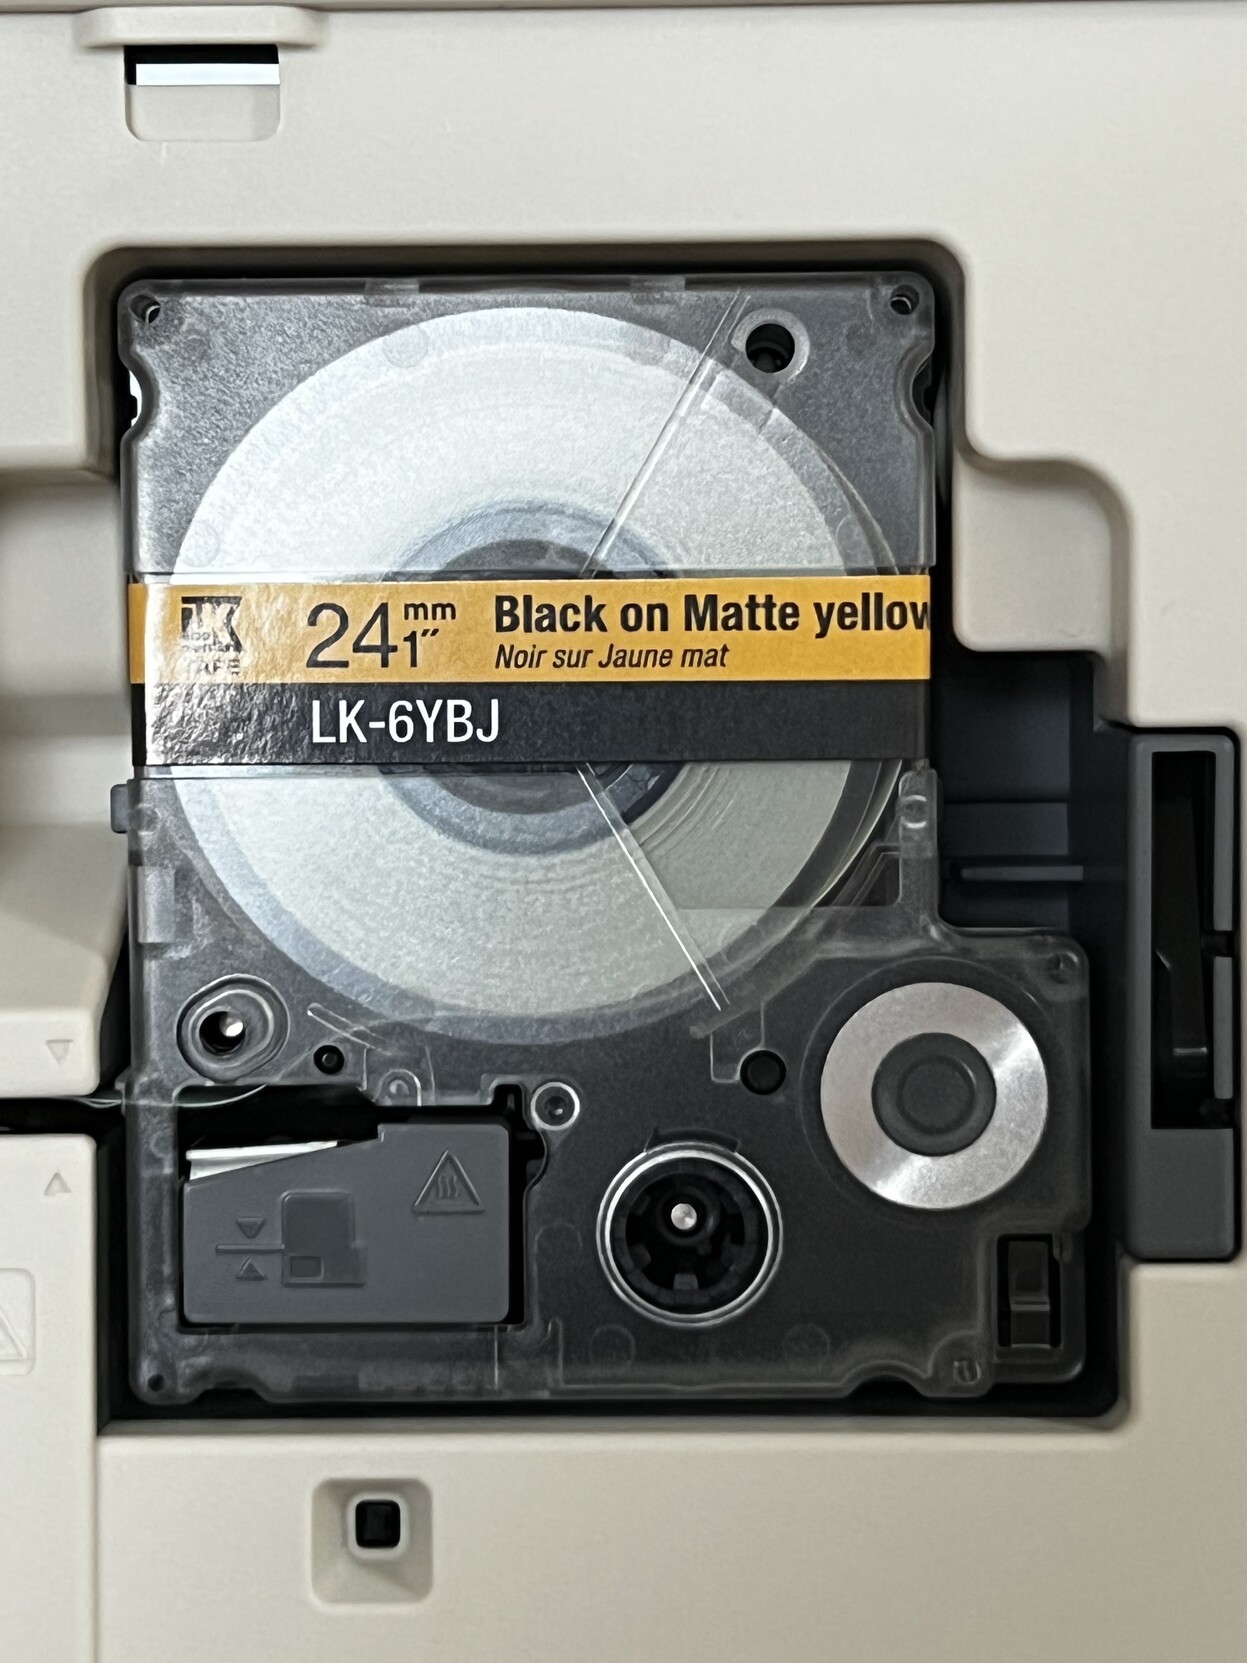
A significant portion of the printer is just empty void for the large, complicated, plastic cartridges.
As much as I loathe printer supplies being bulky, plastic things - see my EcoTank article - they just feel so satisfying to insert 🤣 and are convenient to store. Fortunately there’s a recycling program, too.
On the bottom of the printer is the cover for the battery compartment. It takes a whopping six AA batteries and since I don’t have that many to hand – kids toys eat all my spares, argh – and no desire to use the printer on the go I haven’t actually tested it running on them.
Power is via an AC adapter with the weirdest voltage and current I’ve ever seen- 11v at 1.64A. This makes for a barrel jack power supply that you probably can’t use anywhere else and – despite the cost and complexity involved – I’d have liked to see a USB Type-C port instead.
The App
I think it probably goes without saying that a companion phone app feels much, much more intuitive to me than the awkward custom UIs and spongy keyboards of a dedicated, all-in-one label printer. I absolutely understand why you might want a shared, office printer not to require an app installed on everyone’s phones, but for home use the app is not only surprisingly good, but liberating and uniquely powerful.
For starters, you don’t have to be anywhere near your printer to throw together a label design. You can sit with your phone, experiment with all the options and get a feel for the app whenever the fancy takes you. This is useful since if you were, for example, designing some custom sticky labels for wedding place cards you might spend quite some time dialling in the details. Working on custom graphics. Importing them. Tweaking dithering settings and so forth.
Having the app on your phone also means that copying names, addresses, URls or other information you might want to display or encode into the label is a breeze. Copying and pasting text out of messages, emails or websites is easy and you can load any image or photo from your phone- and consequently anything you can download from the internet- into the label app too.
LabelWorks includes a fairly comprehensive library of icons but they are not super artistically consistent, quite difficult to search, categorised somewhat arbitrarily and prone to feeling a little “clip art” in nature. They have different line-widths, styles and perspectives that make them useful for casual labelling but frankly terrible if you want professional results.

The Epson LW-C610 does a pretty impressive job at rendering random line art images I grab off the internet. The error diffusion dithering avoids JPEG artefacts making a mess of the image.
Fortunately, though, you can import any image on your phone and choose from three methods of converting it into monochrome; “Threshold”- which lets you configure a brightness cut-off at which a part of the image will be black or white, “Dithering”- which applies a crude ordered dither effect (a way of representing levels of brightness with patterns of pixels), and “Error Diffusion” which clamps brightness to back or white and then tries to spread the error- the difference between the level of brightness in the image, and the level it can actually represent- across adjacent pixels. In almost all cases I found “Error Diffusion” to give the best results, though “Threshold” is fine for high quality line-art.
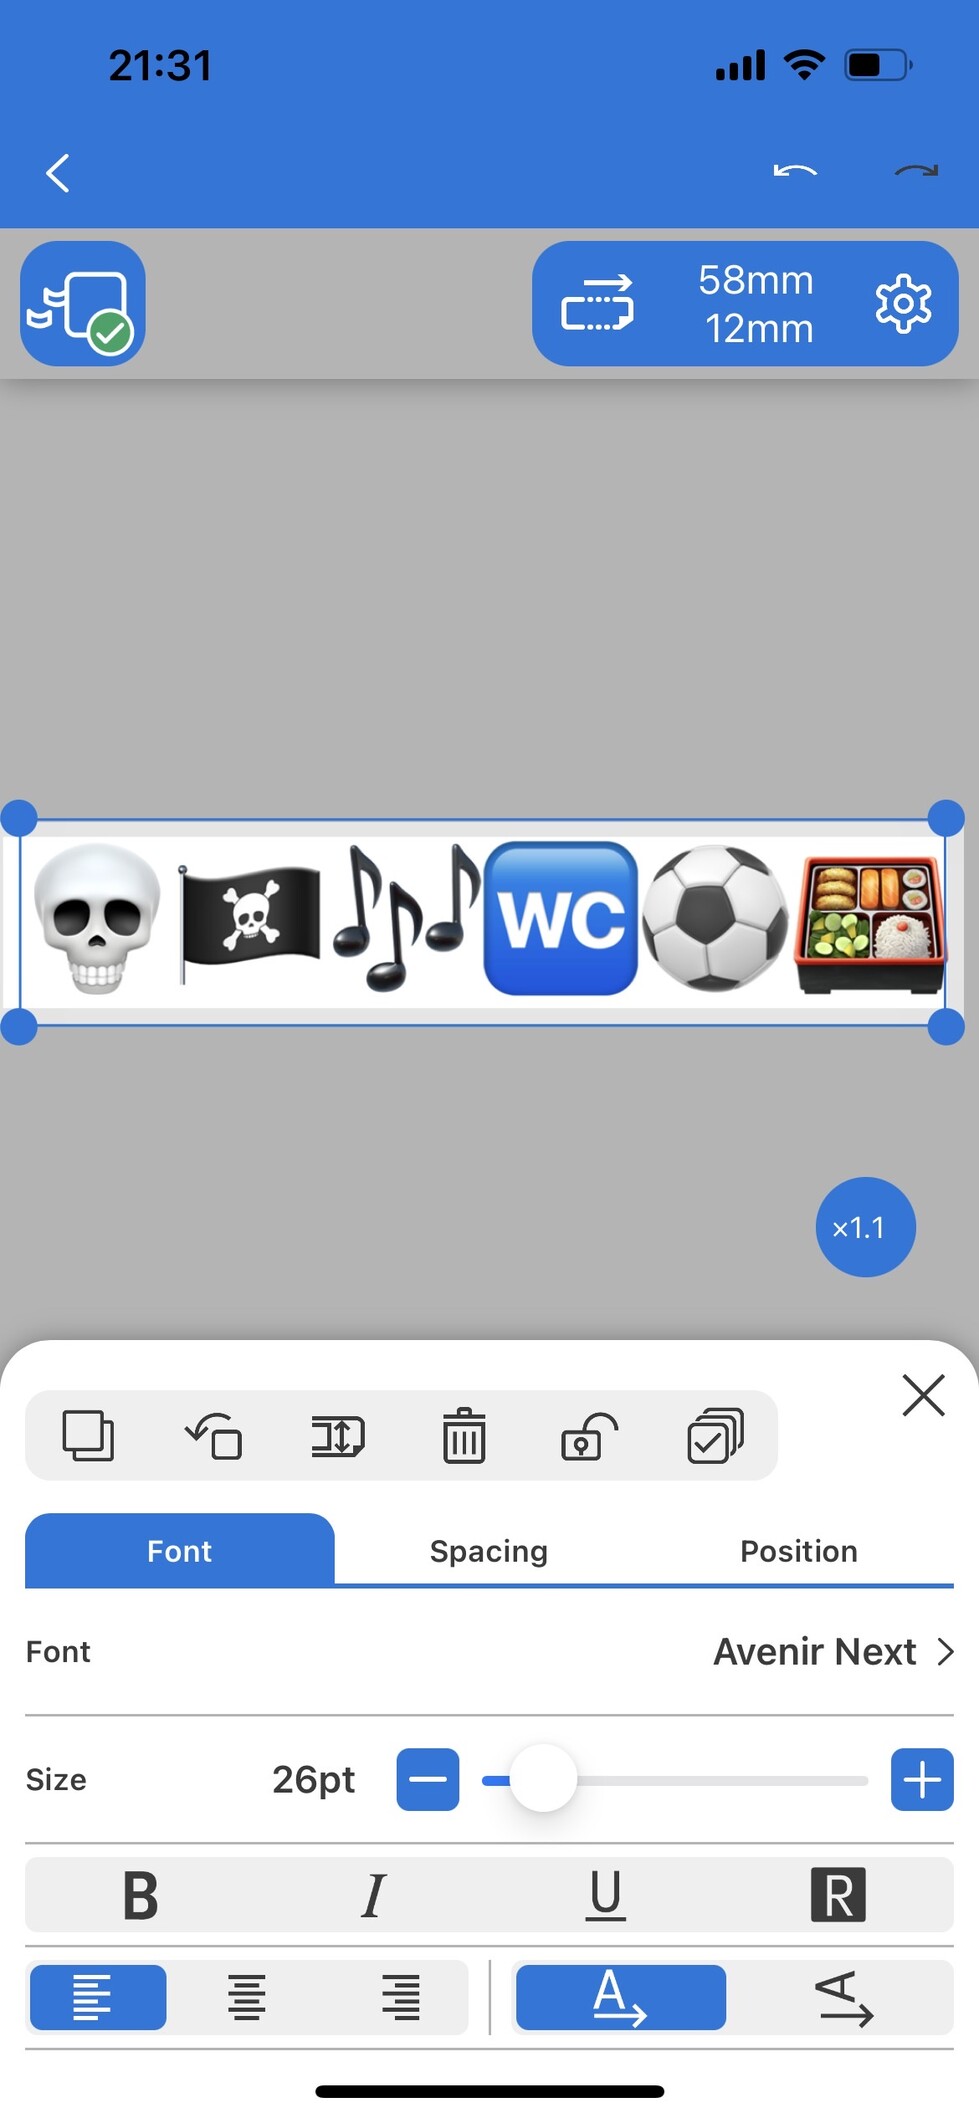
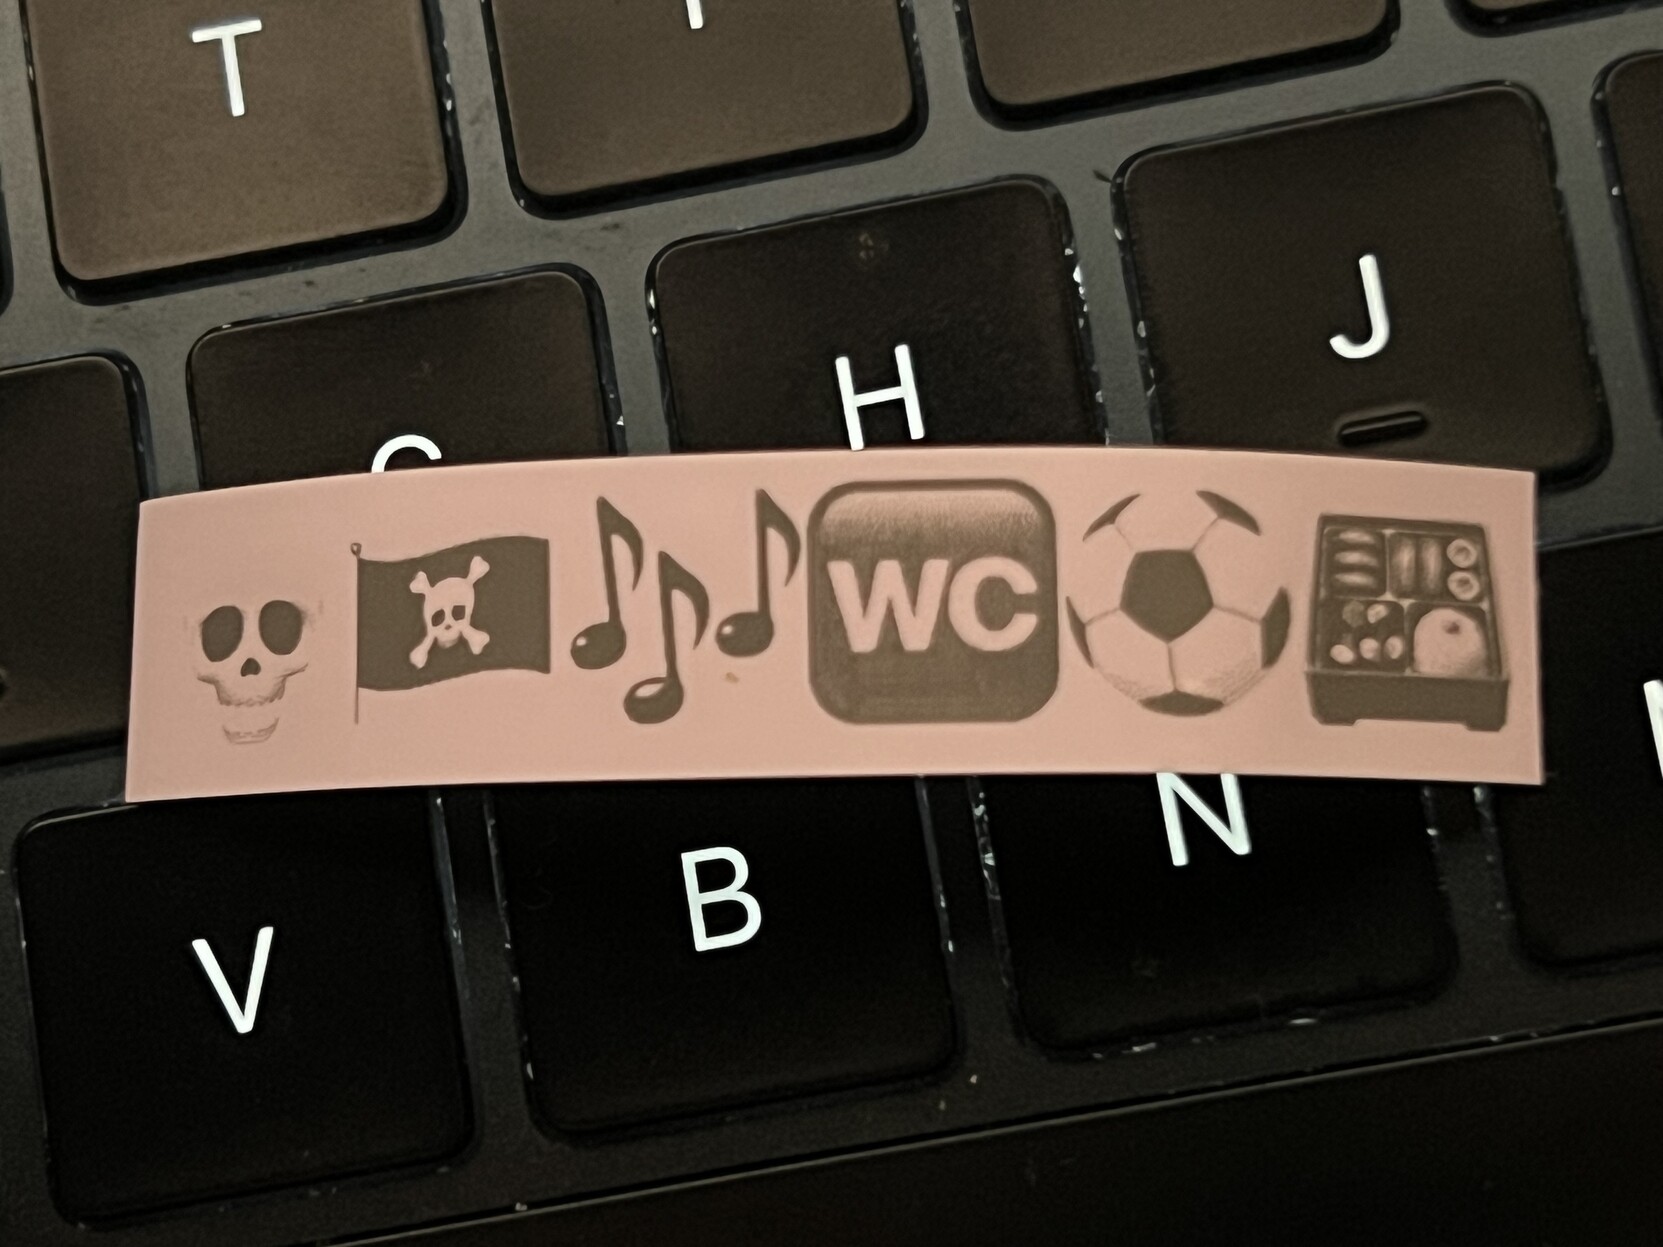
Ah yes that “wait, what happens if I type emoji into a text label?” thought that leads to “actually, rather spectacular results.”
The ability to import arbitrary images means that any icon you can save or screengrab from the internet can be used on a label. This includes the five million or so icons in The Noun Project. If five million icons isn’t enough for you, you can also just add text into the label and use your phone’s emoji library, which will be converted using the aforementioned “Error Diffusion” dithering with quite spectacular results, at least as long as you’re using a dark on light label paper. Import also means, if the app doesn’t do it for you, that you can simply design your entire label elsewhere and import it for printing.
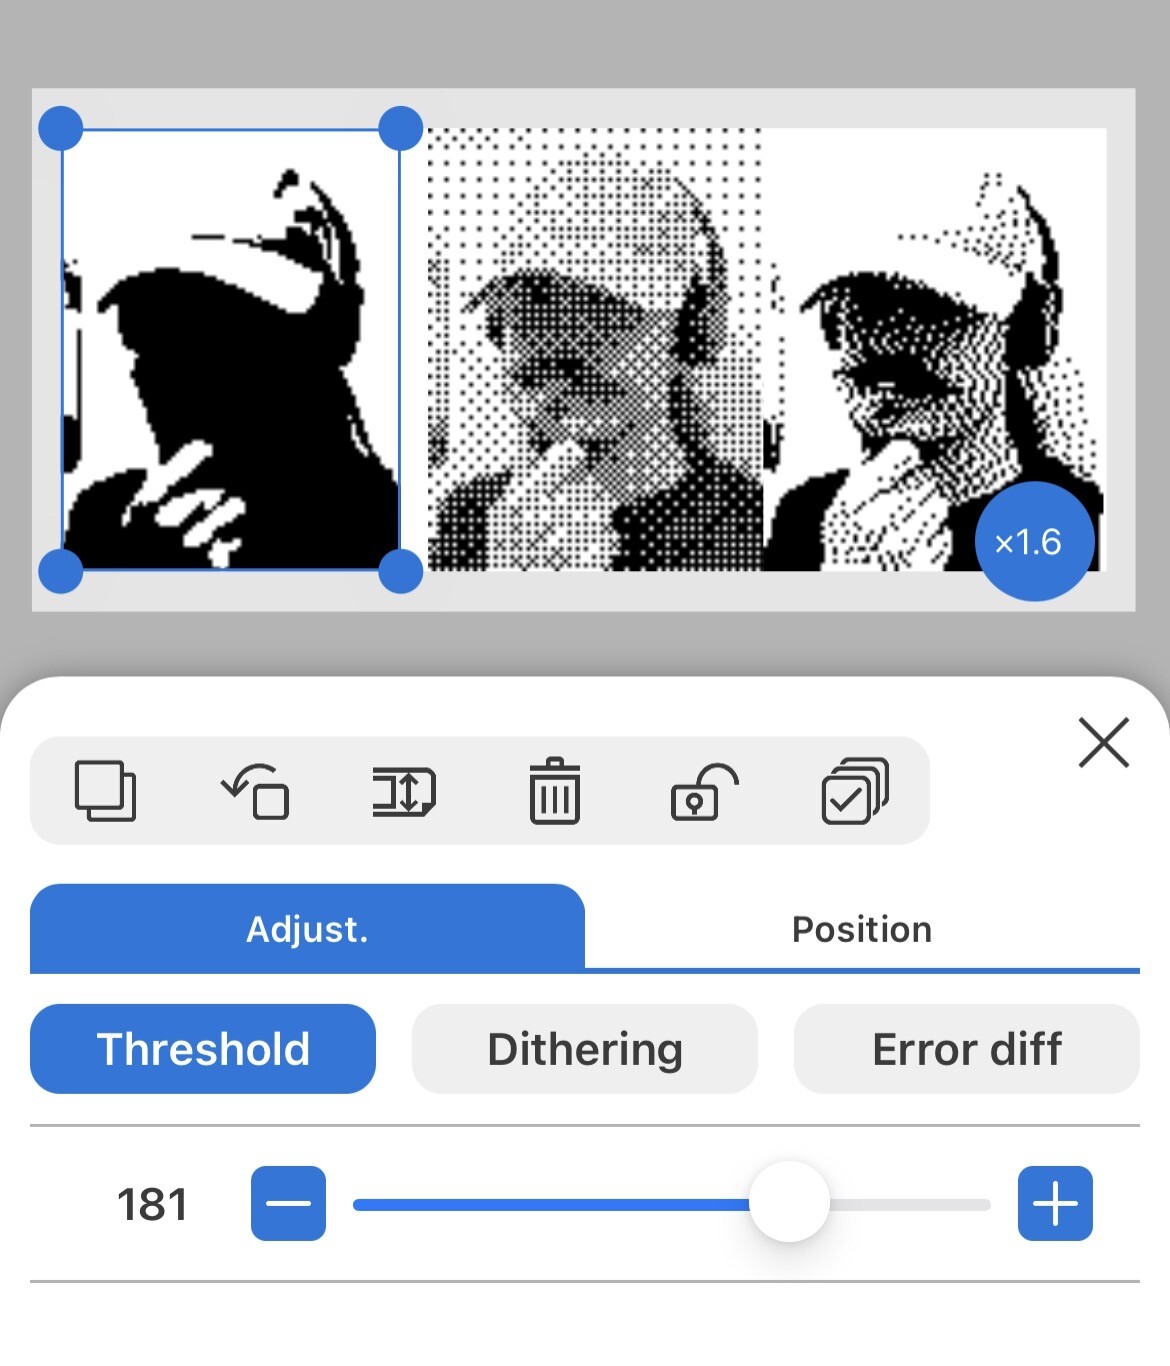
And to better show what results to expect from the three choices, let’s try a photo of me-
Icons and text aren’t the only strings in LabelWork’s bow, though, you can also add fancy borders around your label contents, add basic shapes (line, square, circle, oval), add tables (though frustratingly the table border cannot be turned off to make it a shortcut for aligning text), 1d barcodes (in no less than eight standards), 2d barcodes (or QR/DataMatrix), Repeating Text (yes you can make eight metres of “Police Line Do Not Cross” label with one simple step), Date/Time (in a variety of baffling formats) and – last but not least – sequential numbering that will print multiple copies of your label with sequential numbers though you will have to manually leave room for two or three digit numbers.
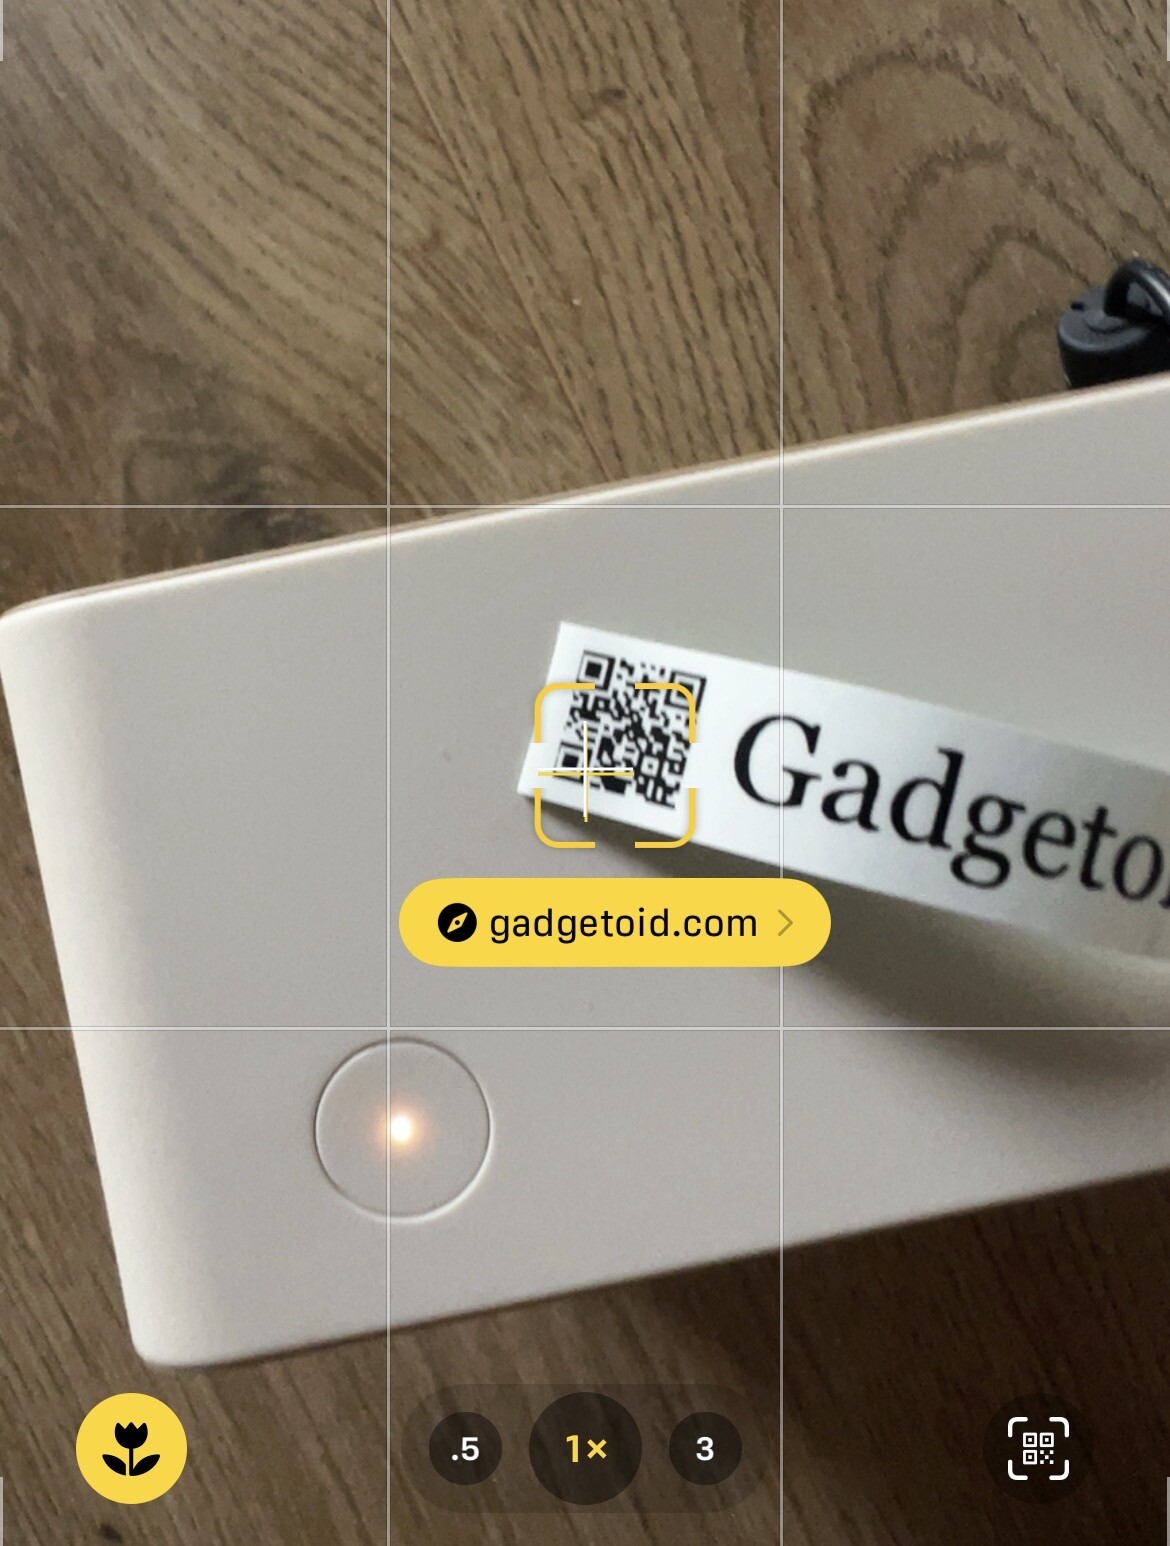
The app has support for printing QR codes and they’re *small* but they do work!
Almost all of these features pale in comparison to simply boofing in a custom image, printing a great swathe of labels and snipping them up with some craft scissors, but it’s useful to have them available if you want to quickly run off single labels or small batches without needing a whole publishing workflow.
The app has tools to help you position elements in your label, including alignment that helps work around the relatively imprecise touchscreen and finger combo and even little arrow buttons for nudging elements around. There are alignment guides, useful for getting things in position to line up with what you’re trying to label. Notably missing, however, is any element to element, or element to grid snapping. It really, really needs a grid and snap to grid feature.
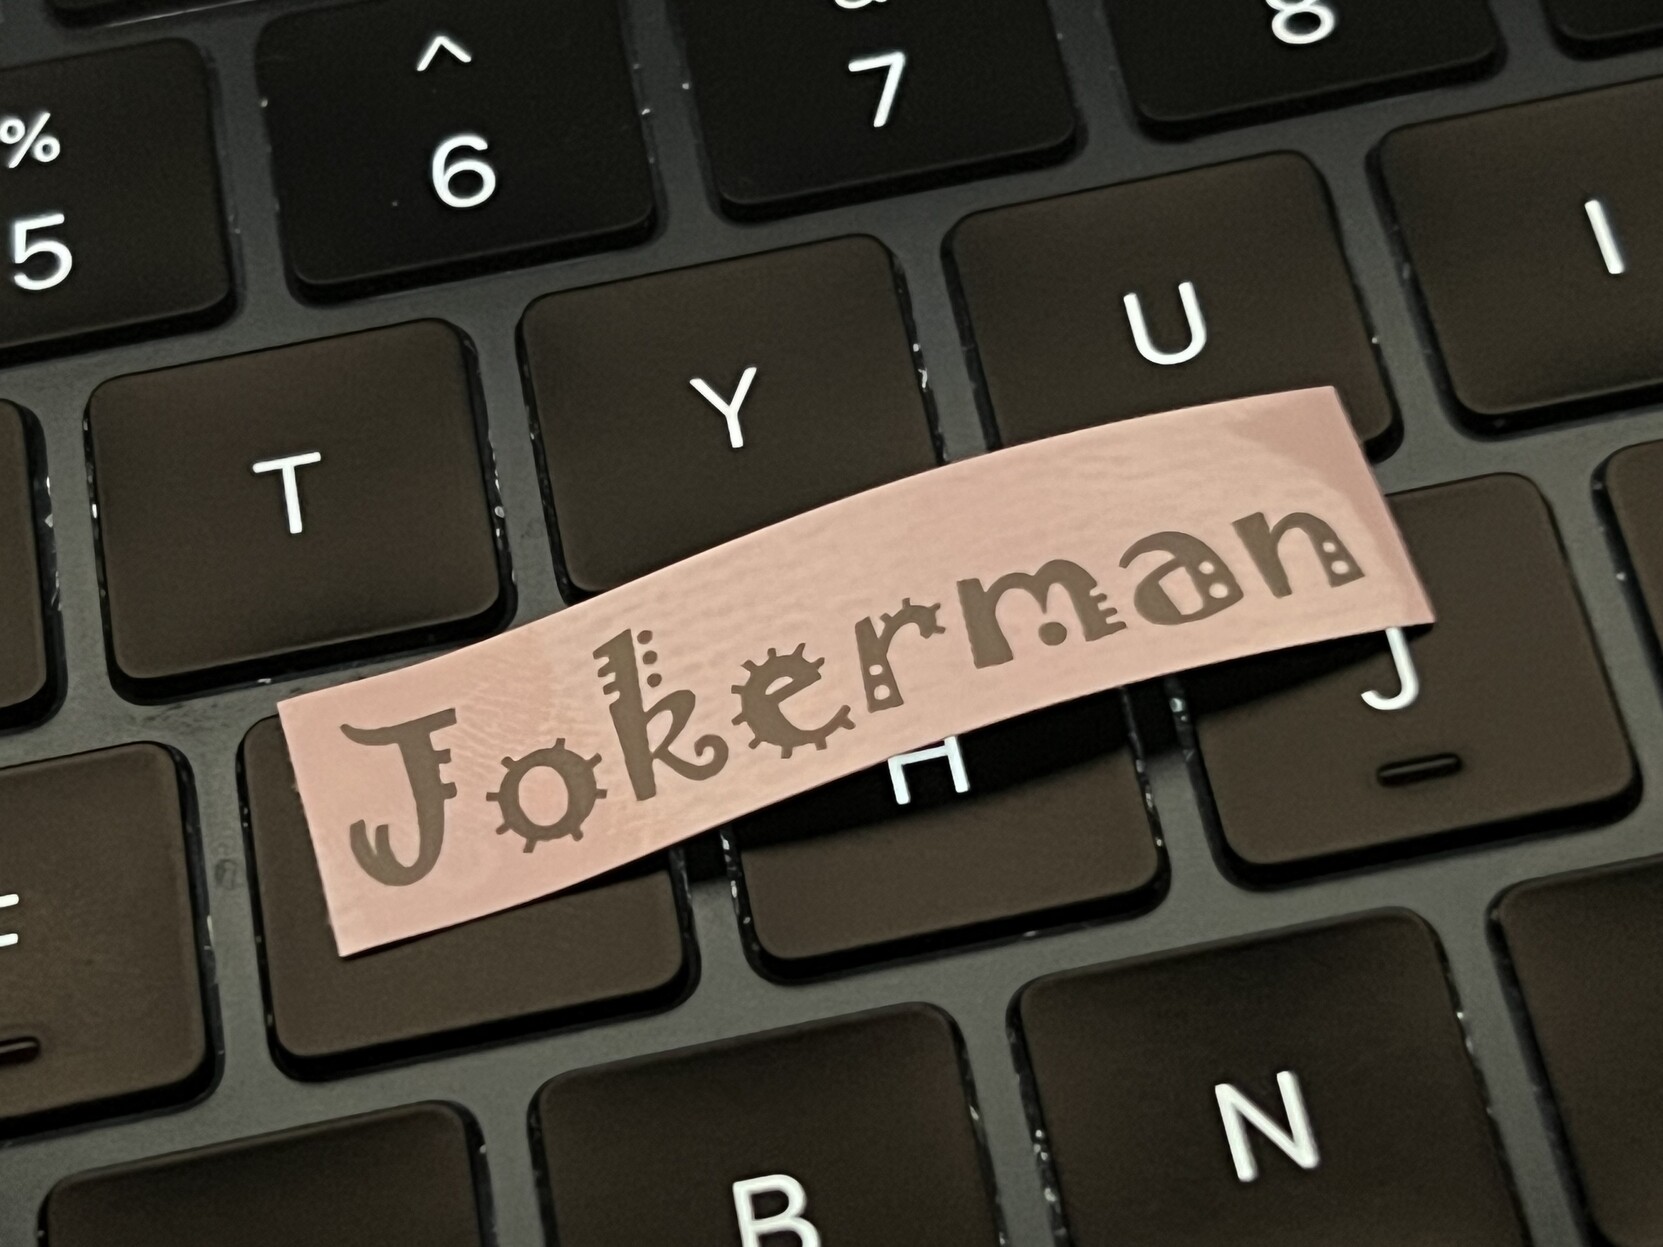
Can’t be making labels without Jokerman.
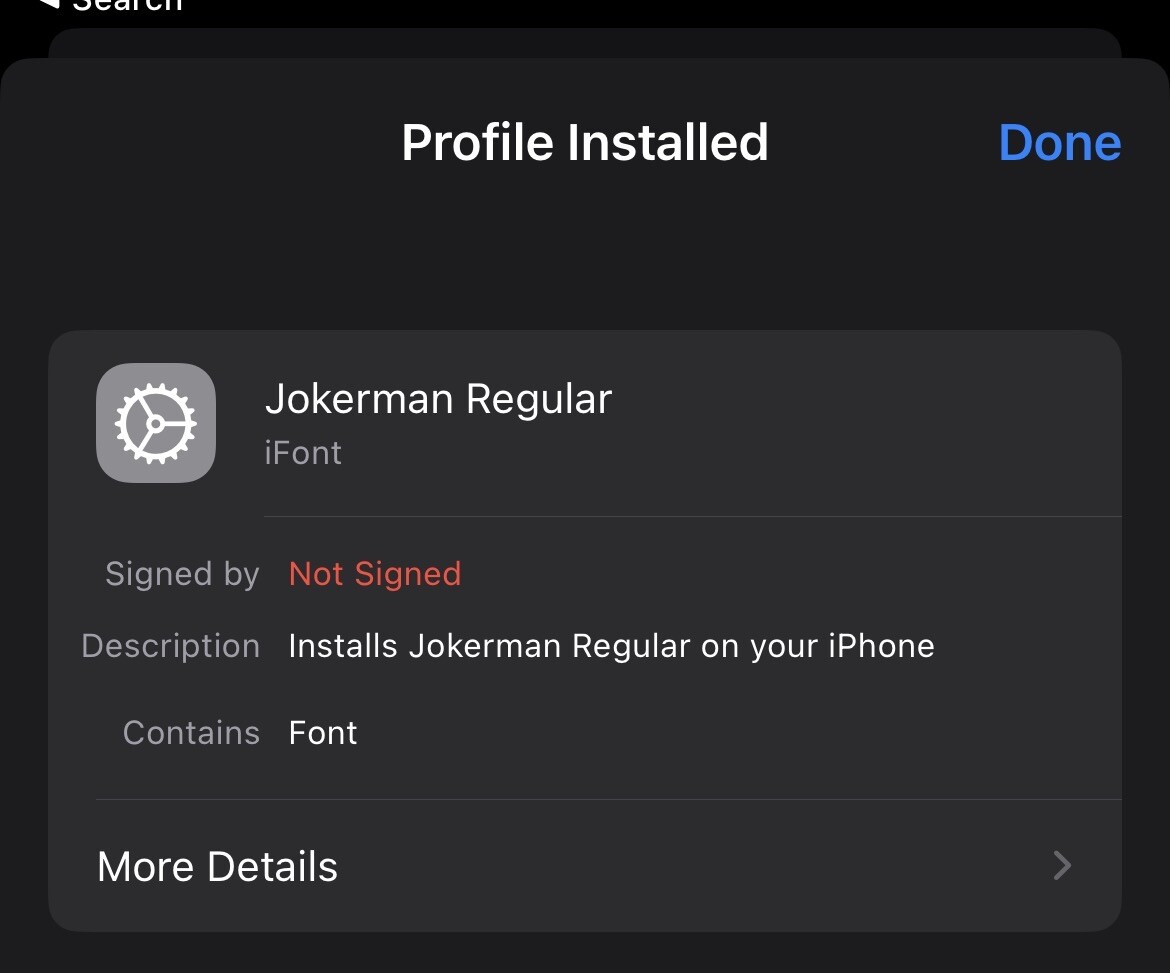
Crucially the app doesn’t demand any micropayments or subscriptions, giving you access to all the fonts you could ever conceivably want (yes including the essential Comic Sans and Papyrus – how has my phone got this many fonts?) and its – admittedly not super great – library of icons and borders for free. The downside, if you should want extra fonts – and don’t want to edit elsewhere and import an image – you’re probably going to have to pay for them one way or another. Adobe Creative Cloud fonts, for example, will be available in the Label Editor app on iOS. If you want to install a random .ttf from the internet, you’ll need iFont which can install a font from your iPhone filesystem using a “Configuration Profile.” I was able to download, install and use the legendary Jokerman font (you’ll recognise it) using this method.
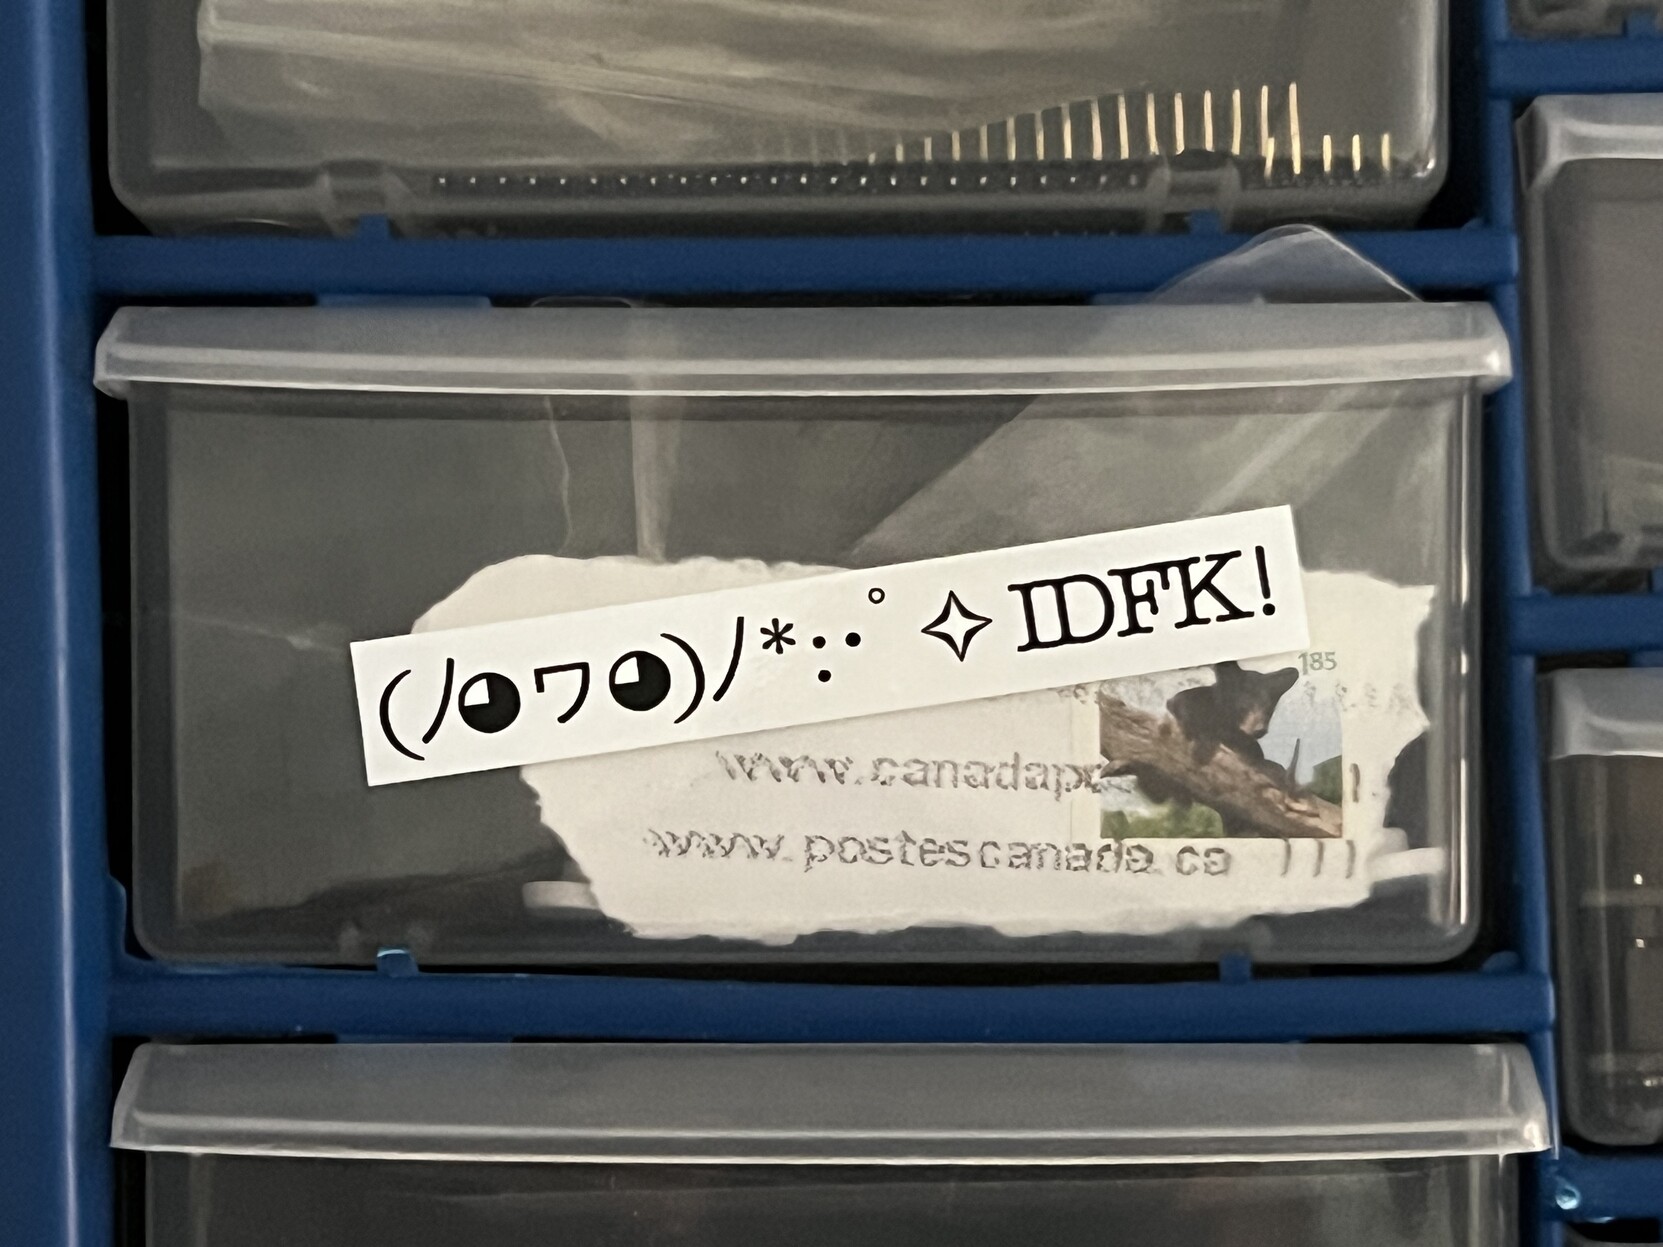
Support for *all the text* means you can bring all the Unicode memes you know and love to labels. Here’s sparkle throw to label my mystery drawer.
Print Quality
The results really speak for themselves, and the labels feel durable and don’t involve any inks that might wear off. I can’t quite figure out how they work, but I suspect either the print head melts a surface layer off the tape onto a separate sacrificial tape or vice versa.
The print has a high enough density that even on 12mm tape with a 1mm border you can get a decent, dithered approximation of Apple’s bento box emoji. The individual dots are discernable upon close inspection, but from a distance the labels look crisp and detailed and dithering even gives you – on the right kind of paper at least – a reasonable approximation of greyscale.
Yeaaah I don’t think this was a good combination of tape/artwork 😬
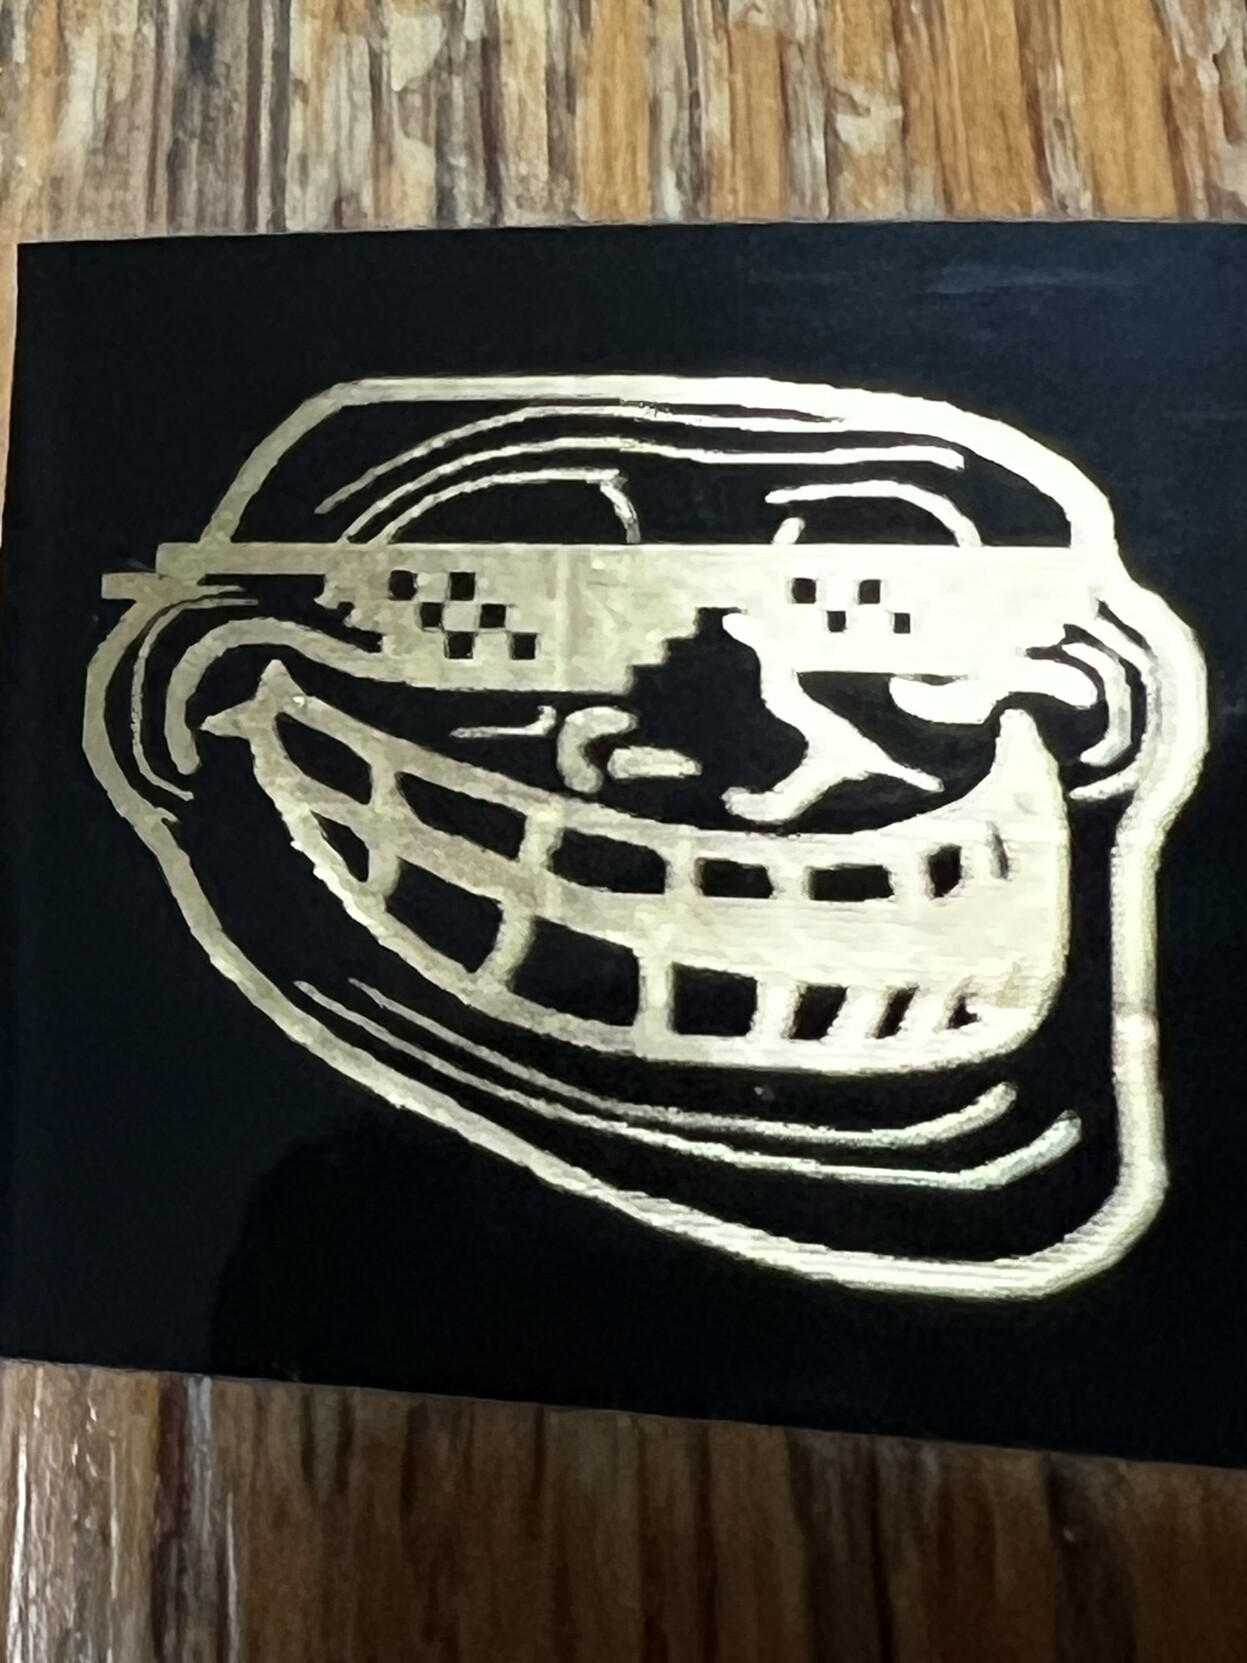
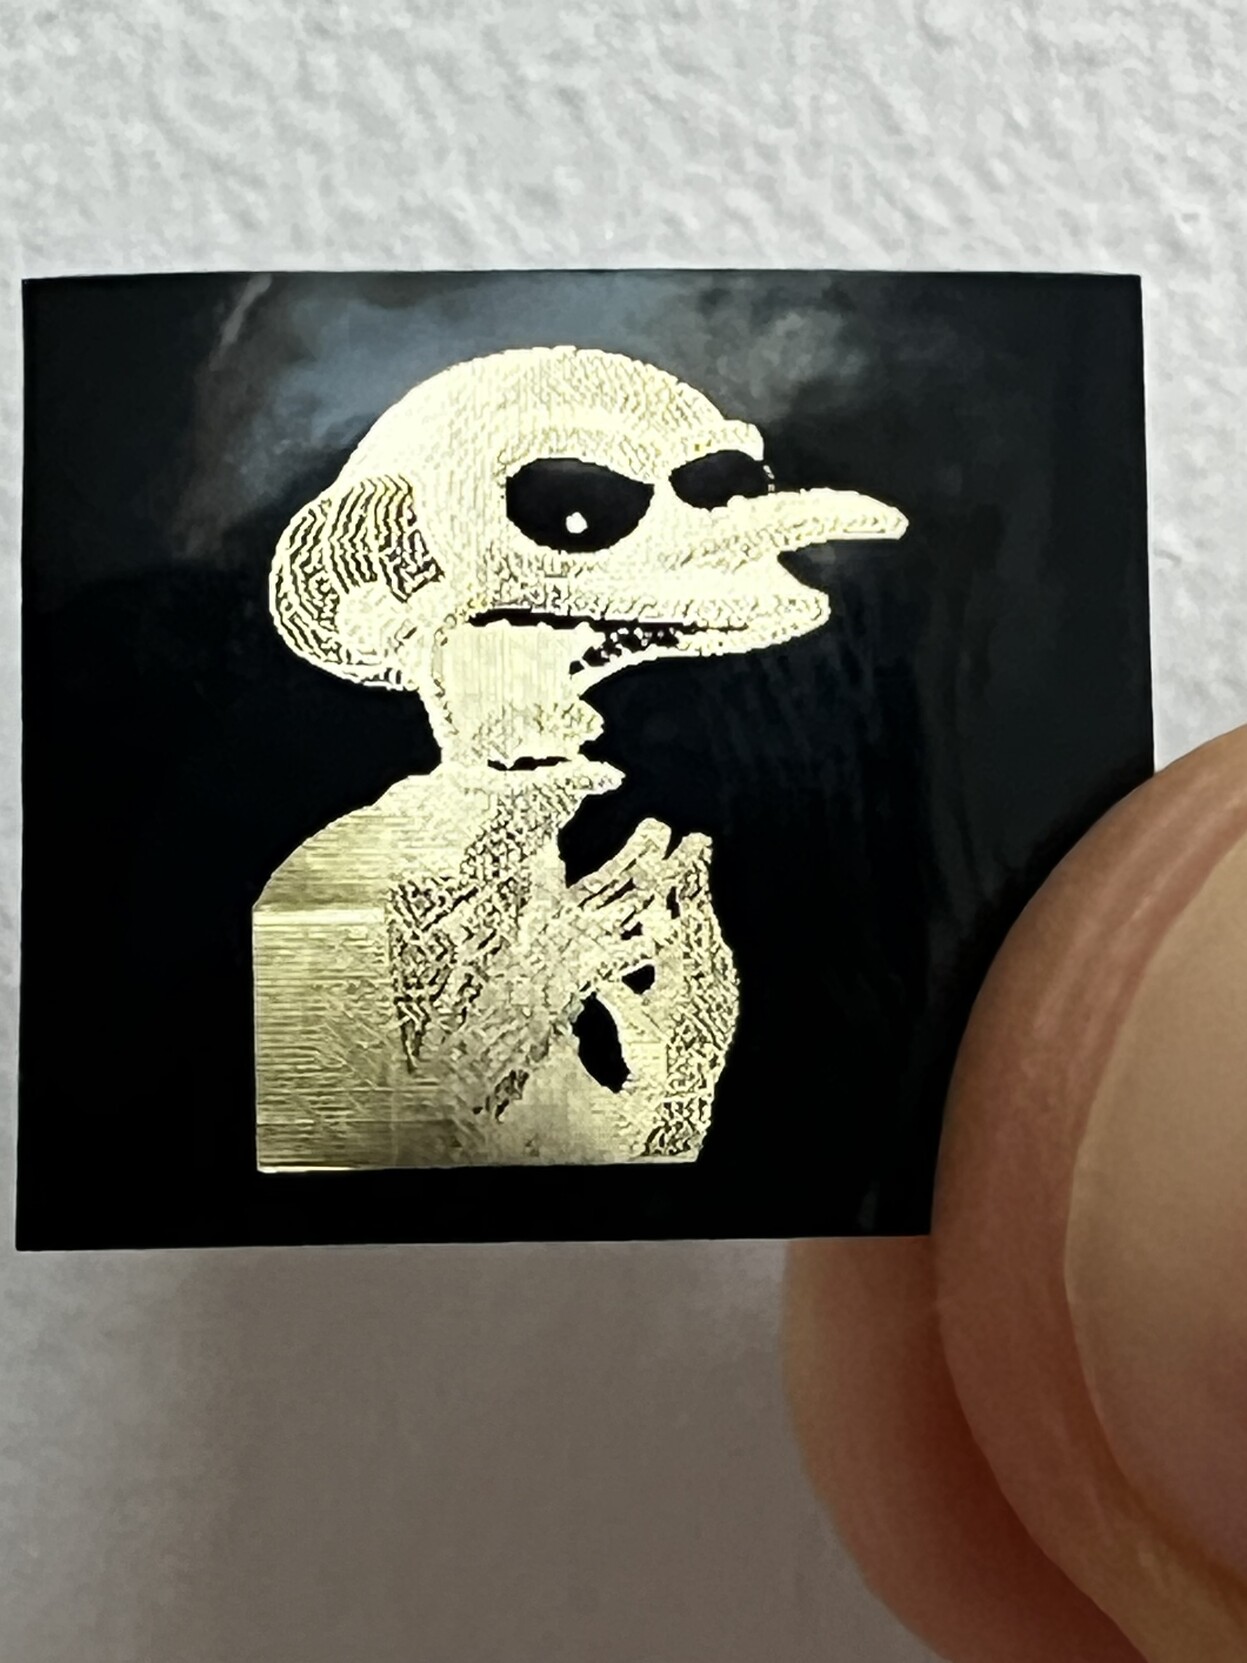
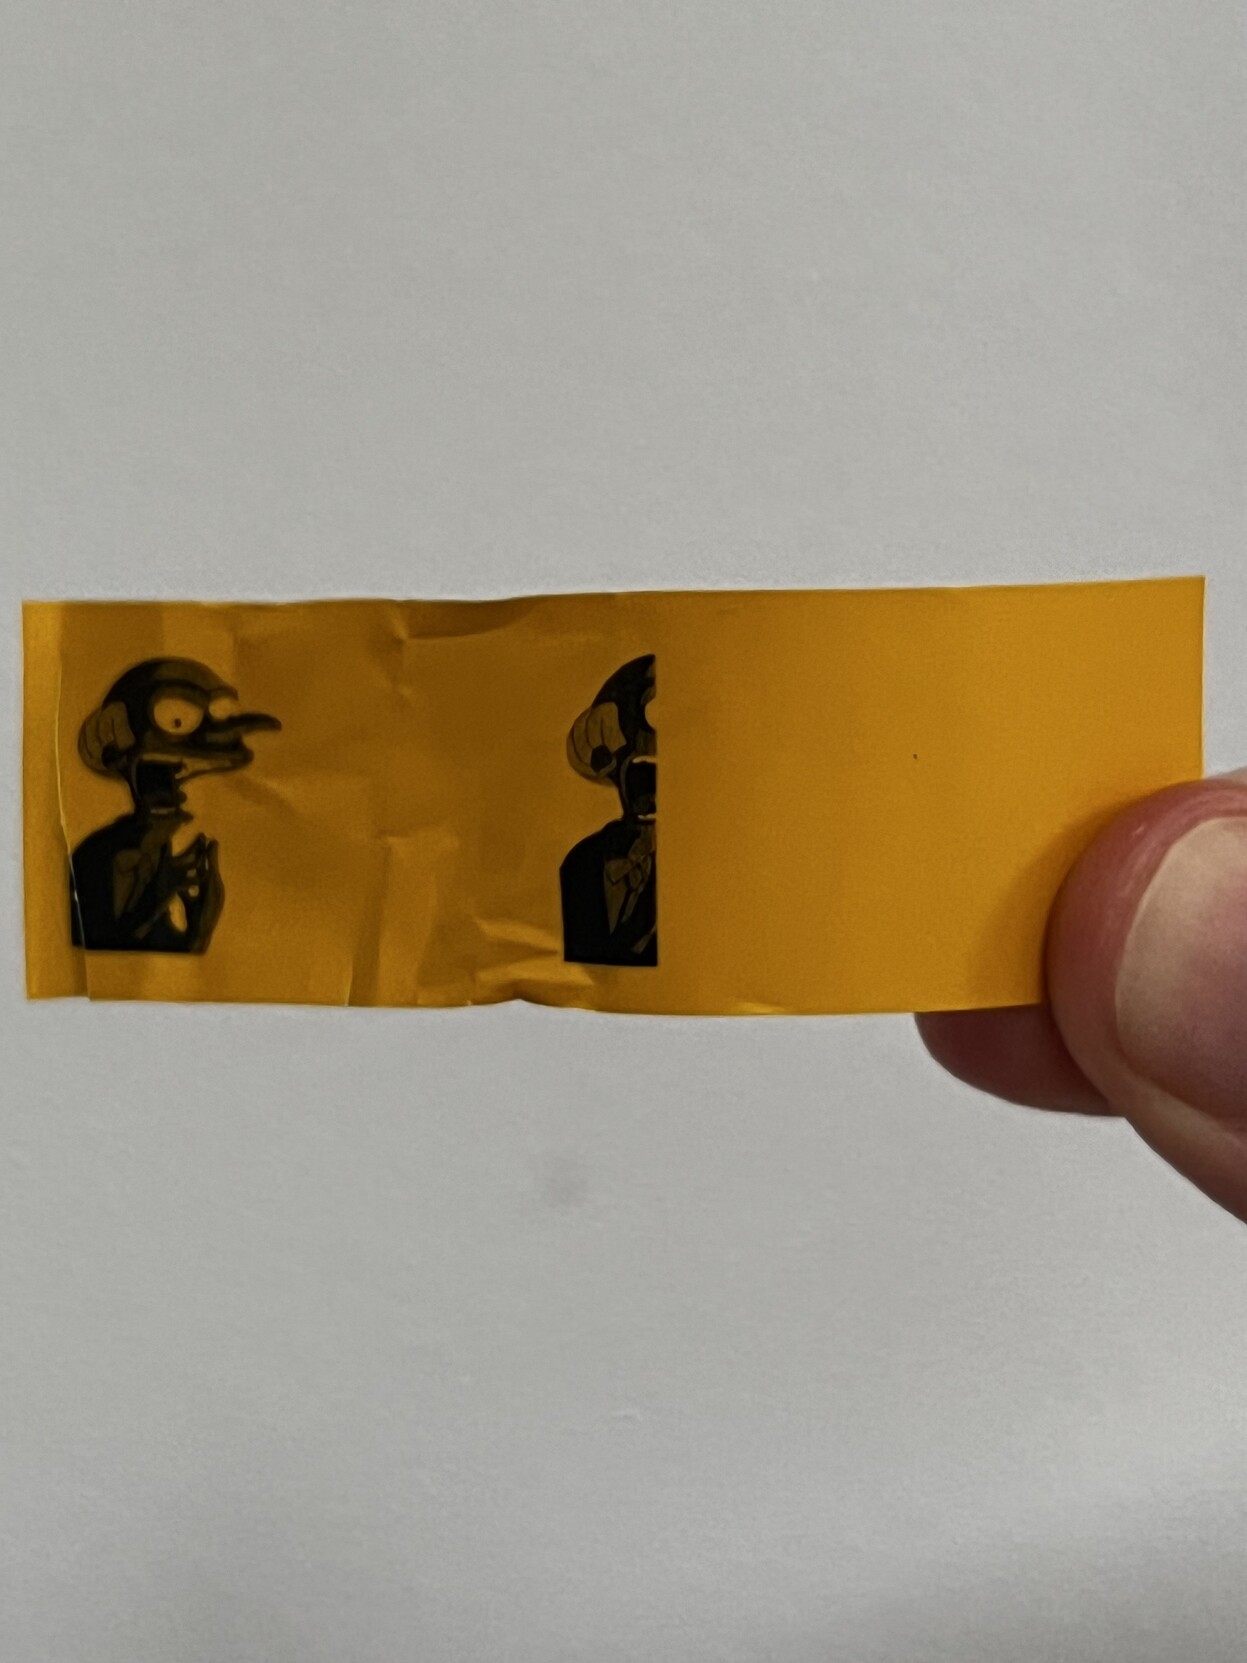
While the printing quality is good, the actual visual result depends immensely on which tape you use and what you choose to print on it. A dithered rendition of Mr Burns on gold-on-black tape, for example, is truly the stuff of nightmares. More or less anything else printed in gold on black looks fabulous, though, and it’s great for adding professional looking labelling to hobby electronics projects.
Snippy snippy
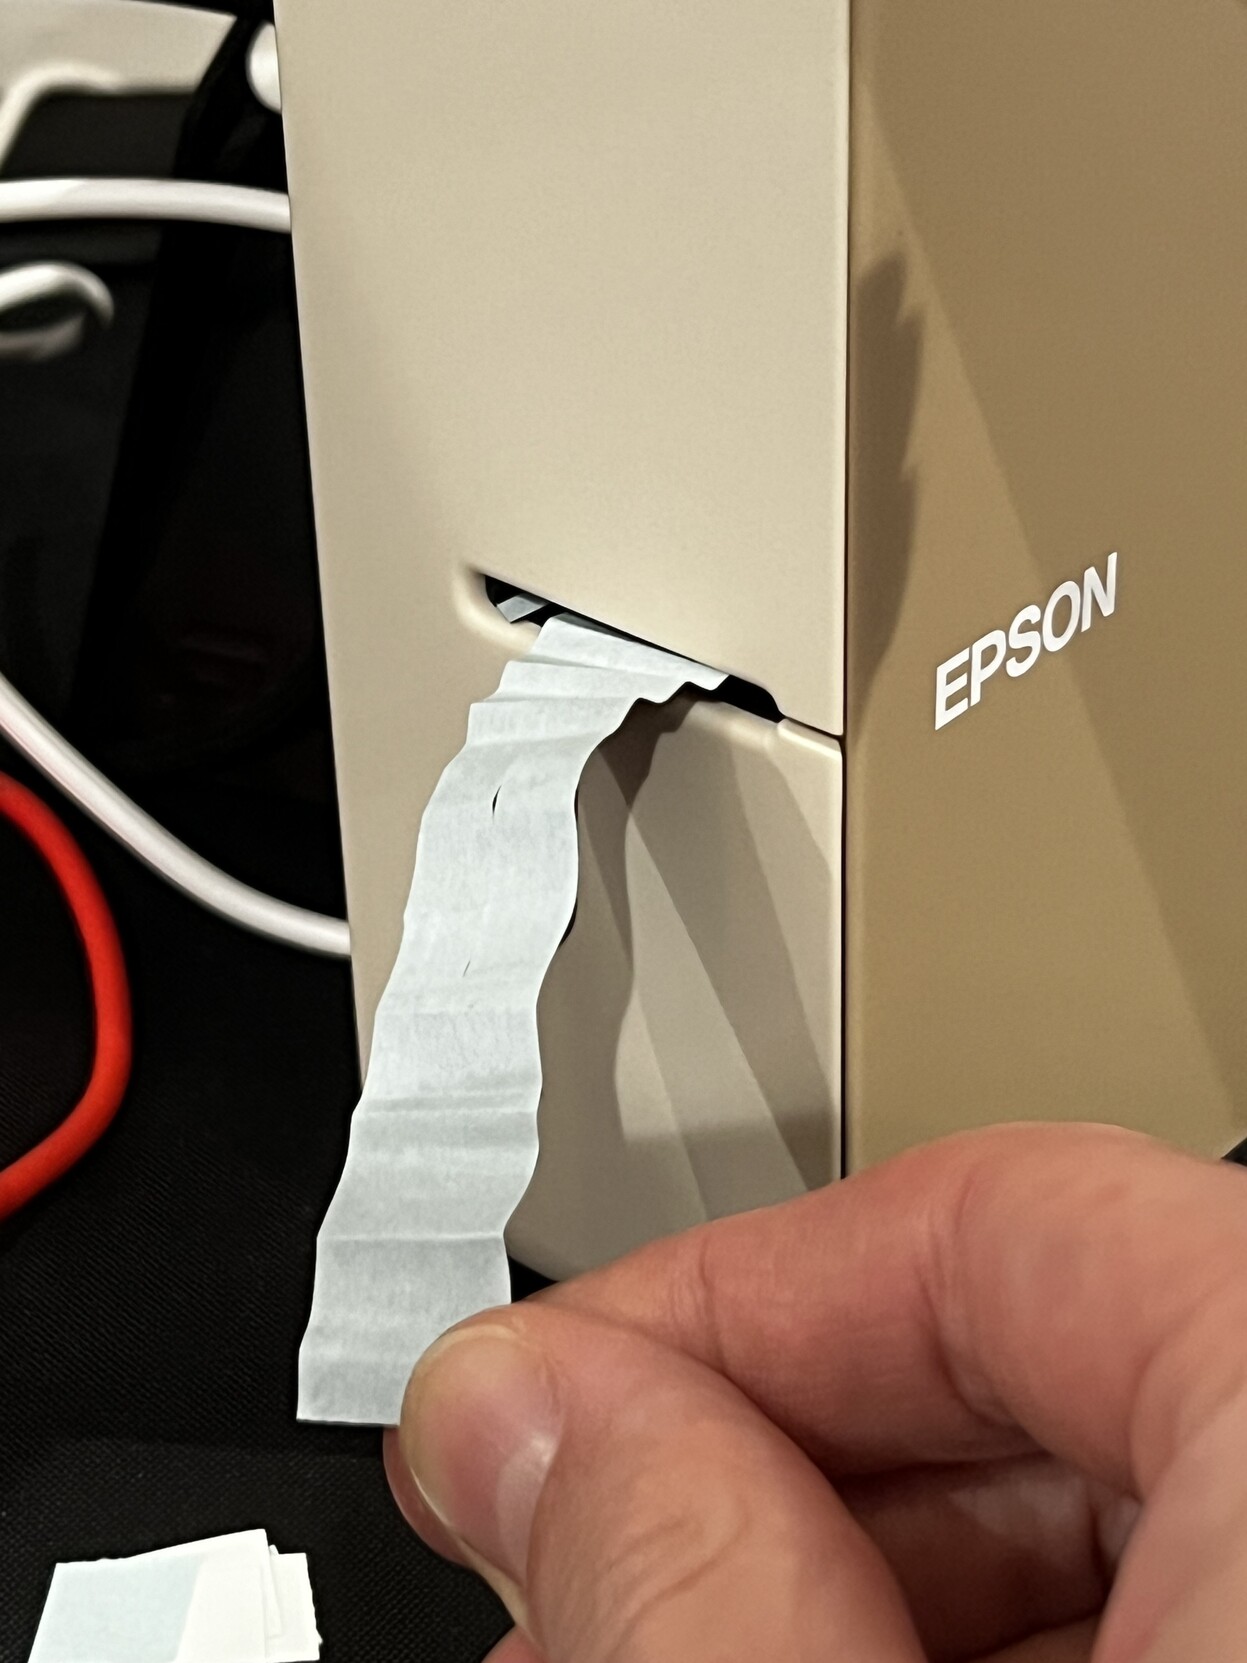
Possibly the most controversial quirk of the LW-C610 is its automatic label cutter. Due to the label having to advance far enough through the print-head to reach the cutter, and part of the two-part setup required for printing having been separated and discarded by this point, you end up with little – 12mm or so – scraps of unprintable label which are snipped off and discarded before each print.

Any stint of label printing will inevitably result in a small confetti of offcuts and label backing paper.
You don’t have to use the automatic cutter, however, and if you’re printing a whole batch of labels for – for example – labelling up your component drawers, you can combine your labels into a single, long label and snip them afterwards with craft scissors. There is a “Tape Cut” toggle in the print dialog, but this does not prevent a huge great gap being left between successive, individual prints. Frustratingly printing multiple copies of the same label will not leave a gap- there definitely needs to be a “Gapless” option in the print preview and a dedicated “Okay, I’m done, snippy snippy now” to retrieve your finished batch.
Still, wastage is fairly minimal and this is only something you need worry about if you’re printing dozens of small, similar labels for a single project.
Mangle Mangle
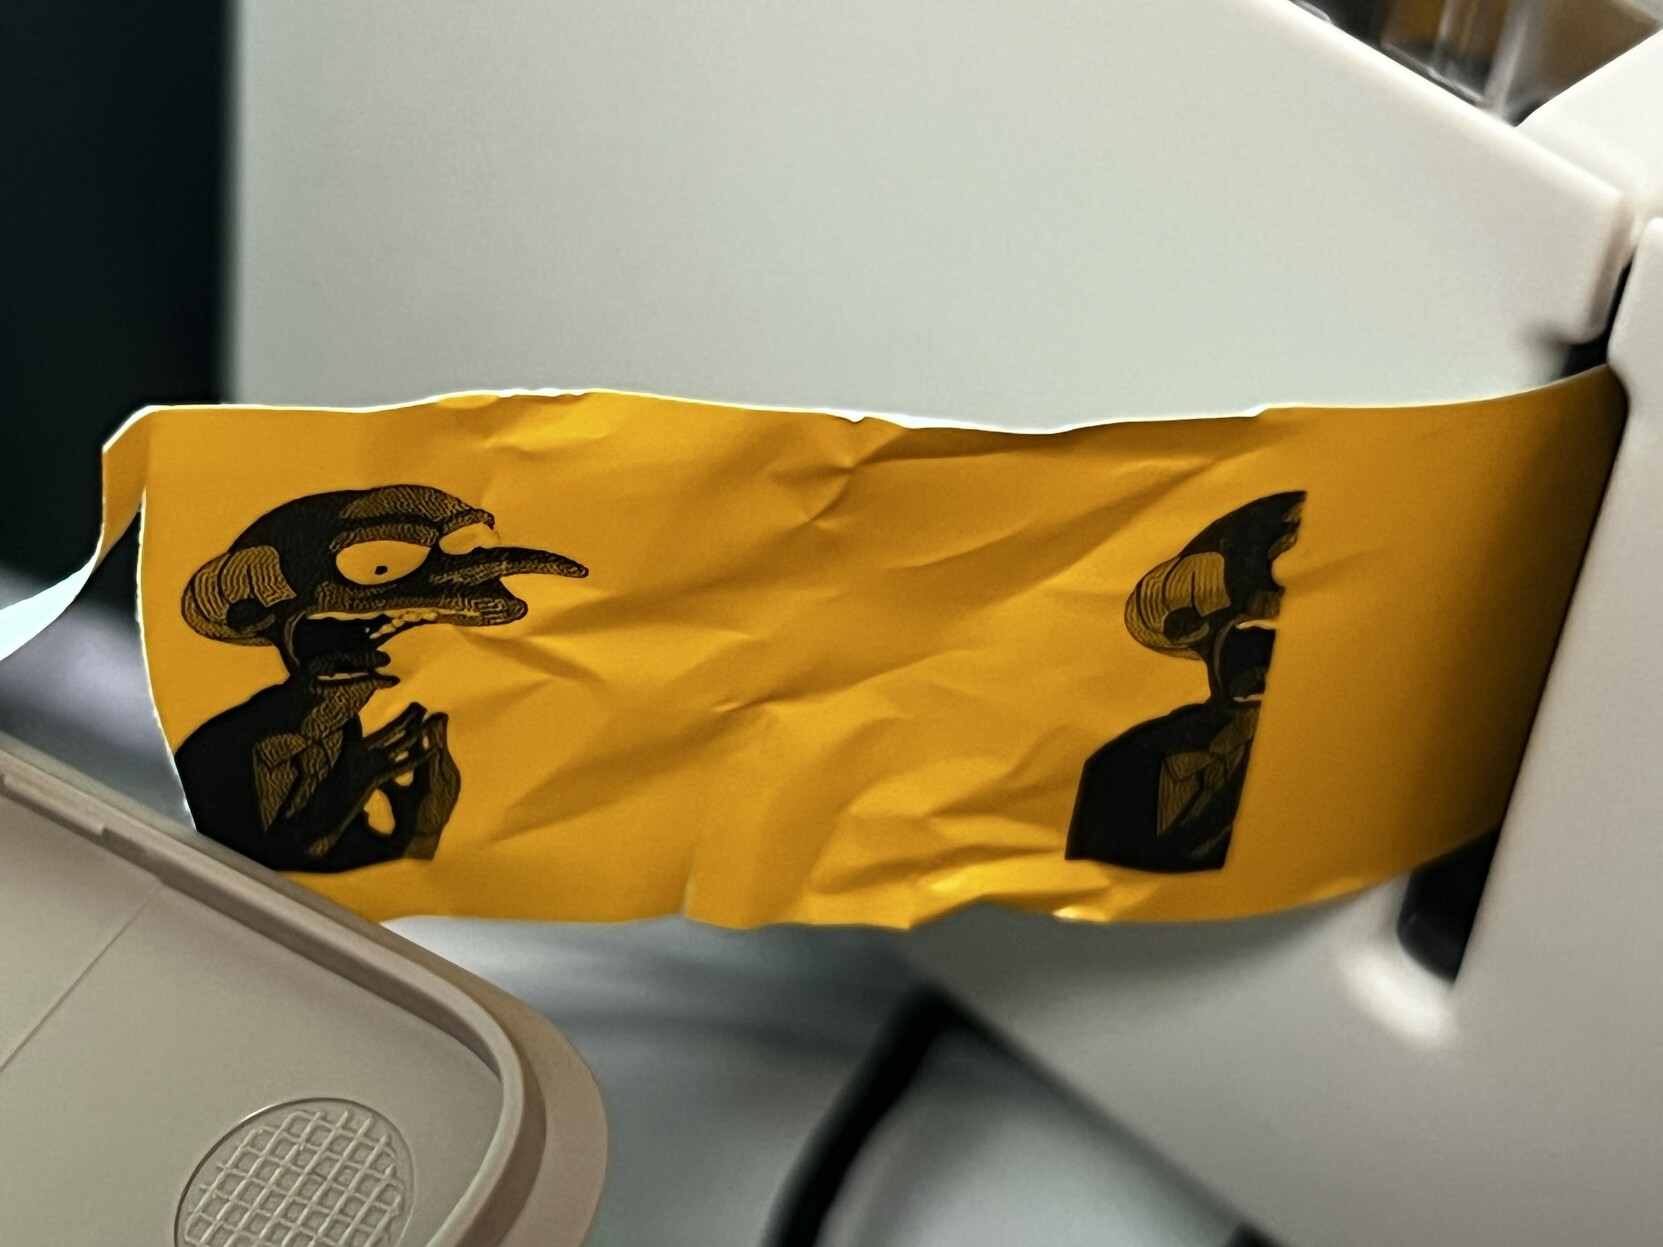
Tfw the printer just decides to mangle a few pence worth of your favourite black and gold label tape 😭
More frustrating than the little fragments of wasted label is the very occasional paper jam and mangled print. This seems to happen more often with the wider tapes, which correspond to the more expensive ones I picked up to test. I’ve had one jam with gold-on-black and one with black-on-yellow. Some of the problems that curse printers are clearly universal!
The Peel

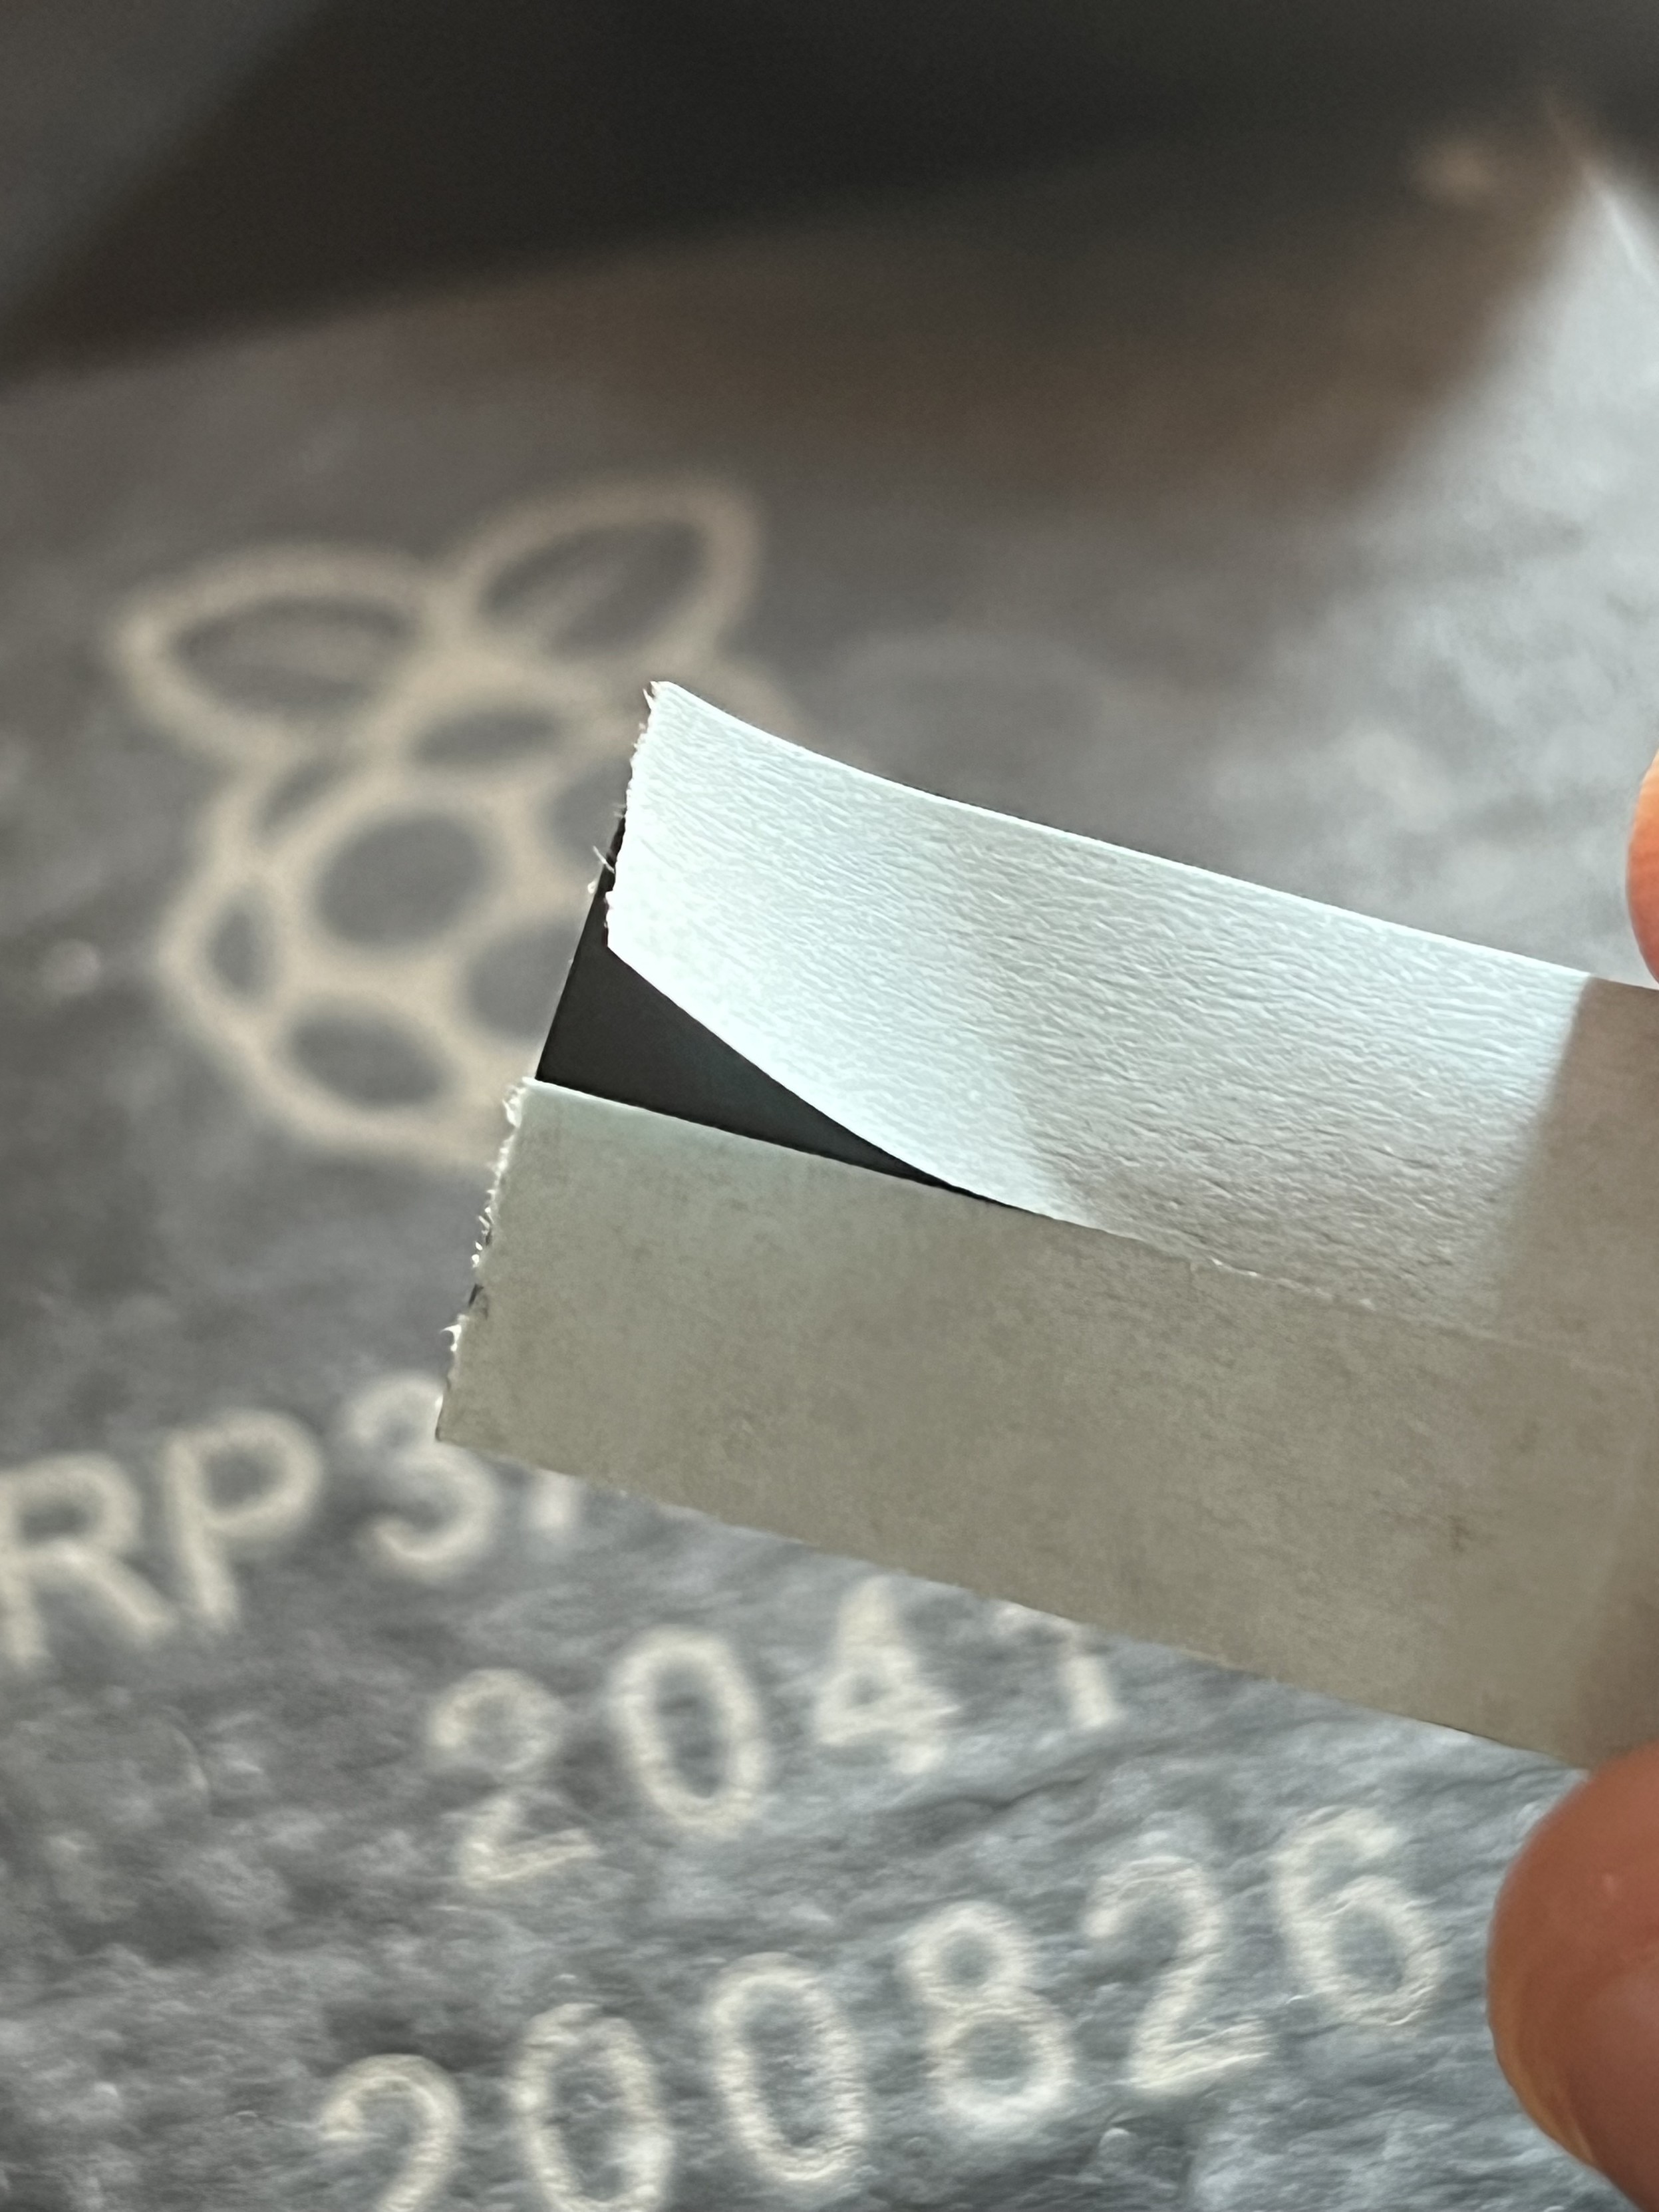
Okay the backing peel on the 12mm label tape I purchased is a bit tricky, leaving some dog eared corners. The larger labels, and the supplied black on white 12mm tape, have a split down the middle so it’s really easy to peel back.
The 18mm and 24mm tapes I bought for testing, and the supplied 12mm tape all had backing paper split down the middle, so you could gently bend the label and get at a corner for peeling. This was super welcome, since peeling stickers- especially with tight trimmed nails, cold hands or otherwise impaired finger dexterity- can otherwise be tricky. The 12mm grey on lavender I purchased lacked this, however, and getting at a corner was tricky and left it dog-eared. I don’t believe there’s any way to tell if a particular label cartridge has this split or not, but sticking to larger sizes is probably a safe bet.
Overall
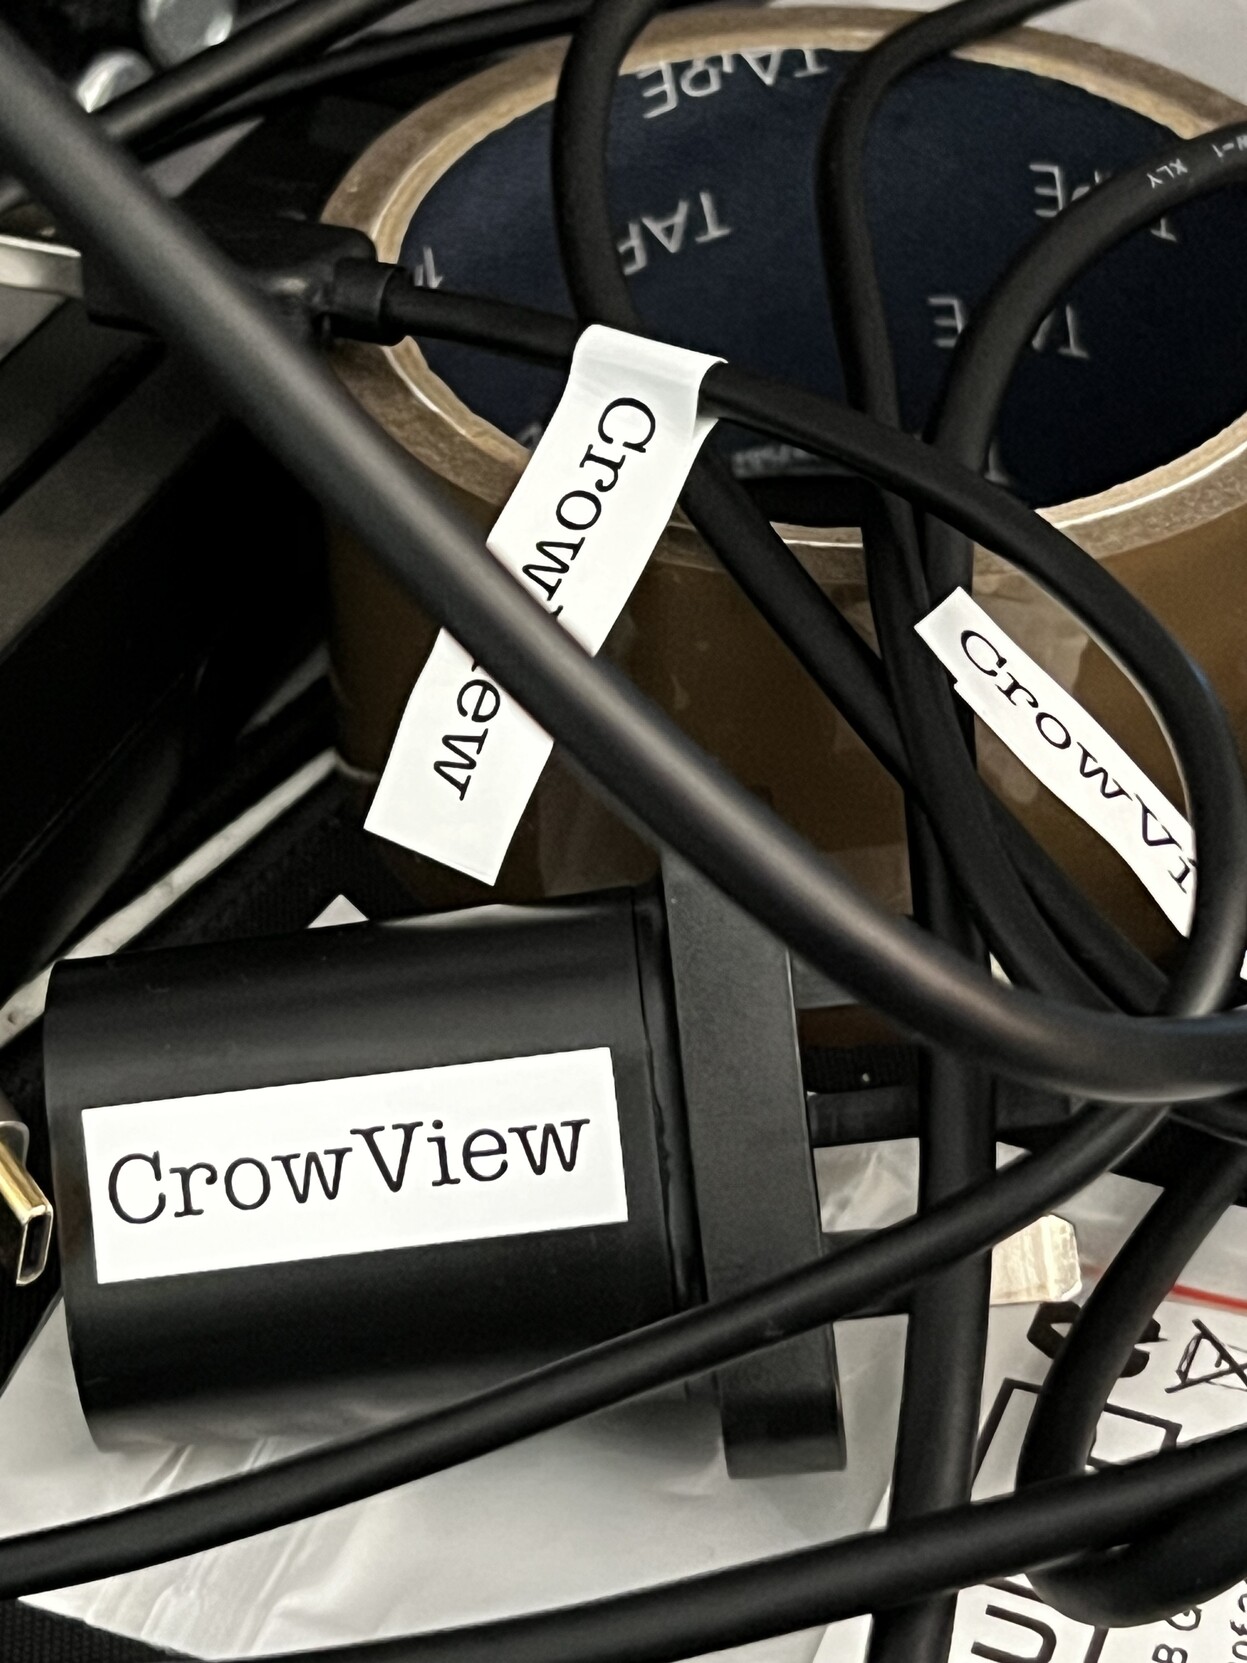
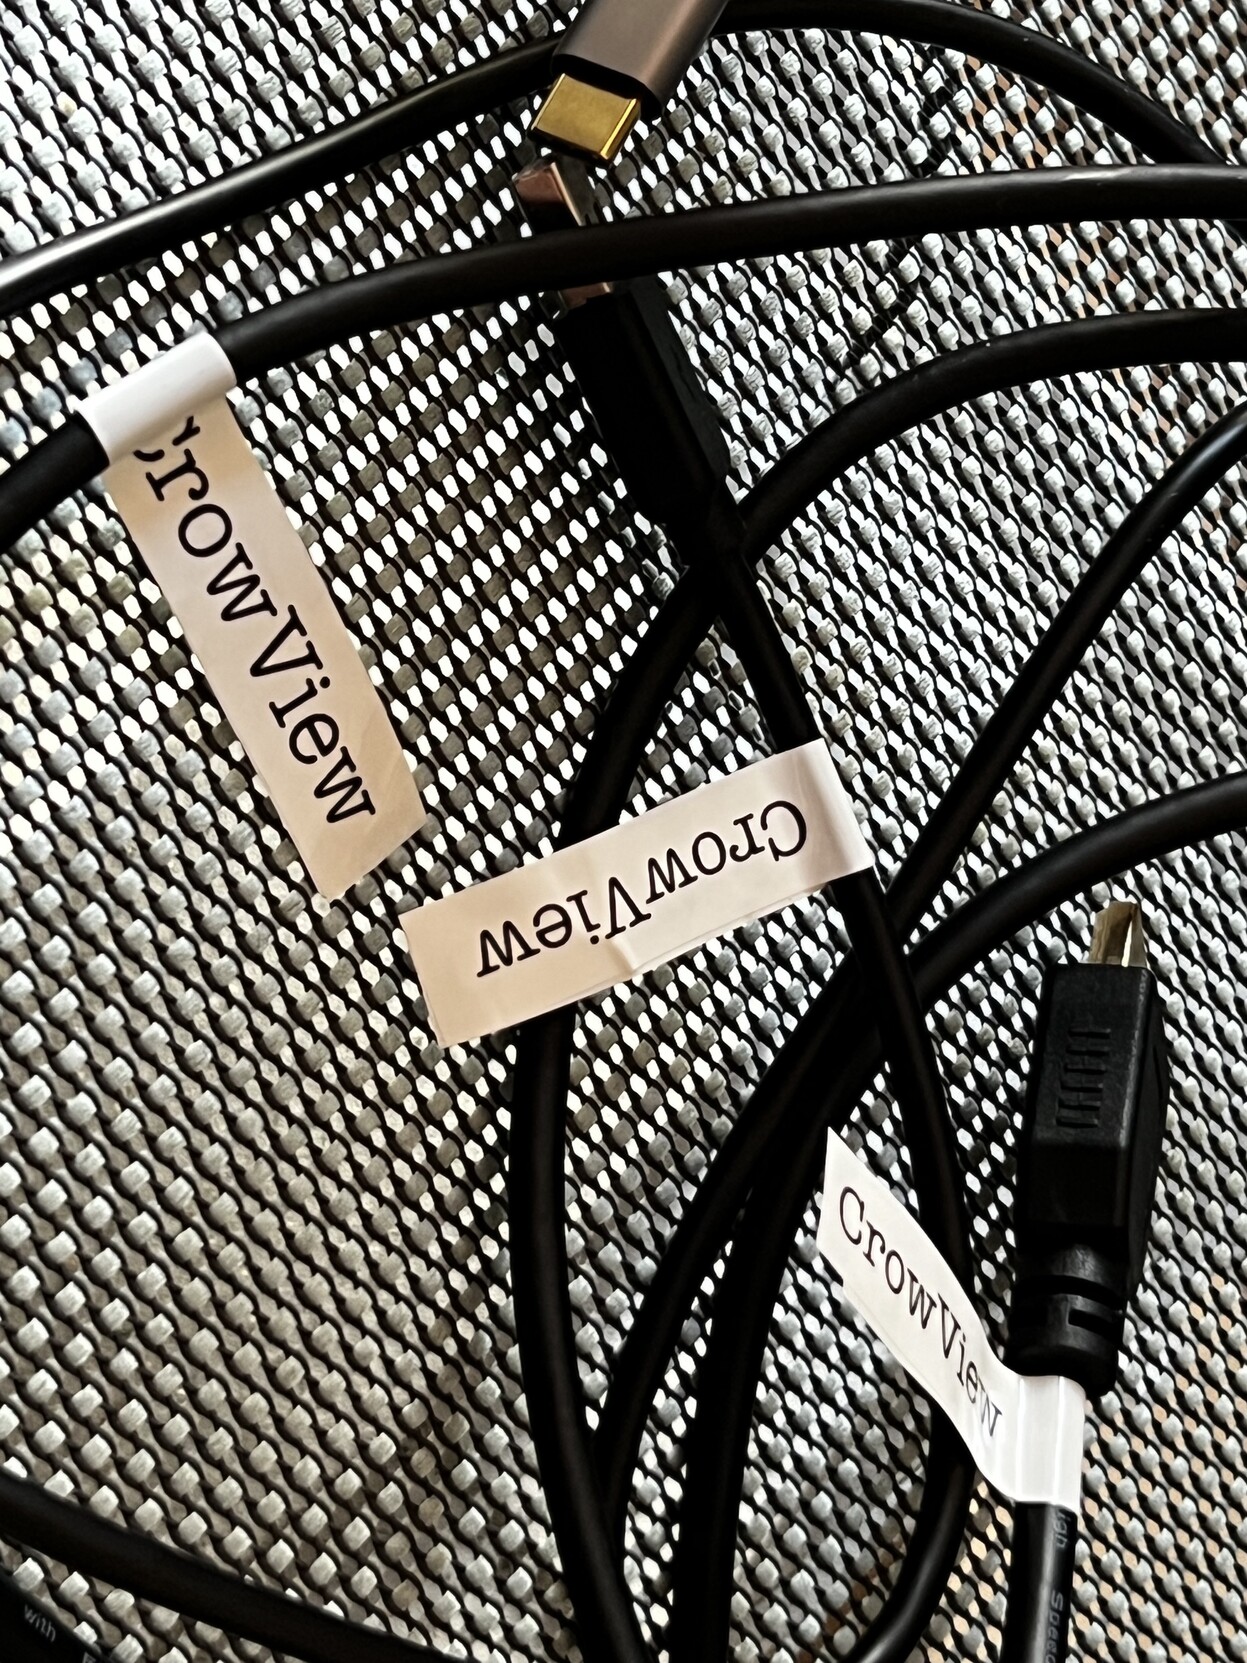
CrowView came with a bunch of cables, so I figured I’d fend off the inevitable “oh sheesh what are these for?” by labelling them straight away.
Despite wanting a USB Type-C power supply, grid snapping and better management of successive prints to avoid offcuts, I’m pretty happy with the LW-C610. The proof, they say, is in the pudding and I’ve used it so far to label my component drawers, cables, power supplies, add legends to electronics projects and create a veritable storm of silly little emoji and meme stickers.
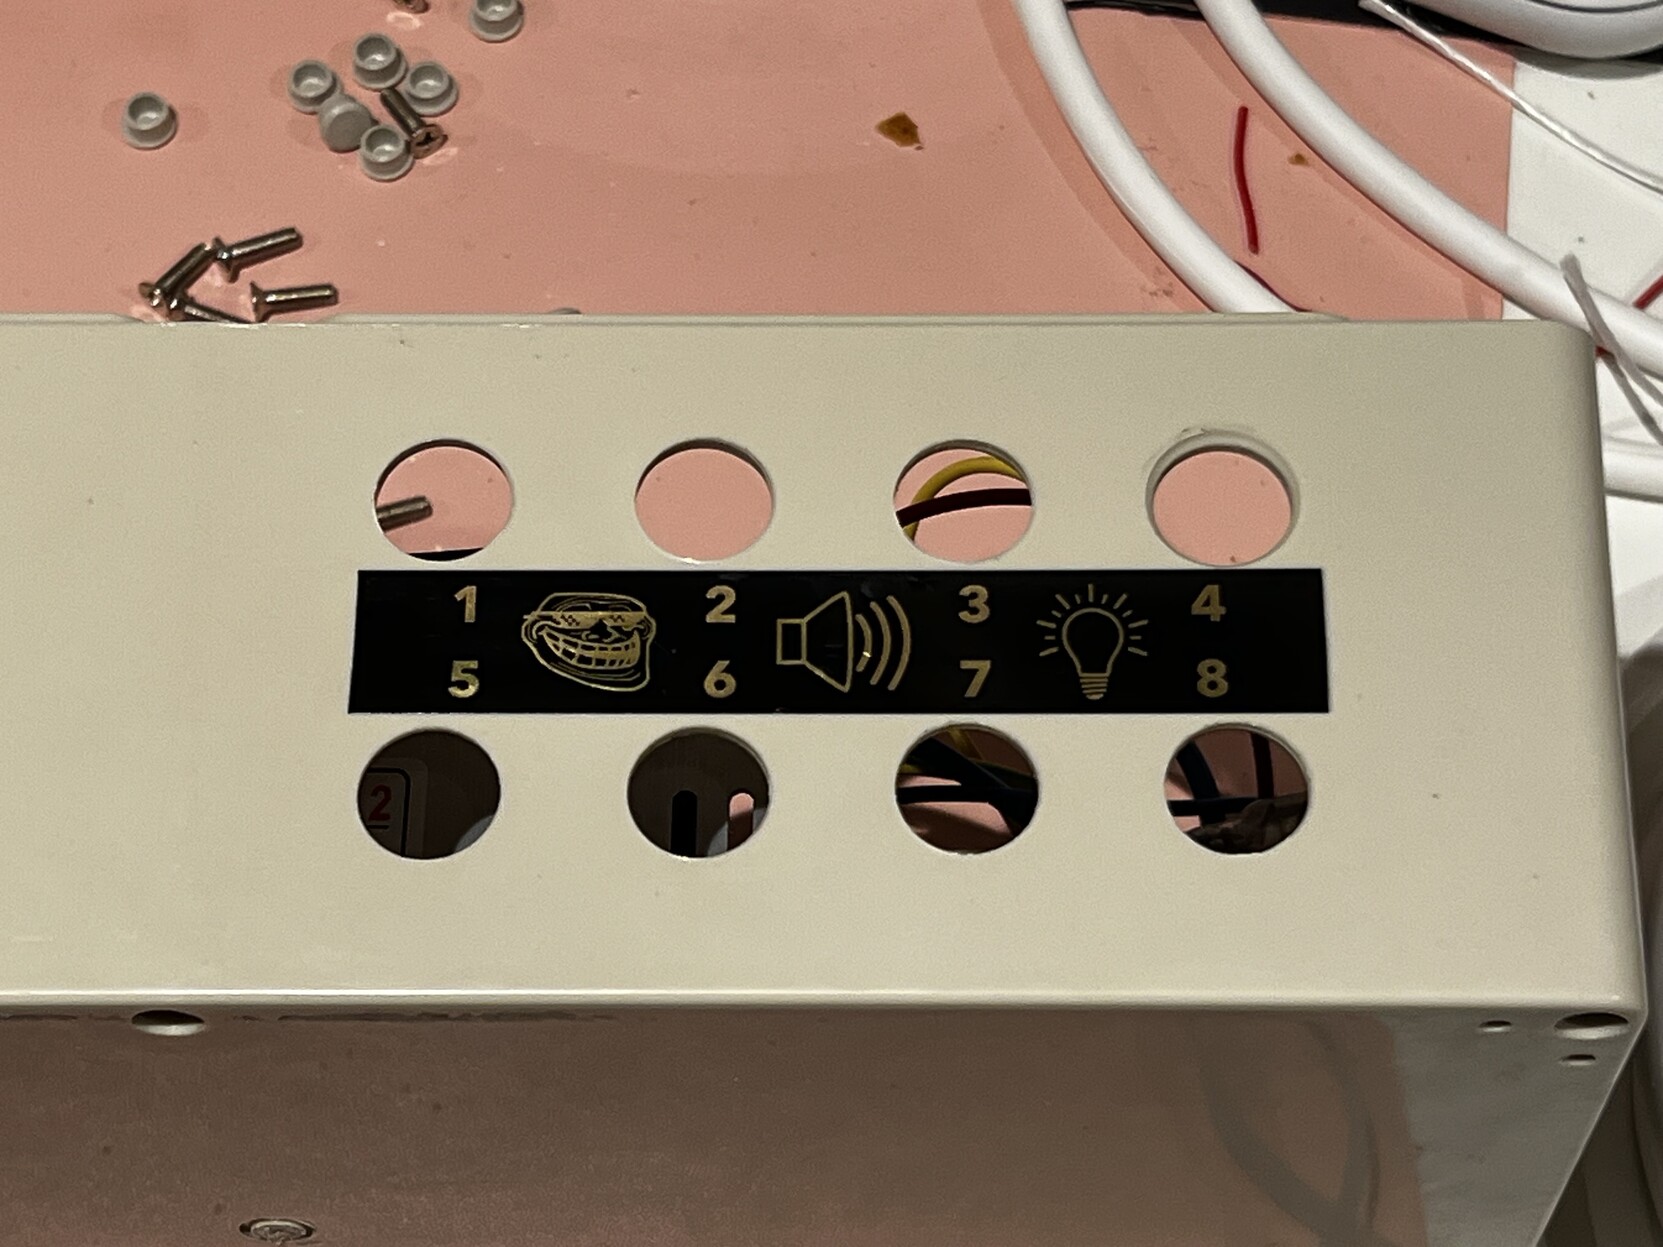
I made up some output port labels for a custom DMX512 box I helped throw together. Had to fill the empty space with something. Will probably replace this with channel numbers since each number corresponds to 3 (RGB) actual channels.
While you don’t quite get the fun backgrounds of thermal printing onto already decorated paper, the matte/gloss finish options, awesome looking metallic (gold on black is definitely my favourite) tapes and, more or less, unlimited label width make a good compromise even if it lacks the Kawaii factor.
You can pick up the Epson LabelWorks LW-C610 for about £100 You’ll probably want something a bit more exciting than the black on white tape that it comes supplied with, though, and I highly recommend any of the metallic options for sheer cool factor.
I have about 40 metres of label to get through, so everything’s a target now!