KBDCraft Israfel – Build & First Impressions
I had been seeing KBDCraft’s boards around the internet, piquing my interest for quite some time. It’s hard not to come across them. When you see a keyboard made out of tiny plastic building blocks you – at least I – tend to take notice. The concept is simple: a LEGO-a-like kit with blocks making up the keyboard enclosure and traditional PCB, plate, switches and caps providing the internals.
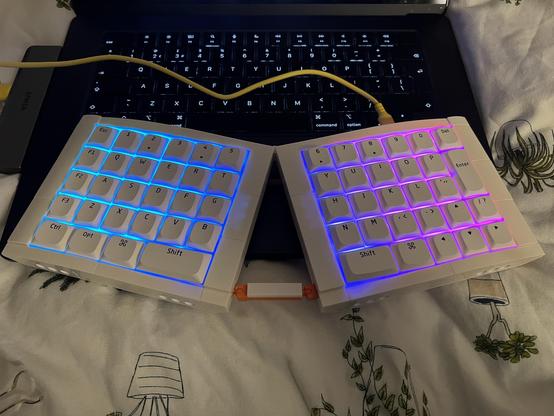
The KBDCraft Israfel… maybe the most fun keyboard I’ve tested yet!
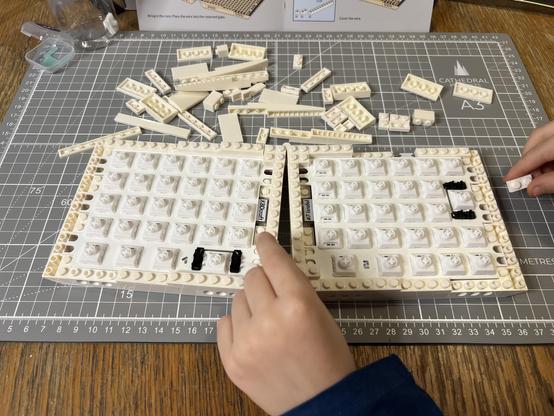
It wasn’t until well into my keyboard rabbit hole, and noticing KBDCraft’s Ergo Split – the Israfel – that I finally reached out to them. KBDCraft were all too happy to oblige and sent me a kit, which I enjoyed building with my five year old and am now very slowly but not very carefully trying to type this review on.
Since the Israfel is two things – a construction kit and a functional, ergonomic split keyboard –
I decided to approach this review a little differently. It will come in two parts. Part 1 – this part – will detail the build, how it feels to put together, how the instructions hold up, and the general quality and experience of the kit. Part 2 – which will come after I’ve spent some time using it – will cover how the Israfel fares as a functional, daily-driver keyboard.
If you don’t want to spoil the experience of building the Israfel then I recommend skipping this review entirely and I’ll give you the TLDR right here: it’s an enjoyable build, but the instructions are a little thin on the ground and there are a few minor tricky spots and quirks. I would recommend some experience with LEGO – though don’t expect anywhere near the same caliber of instructions – and also some experience with keyboards. If you have neither, or either or, then an abundance of patience and a willingness to get lost in the quirks and idiosyncrasies of this very weird board will suffice.
If you’re buying as a gift, or don’t mind seeing the kit and experience laid bare, then read on!
Really feels like you’re getting your money’s worth, many parts! Though some cut corners.
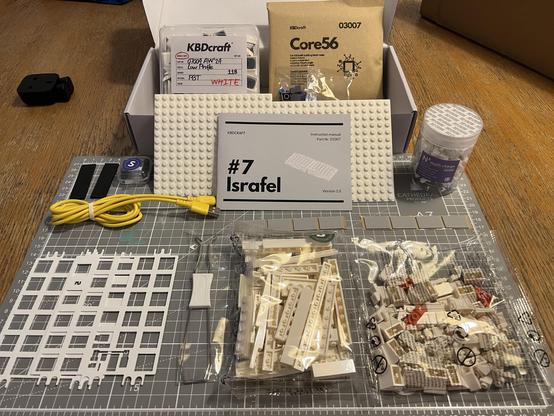
Right out of the box the Israfel feels like phenomenally good value for money. I don’t normally talk much about cost, but this kit falling at the intersection between custom keyboards and construction toys means it draws from two different, often expensive, hobbies. While – let’s not bury the lede, eh – the keyboard side of the kit components are far from the most exuberant of their ilk, the bricks are surprisingly decent and the box feels reassuringly (or scarily, perhaps) full of parts.
You get a full set of low profile switches, an even fuller set of keycaps (not exactly optimised for an ergo split, but they’ll do), two PCBs (with a ribbon to join them), two plates, a fetching yellow USB Type-C to USB A cable and – of course – a whole bunch of bricks.
Stabs, Switches, Plate and PCB
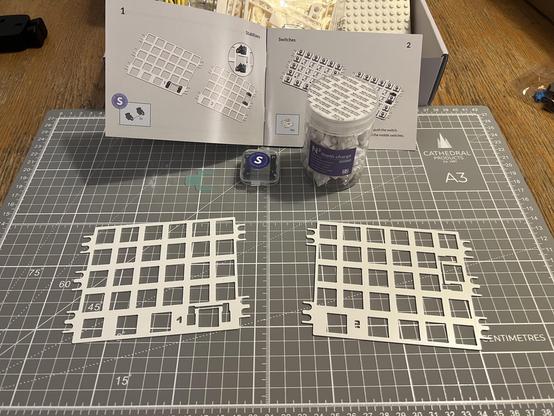
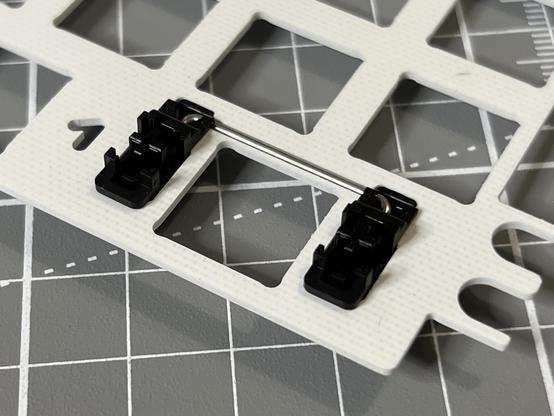
The first step of the build is to pop the two stabalizers – little plastic switch-like thingies joined by a metal bar – into the PCBs. The left spacebar and large 2U enter key (a welcome choice for an ISO user) both need these so they don’t flap about on a single switch.
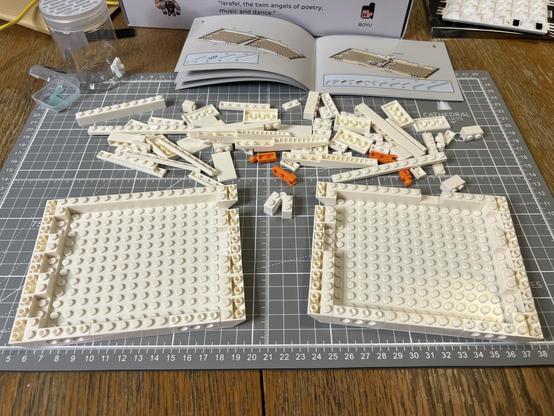
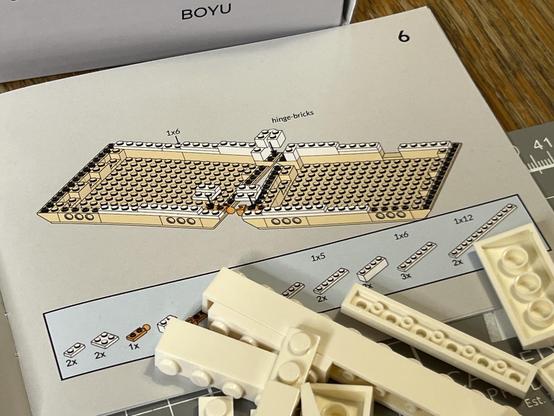
Step one: coming to terms with the terse instruction manual.
I mean: assembling the PCB, plate and switches.
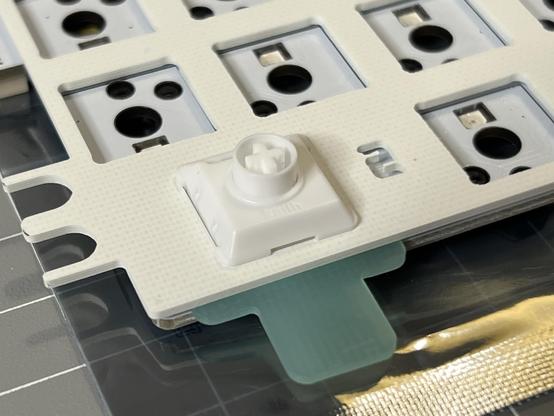
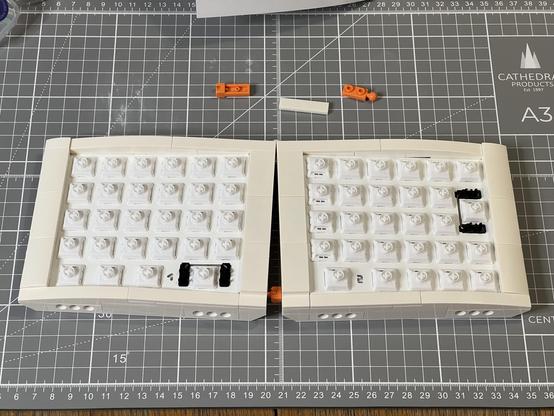
The plate isn’t fixed to the PCB or located in any way so the first switch is dicy. All the edge switches need this little shim so they pop into the plate rather than pushing it down.
The stabalizers are clip-in rather than screw-in which will no doubt raise some hackles among purists but make the build tool-free and pop into place easily.
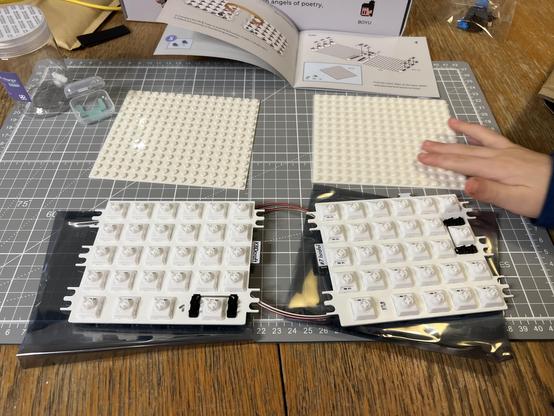
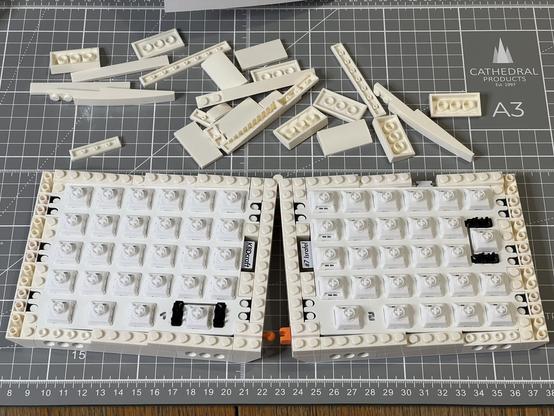
Next up is an awkward dance of aligning the plates to the PCBs and inserting the first switches. There’s a small, intentional air gap between the plate and the PCB in each side. To make sure each switch snaps into the plate rather than pushing it down and closing this gap, there’s a little fork-shaped shim that slips between the PCB and plate and stops them getting squished together. It’s a little awkward aligning PCB, plate, shim and switch for the first switch, but it got easier as I worked around. The instructions suggest doing the outer perimeter of switches first, this gives enough purchase for the plate not to be squished down. I did the corners of the remaining area next, since two adjacent switches would be firmer than one. The process was straight-forward enough that my five year old could help.
As I inserted switches I made a habit of flipping the PCB to check I could see the switch pins in the sockets. I managed to bend the pins on one switch – a worse record than my kids 0 – but thankfully there was one spare switch so I didn’t have to carefully bend them back. A couple of extra spare switches certainly wouldn’t have gone amiss here, though you can grab an extra 16 for just over £4 if you think you’ll need them.
The instructions don’t really break down the switch insertion super well, and leap from inserting the stabalizers to suddenly having the PCBs unpackaged and lined up properly. This will be a running theme throughout the build, and the manual could benefit from having a few more steps to bridge the gaps. There’s nothing wrong with being celebratory about unsealing the little brown bag the PCBs come in.
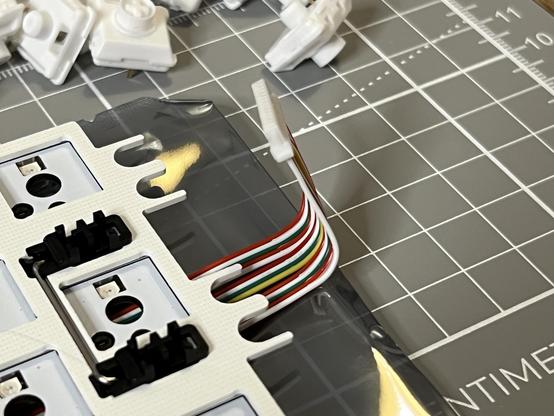
Bit of a kink in the ribbon cable from the packaging but it’ll be fine!
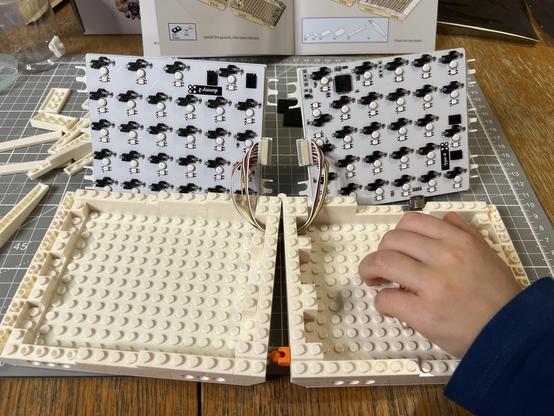
Notably my ribbon cable had a bit of a kink in from being squashed into the little brown bag. It doesn’t seem to have caused any lasting issues, though it was awfully fiddly to plug in.
With the PCBs assembled the next step was…
Testing
Since I had just manually inserted 56 mechanical keyboard switches, and mashed at least one in the process, a little testing was in order. A quick visual inspection behind the board generally shows any egregious flaws- ie: bent pins that aren’t pushed into the sockets at all.
Switches can be flaky, the keyboard PCBs could be faulty or the ribbon cable loose. Testing these is as easy as hooking the keyboard to a computer via the supplied cable. Which I did.
First up, macOS popped up its “Identify This Keyboard” dialog and completely failed to identify the keyboard. I picked ANSI US manually since it was… close?
Since we live in the future now, and have slowly cast off the shackles of aggressively Windows 98 looking, proprietary keyboard configuration apps, actually firing up the software was as easy as launching Chromium (which I keep around for such things), navigating to https://vial.rocks, pairing my keyboard and hitting “Start Vial.”
It’s at this point that I think many first time keyboard builders might get lost in the confusing mayhem of macro binding software. You are given an extremely detailed view which shows the keyboard layout and a dizzying array of options for binding keys, creating tap/hold combos, building macros, changing the backlight and delving into a mess of settings.
For the sake of testing, though, there’s a “Matrix Tester” tab. The Israfel manual wont tell you how to find this, or how to use it, so I will. Switch to “Matrix Tester” and you’ll see a grid of rectangles that resemble your board layout. Press every key on your board, one at a time. Does it light up after a moment? Great, it works. Move on.
Ironically while writing this section I hooked up my Israfel, started the Martrix Tester and tested every key to find my bottom left Ctrl was not functioning. Somehow the pin had been bent- probably from my incessant fiddling with and disassembly of the board while I copied the design into LeoCAD. It took my SMD tweezers and some careful teasing to bend the pin straight- the pin had split/delaminated into two sections (like a butterfly pin) which did not help.
Okay, deep breath. All the switches work. Now it’s time to set the PCBs aside and build…
The Enclosure
The enclosure is built on top of two 16×14 stud baseplates. These are not, as far as I know, a standard LEGO size, nor one that’s easily achievable by combining standard sizes. If you wanted to do an on-brand colour swap you’d need to cut down 16×16 baseplates or build something from two 6×14 and two 2×14 plates (6×16 and 8×16 would run horizontally and make for a weaker build). Sourcing the parts for this from BrickLink is quite a feat, anyway, and finding all the bricks in a matching colour and condition is basically impossible. Is there a better way to do this?
Time for the bricks!
Nonetheless I will endeavour to supply LEGO part numbers where possible, since it’ll help you find replacement parts or modifications if you want to!
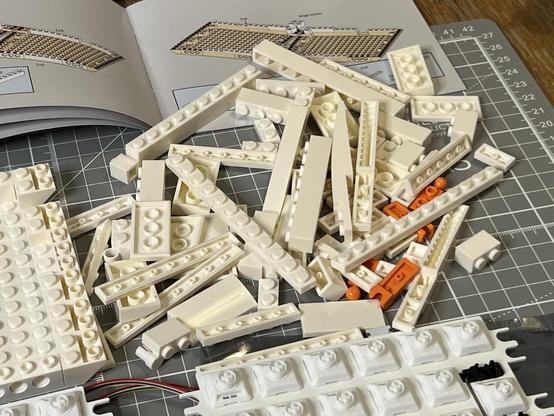
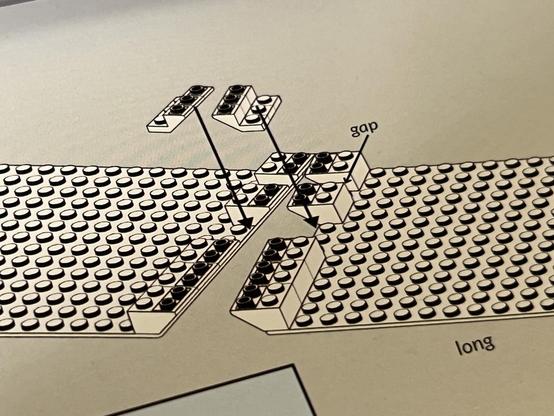
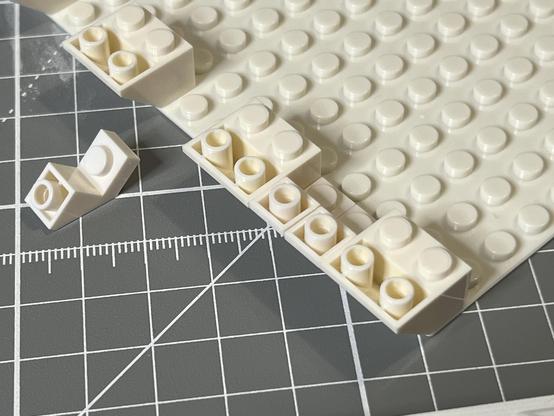
The manual launches straight into peppering the base plate with 2×2 inverted slopes (3660) and 1×2 inverted slopes with cutouts (2310). I had to pay careful attention to how many of what went where because there were no step-by-step instructions, rather a copy-this-picture style of build. There are annotations for the trickier bits, and a little one stud gap marked “gap” where the ribbon cable connecting both sides of the keyboard passes through.
Time to make the board match the instructions!
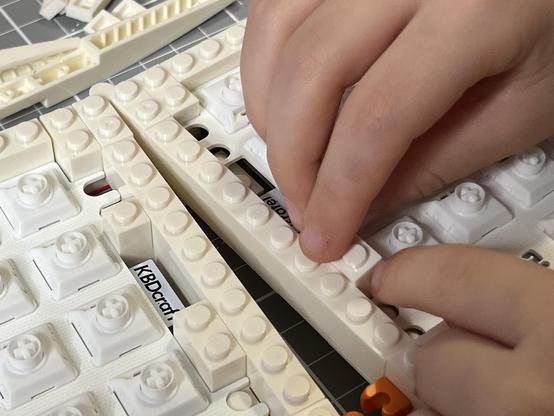
With the first layer down, some bricks build up the sides of the enclosure and the connection for the wrist-rest. These include 1×8 (3008), 1×6 (3009), 1×4 (3010) and that classic studded Technic 1×4 (3701). A little 1×2 flat tile (3069) tidies up the hole for the USB Type-C port. This layer was pretty easy, since everything is big and bold.
Build intensifies!
Next comes the hinge (3830 / 3831) which provides an adjustable angle between the halves. It doesn’t facilitate tenting or tilt, which could be a fun mod to do. Next comes a layer of 1×2, 1×4 (3710), 1×5 (78329), 1×6 (3666) and 1×12 (60479) plates which start to build up the tenting (the horizontal tilt from the middle of the keyboard out to the edges). A little ball and socket fit into the front edge (22890 and 14418) which serve to fix the keyboard angle. These aren’t integrated super well into the build, but are easy enough to identify and place.
Got some more help 🤣
At this point the instructions get a little contentious. The PCBs for each half are supposed to be inserted and set to one side while the gaskets are assembled and put into place. The ribbon cable is just a little short and inflexible to make this easy, though, so I’d highly recommend skipping ahead to the gasket installation (page 9 of the PDF) and then hopping back to install the PCBs and “cover the wire” (page 8.)
With the PCBs already in place and captive via the ribbon cable we suddenly had to lift them up to install gaskets. This was - by far - the step where it went most awry 🤣
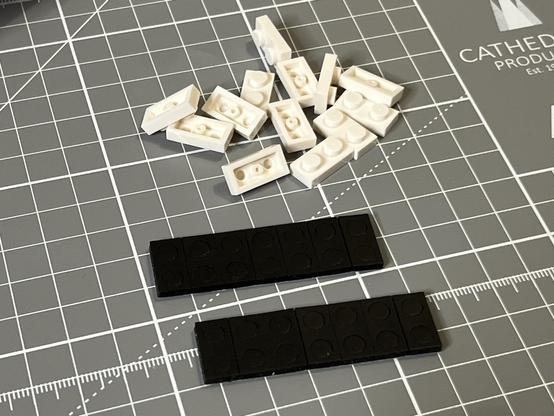
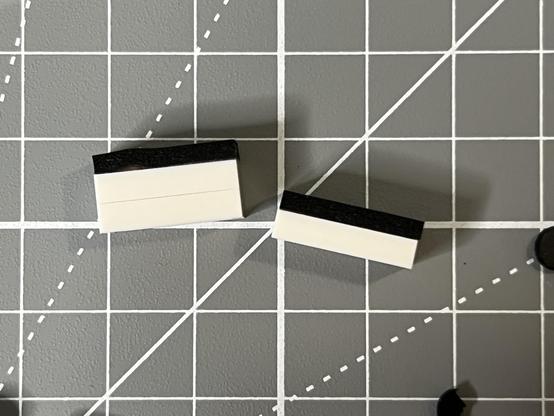
The gaskets themselves were perhaps the trickiest part of the build. It involves a mix of peeling foam gaskets off backing paper and carefully poking out the precut holes for the studs, and of connecting 1×2 plates together (infamously a pain to get apart.) I charged into this step with misplaced gusto and confidence, stacking 2×1 plates that didn’t need to be stacked. They were not fun to pry apart. The outer gaskets are placed on a single plate, and the inner ones a stack of two- this helps achieve the tenting tilt mentioned earlier.
In order to get the “tenting” style tilt integrated into the board, the gaskets are set on either one or two 1x2 plates.
I accidentally connected plates together that I shouldn’t have, and it was not fun getting them apart again!
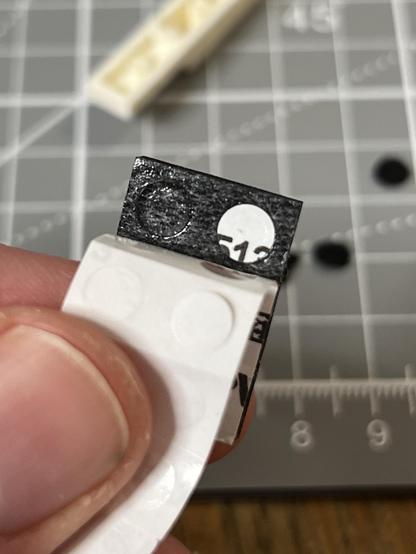
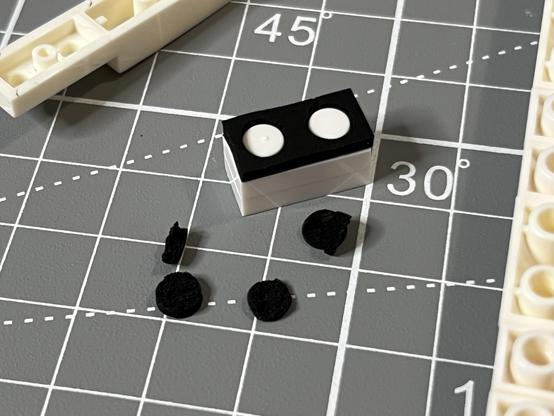
Peeling the holes out of the sticky foam pads was tricky too- works better done from the sticky side.
The foam gaskets themselves were tricky at first. I tried peeling the stud holes from the non-sticky side and ended up peeling little scraps of foam off and making a mess. I worked out that peeling from the sticky side was – counterintuitively – the easier way. I’m not really sure the PCB needed cutting to align to the studs, or the gaskets needed these holes at all, but it definitely keeps the build interesting, ha.
Once the gaskets were installed the PCBs could be snugly seated back into the bottom shell. They fit well and have a nice spring to them. Not half bad for a board built from plastic bricks.
With the gaskets in place and the PCBs resting on top of them, it’s straight sailing for the smooth top tiles and curved bricks to make up the contour of the Israfel. This includes some fun parts like Slope Brick Curved 1×8 with Plate 1×2 (85970), and Slope Brick Curved (88930). There’s a slightly jaunty finish to the outer edge, using a 2×1 Slope Brick Curved (17134) to fill in the gap. The rest is standard flat tiles: 1×2 (3069) makes another appearance, alongside 2×4 (87079) for the inside top edges of the board and 1×8 (4162) to fill out the front and back edges.
With the finishing bricks installed on top it really takes shape. The adjustable angle hinge is kinda cool and despite some subpar build choices it seems solid enough. An extra clippy thing allows the board to be fixed at a choice of angles.
The final build step is to install…
The Keycaps
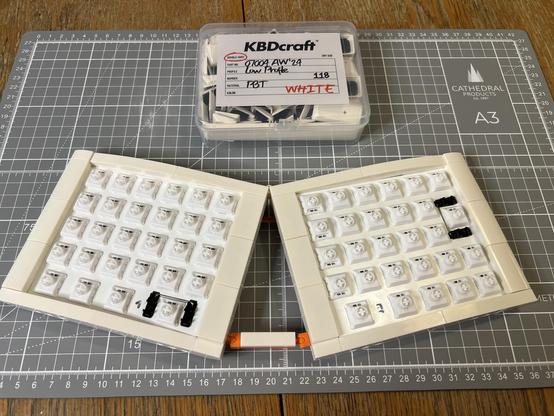
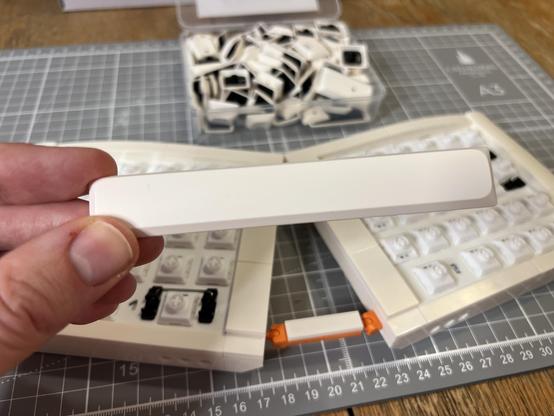
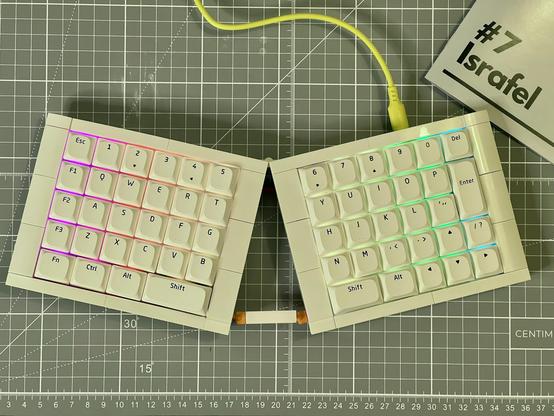
It’s clear that pennies were pinched with the keycaps for the Israfel. You get a full set of 118 ANSI keys, enough to kit out a full sized board and not super well suited to the Israfel’s split, ortho layout and dependence upon function keys.
Out with the keycaps. They are… adequate… they are a generous 118 key set including a bunch of caps you won’t need - like a 6.5u spacebar - and missing ones more suitable to this ortho split.
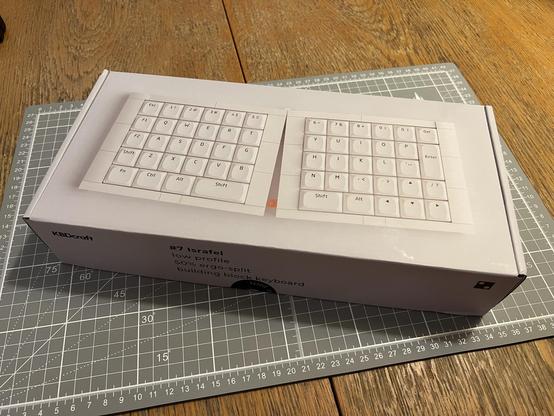
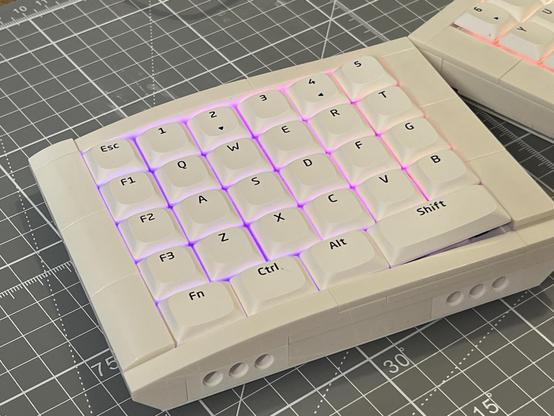
I would have preferred fewer keycaps more specifically targeted for this form factor, since shift keys are serving double duty as a split spacebar and there’s no 1u shift (despite one being depicted on the box?)
The finished board. The caps really let it down, but there’s barely enough wiggle room in the price for anything nice so I can forgive this generic set (No 1u shift as depicted on the box? 🥲).
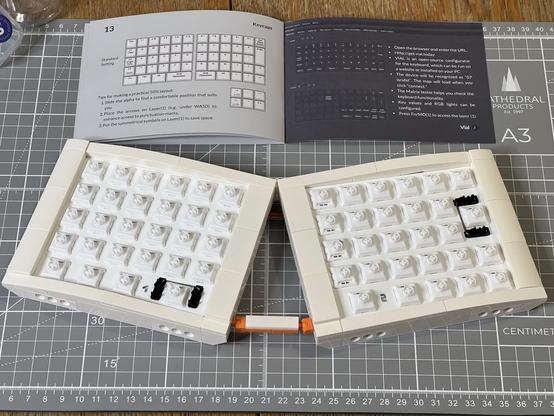
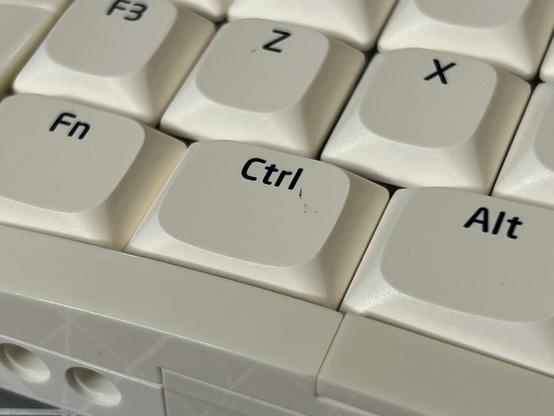
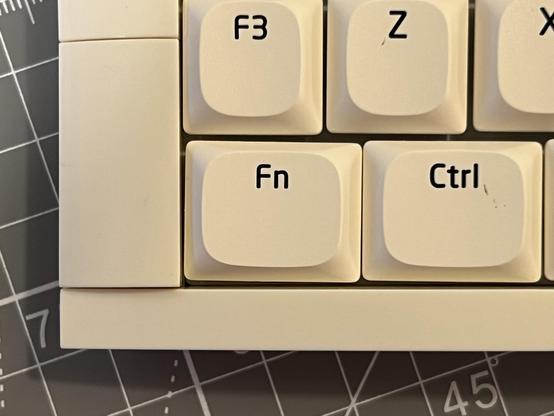
More fatally there’s something up with the clearance between Fn and Ctrl on the left-hand side…
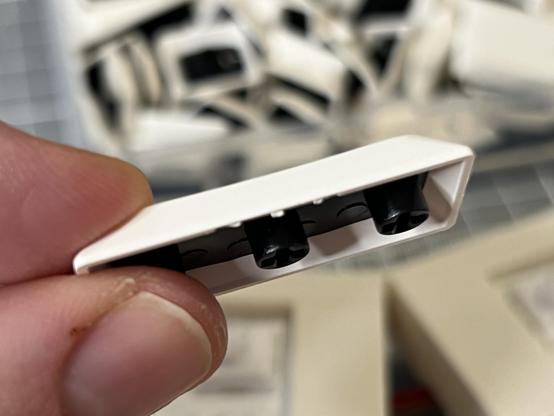
In addition to this, some of my caps were marked on the top with black marks that I couldn’t remove. Definitely cost optimised. Nonetheless I found a macOS compatible layout I was happy with.
Swapped out the keycaps for a macOS style layout, fixed the spacing slightly and got rid of some of the market caps. Lots of fun to tinker with!
Keycaps are, of course, the most replaceable part of a keyboard but it should be noted that the Israfel uses low profile switches and will need low profile caps. I’ve had some success with KAM caps on low profile switches, however, and am interested to try some PBS. The slightly weird choice of 2.25u and 1.75u caps for the split spacebar might limit option if you’re looking at split/ortho sets but Keychron do stock some low profile kits that should work and no doubt similar offerings – Nuphy springs to mind – might also be a good fit.
Now it’s time to play with…
The Software
Harking back to the elephant in the room, the Israfel’s quirky, not completely ortholinear layout absolutely requires some out of the box tweaks for your own specific requirements. How deep you go into chorded-style layer setups, and how much you use tap/hold combos is really a personal preference. You might want the ostensibly Shift keys to be actual shift keys with hold for shift and tap for space, but this might require some effort retraining an errant left pinky finger. You will almost certainly want to add some keys relevant to your workflow into layers 1 and 2 (layer 0 being the default) and if you’re a macOS user – like me – you will need to re-arrange the modifier keys into Ctrl, Option, Command so you can copy and paste from muscle memory.
In my case I hopped onto Layer 1 and added ~ onto Esc and then later found a dedicated ~ macro to make it easier to type. I also copied LShift, LCtrl, LAlt and LGui onto the other layers and populated Layer 2 with Function keys, adding ` onto Esc since I use that everywhere.
It’s at this point that I asked myself how often I use Esc really and outright replaced it with ~`, moving Esc to Layers 1 and 2 for good measure.
This stream of consciousness, I feel, perfectly captures just how much scope there is for experimentation and improvement for your own custom layout. This runs in parallel with learning to type on a split keyboard, and really highlights why I think the ideal Israfel recipient would have to be predisposed toward this sort of adventure.
In Conclusion
The Israfel kit was a fun and rewarding build that resulted in something that’s potentially practical and usable rather than a doomed to be dusty showpiece. I certainly haven’t had this much fun with a keyboard in a while. You could almost certainly do better with a more conventional split keyboard kit, but I don’t think it would be half as much fun, nor half as accessible for customisations. While 3D printing is the default go to for custom builds, LEGO-like bricks make a great alternative.
Overall possibly the most fun I’ve had with a mechanical keyboard yet!
The downside of bricks is a lack of structural integrity. So far I’ve been toting mine upstairs and down, holding it by one side and having no major issues with it coming apart. It’s light enough that the small hinge at the back will take the weight. The PCBs fit snugly and there’s a gentle tenting tilt toward the outer edges. Above all else, though, it really looks fantastic. Some aspects of the build bug me and I’ve already ordered parts to try and tweak it. I guess we’ll see how that turns out.
This keyboard kit very much feels like gift-fodder rather than something you might buy for yourself, and I can unequivocally say I would have appreciated one as a gift. I guess in a way I have, albeit I’ve had to pay for it with all this writing! … good grief that’s a lot of writing! Nonetheless the Israfel is aggressively priced, if a little low quality in places, and good fun. You can pick it up for around £60 from KBDCraft’s own store.
As some final bugbears, which I should maybe save for my using-the-Israfel review but will include in case I don’t get around to it- the rubber feet are a bit naff, and there are no locating detents so if you’re a perfectionist you’ll be lining them up meticulously by eye.
There’s a switch/keycap puller in the box, but the caps fit so snugly that they almost always pull a switch out with them.
The 1U Shift key depicted on the box does not seem to exist in the keycap set. The lack of blank 2.25 and 1.75U keys for spacebars bugs me too. I like a clean layout.
The kit comes with a 118 key 100% ANSI keycap set, and they are not great quality. Fewer, better quality caps designed for this board would have been nicer but no doubt more expensive. Once again I am tempted to get some PBS caps.
It is, let’s face it, quite difficult to suddenly type on an ortho split, and weird to go back to regular keyboard layouts.
Okay I think that’s all I have to say. If you want to mess with the Israfel design you can use LeoCAD with the LDraw parts library and grab the LeoCAD file of the Israfel that I threw together. I uh, may have ordered a few bricks to have a go tweaking mine!
