Epomaker HE68 Lite Hall-effect Keyboard Reviewed
Try as I might, I can’t resist the allure of Epomaker’s boards. A handful of especially compact and keenly priced boards recently made their way to me. Courtesy of Epomaker, of course, who seem unfettered by some of my harsher reviews and critiques.
In this fresh and tasty batch is the HE 68 Lite, a cheap as chips (though that’s not saying much these days) plastic hall-effect board that delivers a lot of bang for your buck.
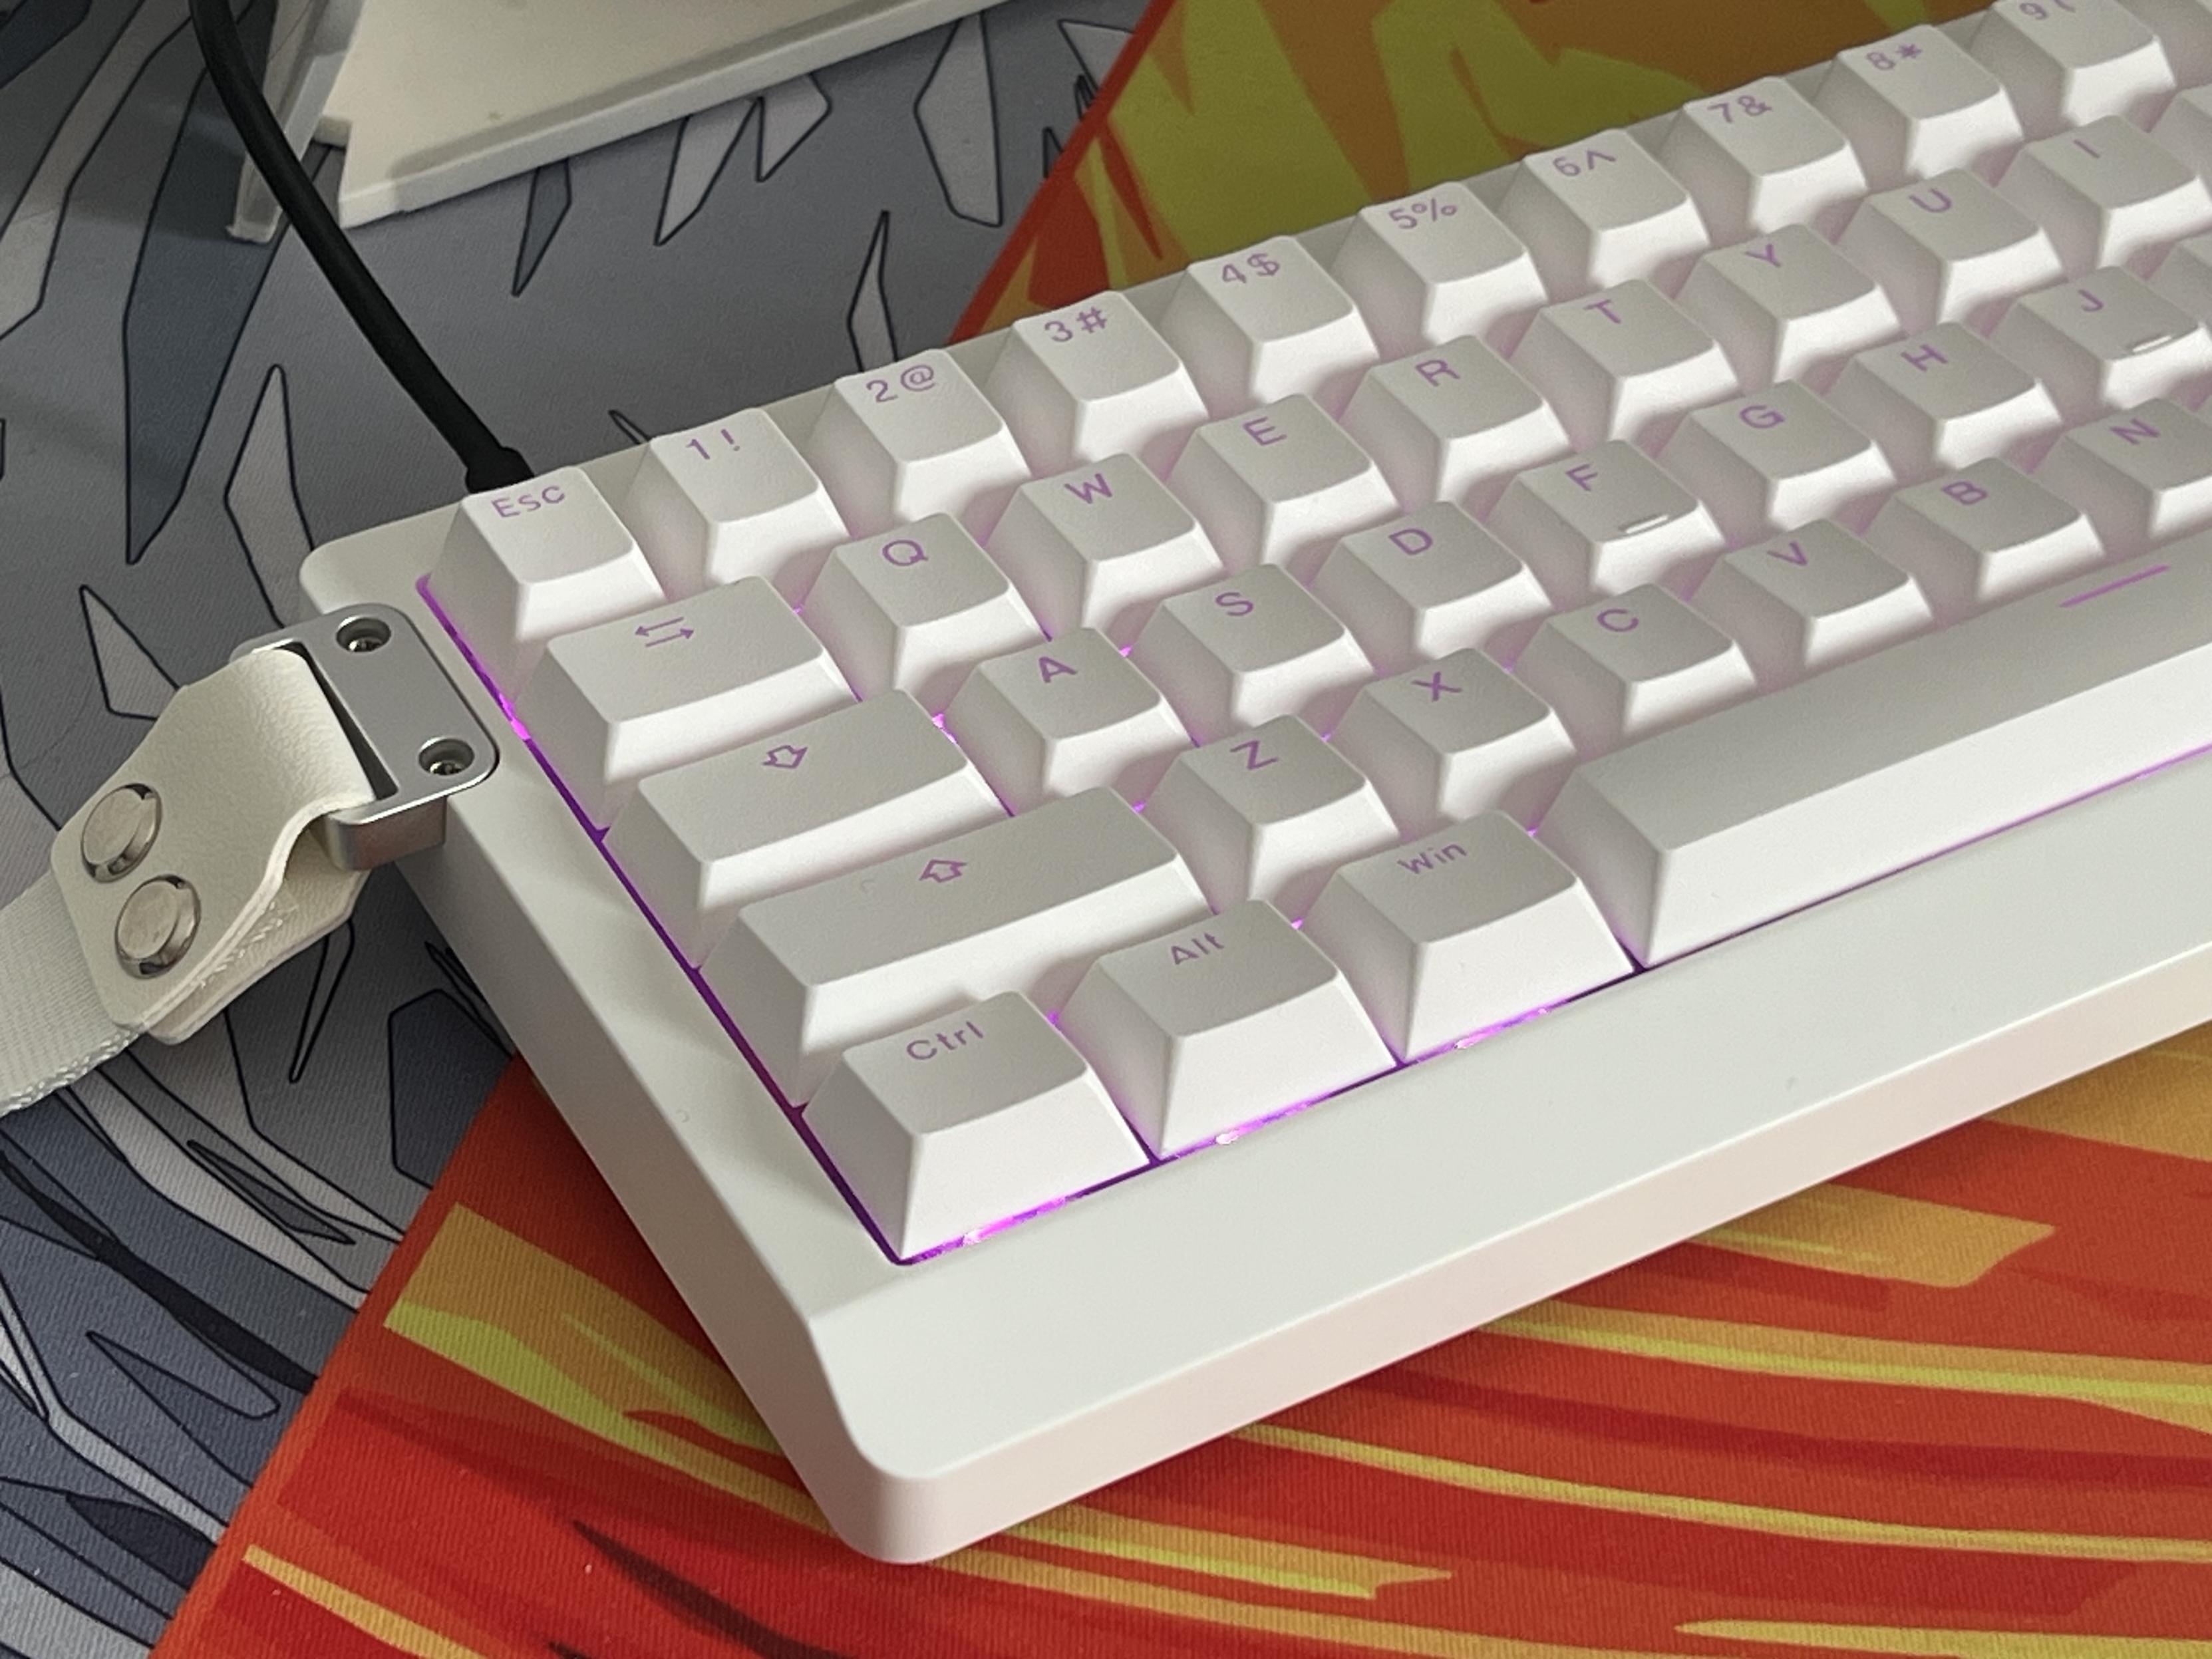
The HE68 Lite from Epomaker is cheap, plastic but surprisingly good!
Don’t expect the heft of an aluminium shell here, the 68 HE Lite (clue’s in the name, I guess) Is built down to a price. You still get a bundled screwdriver and fixings to install the decorative (and functional, to be fair) strap, a couple of spare switches (which is more than I can say for more expensive boards AHEM), and a nice braided USB Type-C cable. You also, of course, get a full complement of hall-effect switches and desktop software (there’s a mac version, yay) to customise actuation depth along with the usual complement of fancy HE features.
I’m going to admit right up front that I don’t do much gaming on my mac. In fact it’s fair to say I do roughly zero gaming on my mac, with a very brief stint in Hello Kitty Island Adventure not exactly counting as gaming keyboard testing material. I like HE because it feels good, works well and lets me tune the actuation depth of its (invariably) linear switches high enough that I can type with a soft tough and get that mechanical keyboard feel in the evenings without rattling everyone’s ears
Despite its low price and plastic construction the HE68 Lite seems to deliver the experience in spades. It is, therefore, hard not to recommend it, even if you’re just going to be programming, writing or otherwise doing not-gaming things. Hall-effect – the use of a magnetic presence detector in the PCB under each switch, rather than an electromechanical contact – is great just for the basics.
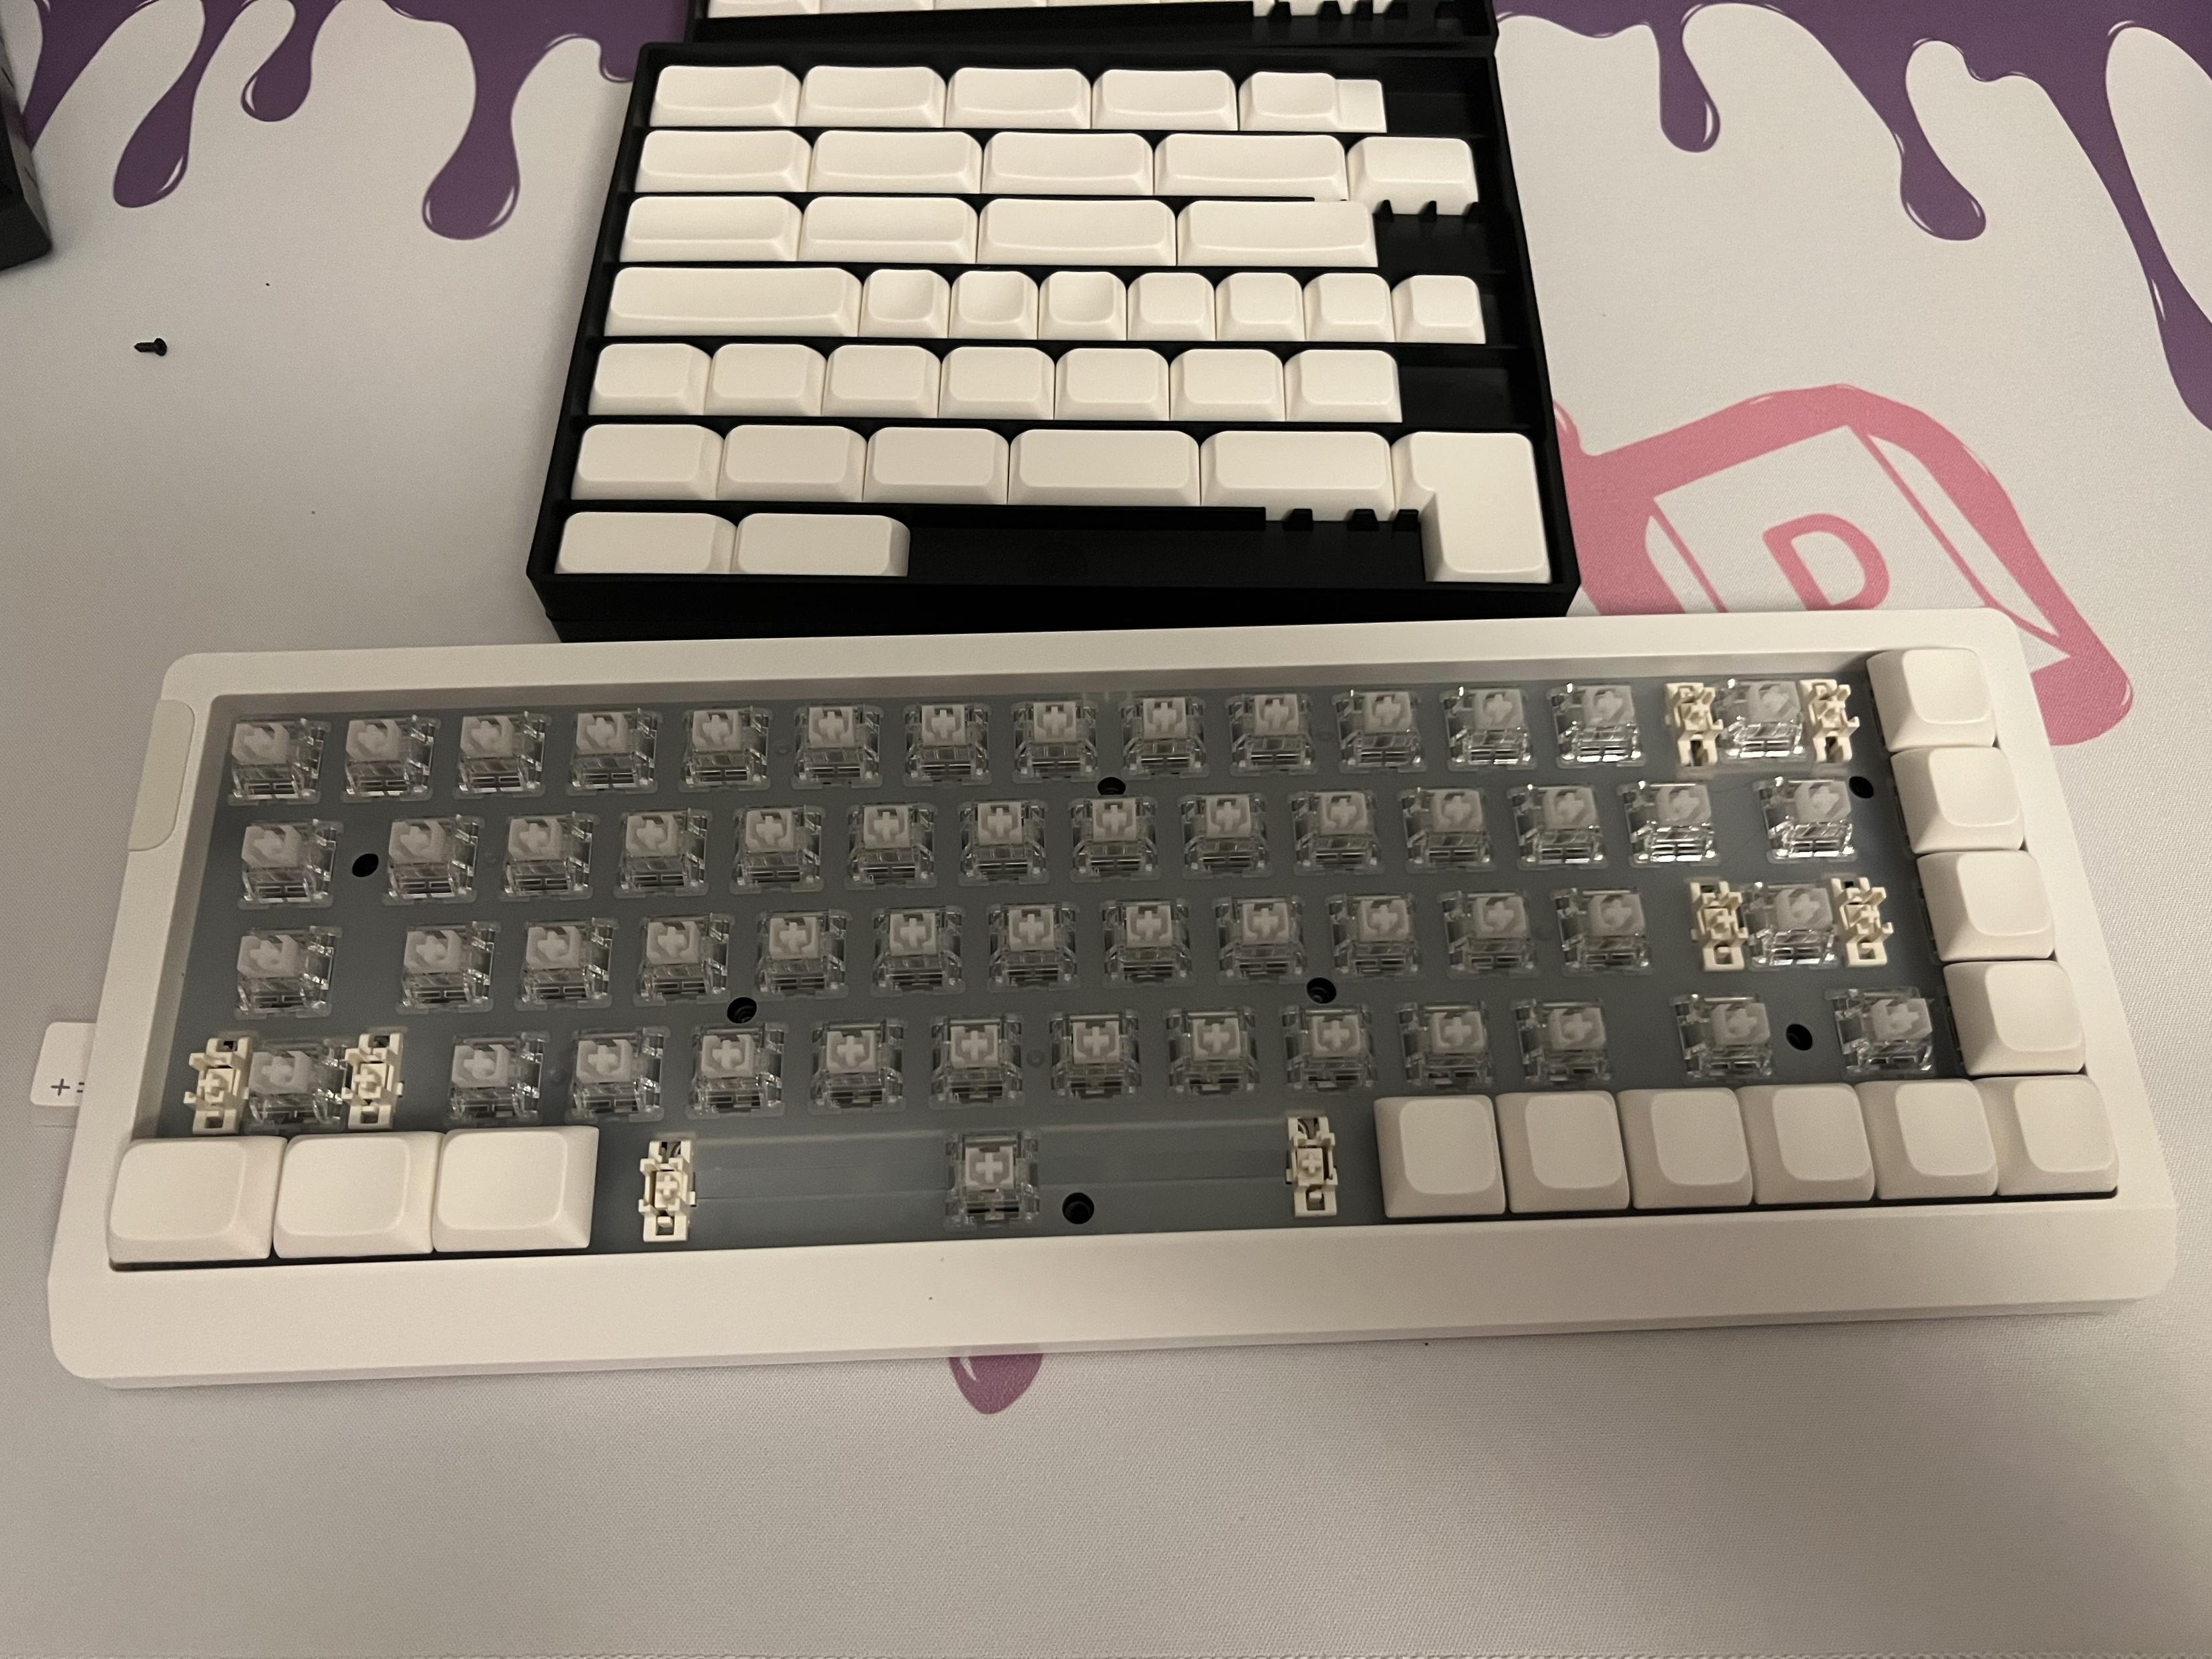
Build
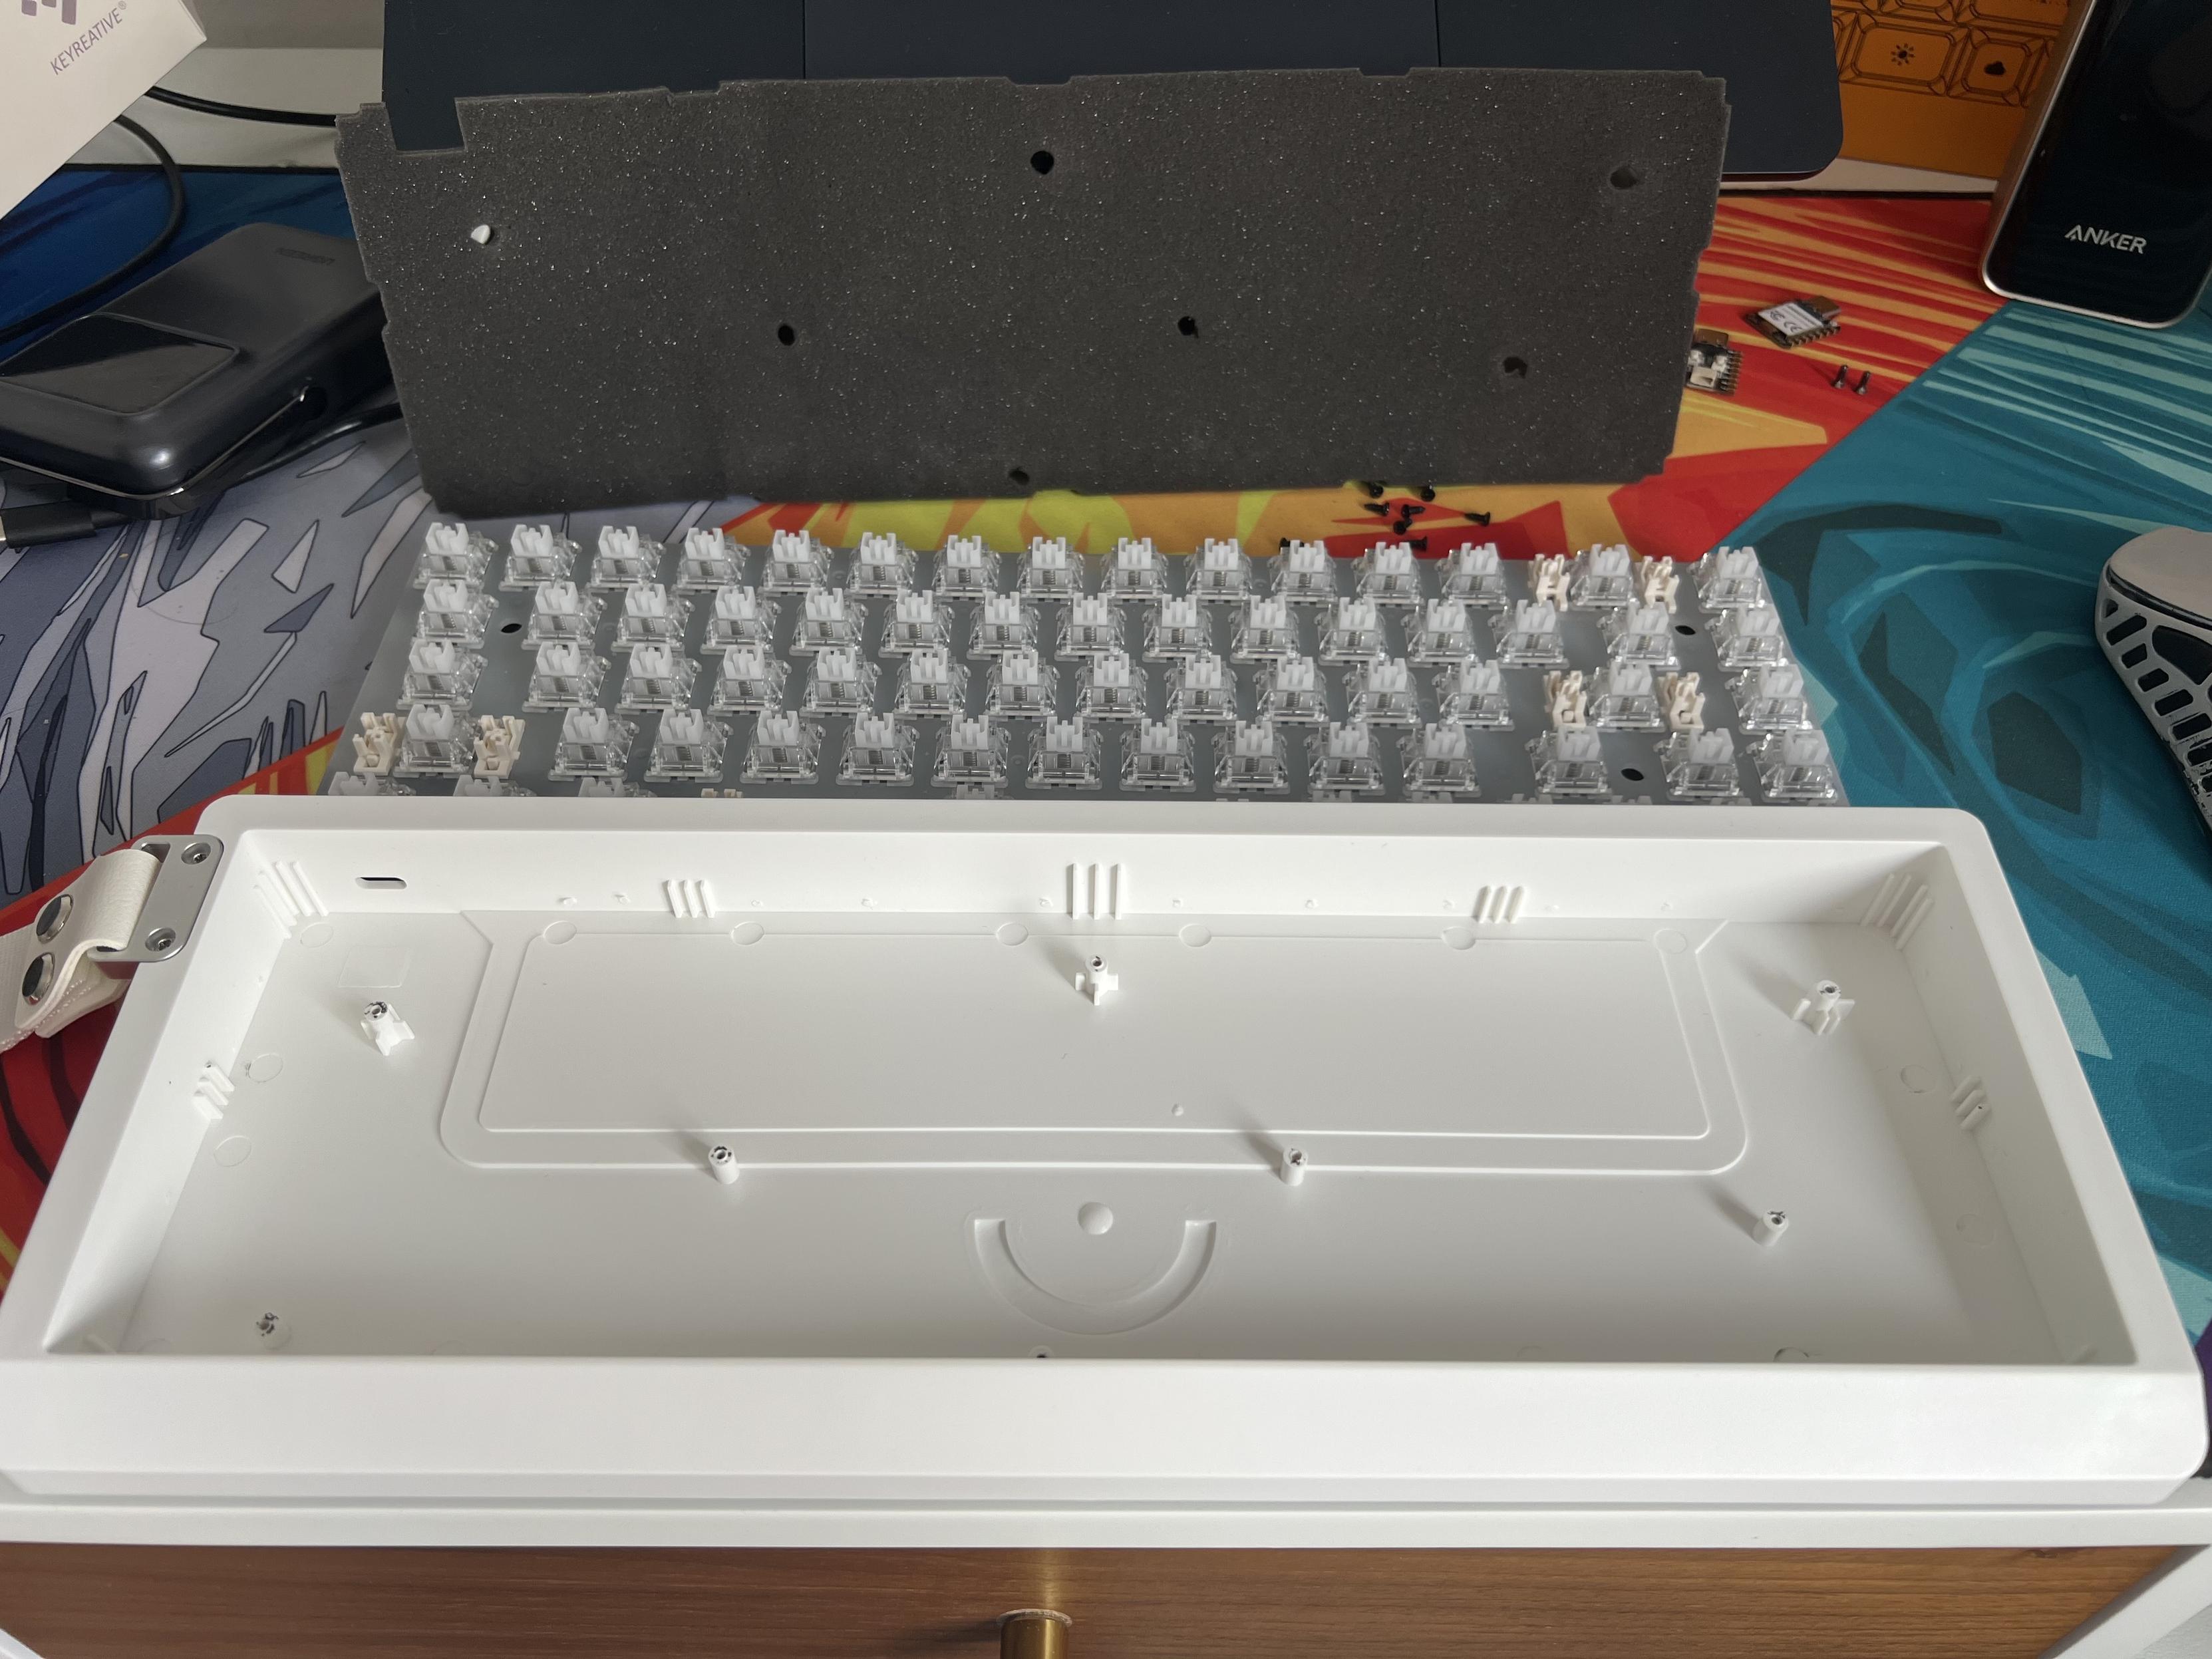
HE68 Lite comes as a one-piece plastic outer shell with a drop-in tray mount PCB and plate assembly, secured with eight screws right into the raw plastic screw posts underneath (nasssty). Removing the PCB is easy enough, but since there’s no battery and the USB port is attached directly to the PCB itself there is very little to find inside. A basic foam damping layer sits in the bottom of the case, followed by a higher density foam stuck to the back of the PCB. It’s a clacky keyboard but that’s no bad thing. If you’re planning to pull this board apart for damping modifications then be careful when re-tightening the screws, let them find their thread. You also don’t need to tighten them fully, or even replace them all… I just used two when I put this board back together and it’s fine. I wish I could remember which two though…
Now much to this board, screwed on from the top onto raw plastic risers. Cheap but cheerful.
The base is fixed at one angle, with no fold out feet and simply rubber pads on the bottom. It would certainly not be difficult to modify with taller feet if you want to angle it slightly more, but it wouldn’t have hurt to have flip out feet- since it’s already plastic. It should be noted that angle adjustment isn’t super common and I could maybe count on one hand the number of mechanical keyboards I’ve tested with it, but if a board is going to be plastic then… c’mon, why not?
There’s surprisingly little flex to the board, even with all but two of the PCB screws removed I can’t bend it across its length, and it barely twists. It’s solid, even if it’s not hefty. This may be down to its design. The main body of the board is smaller than it would appear from above, but the case extends outwards with a hollow rim that – in effect – means the board has two, thick outer edges affording it some extra rigidity. It gives the look of a thick aluminium board, but also a little dash of strength too.
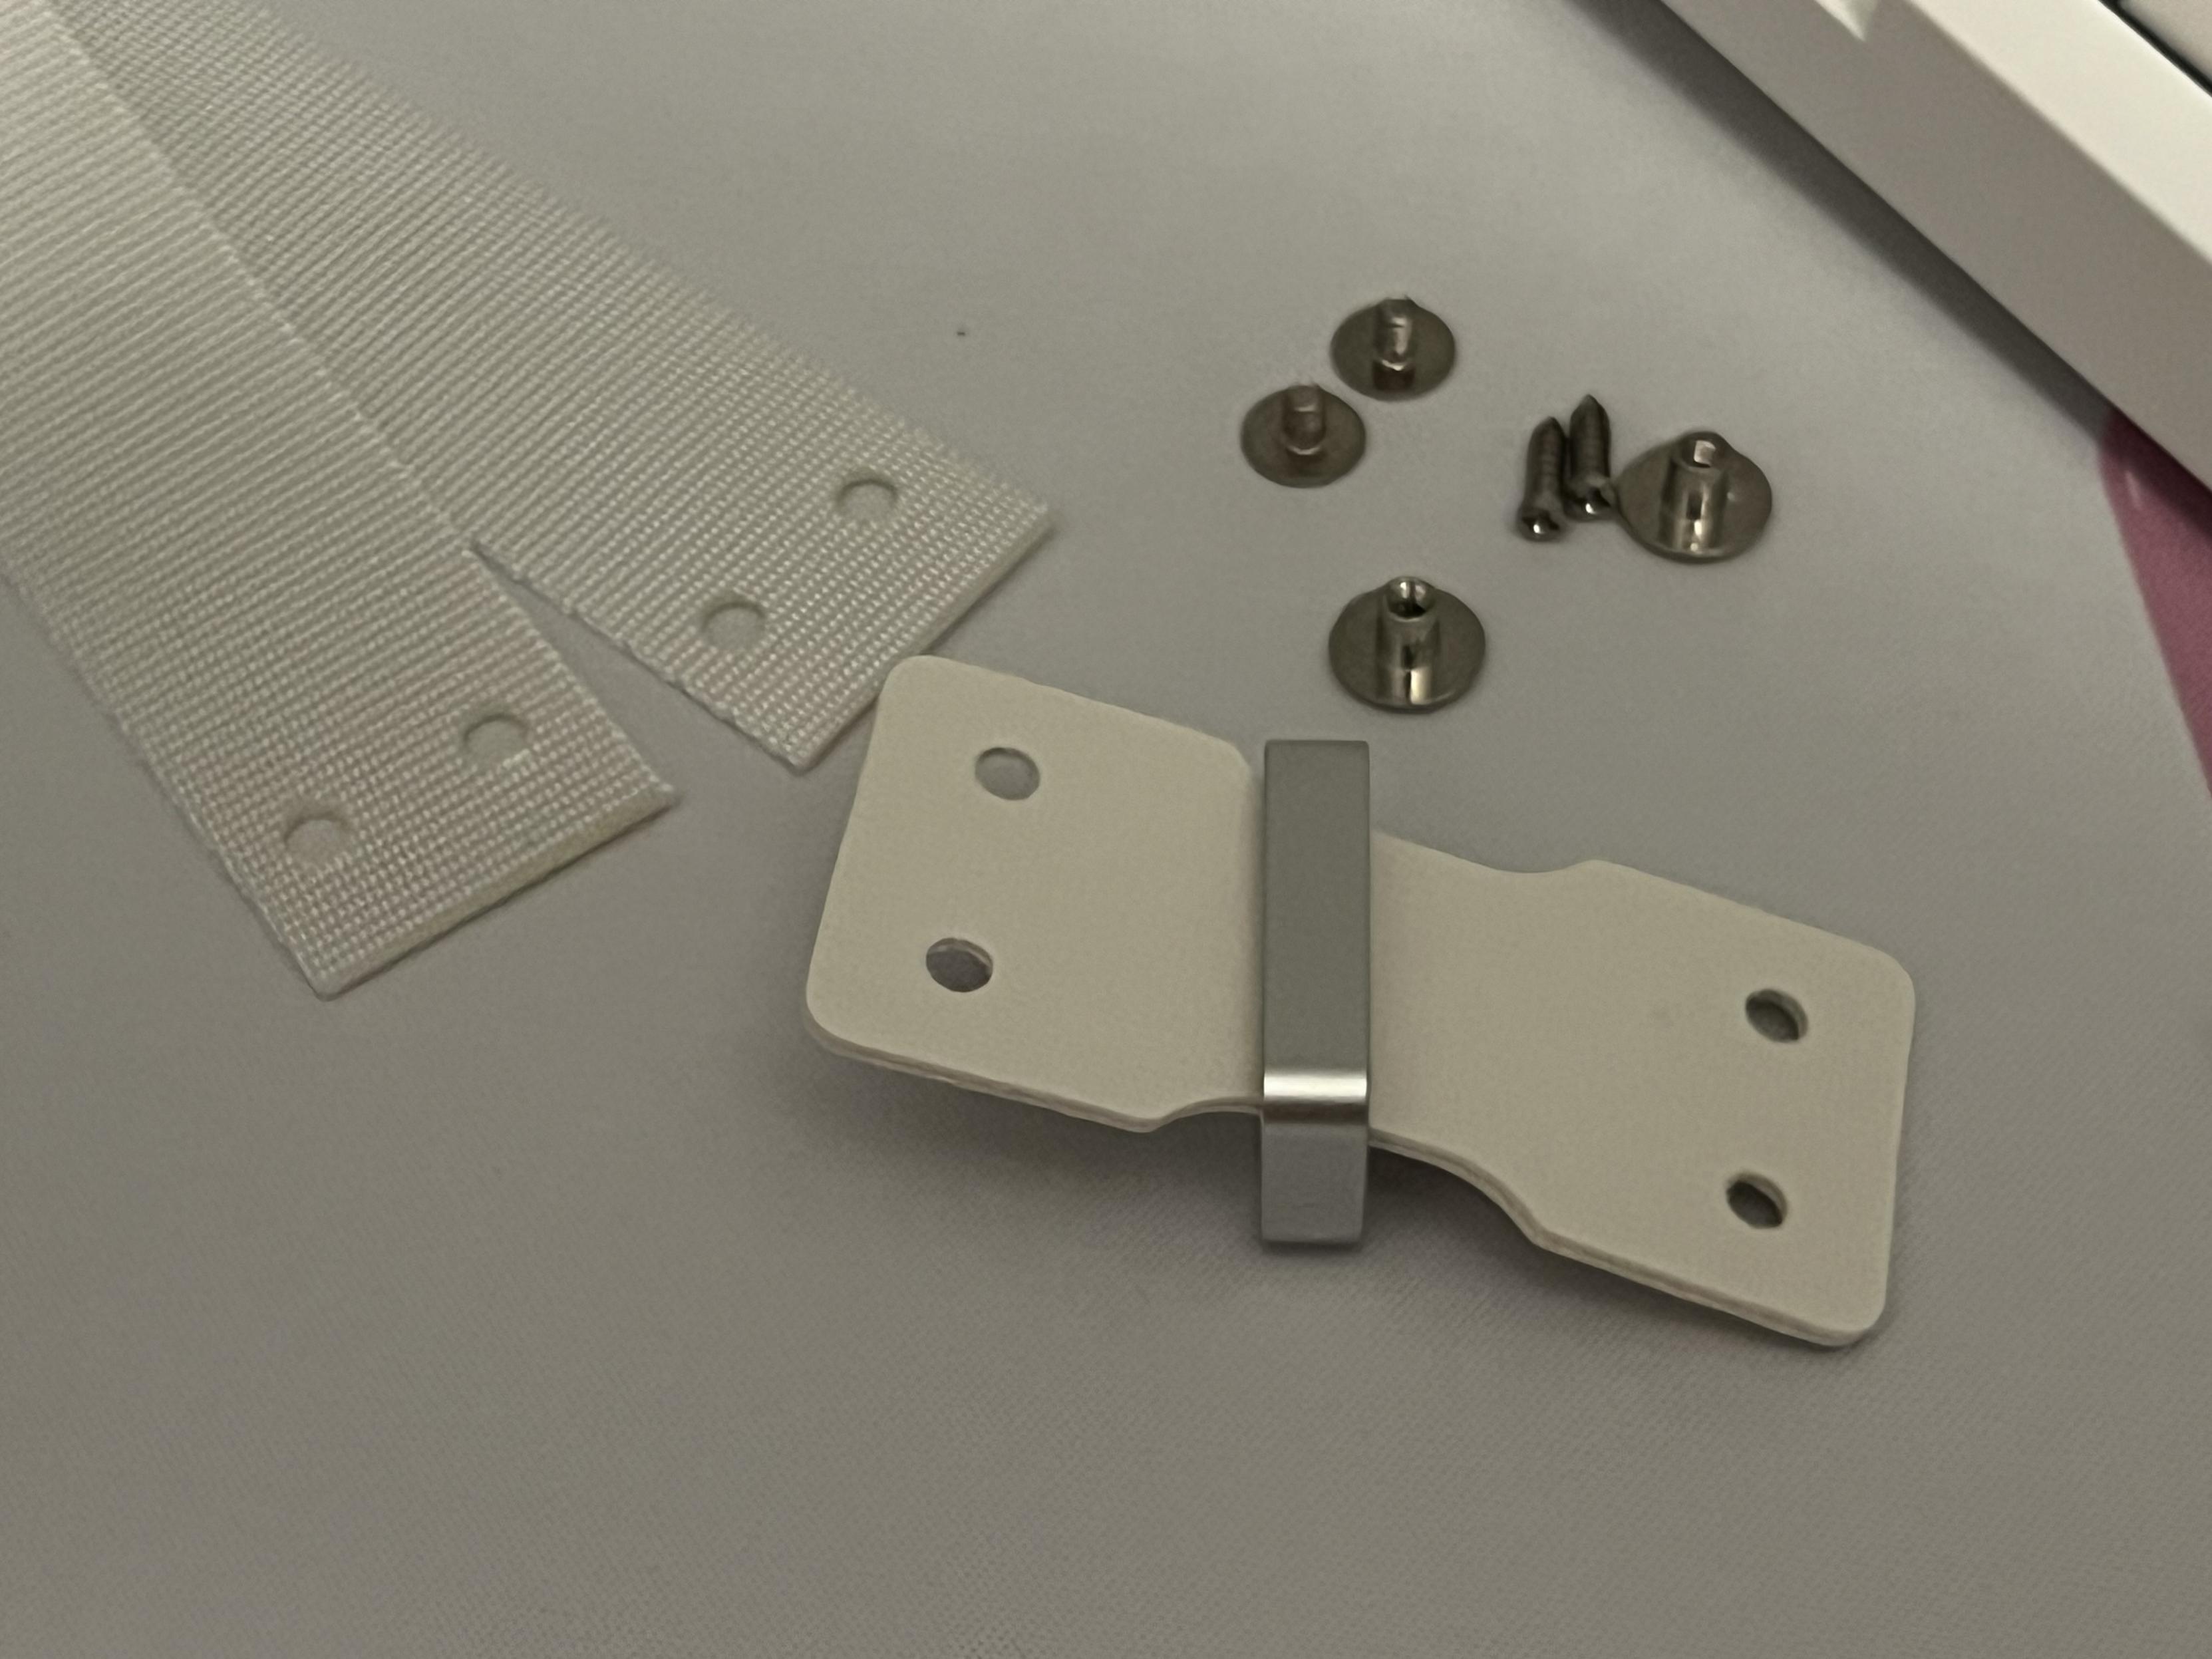
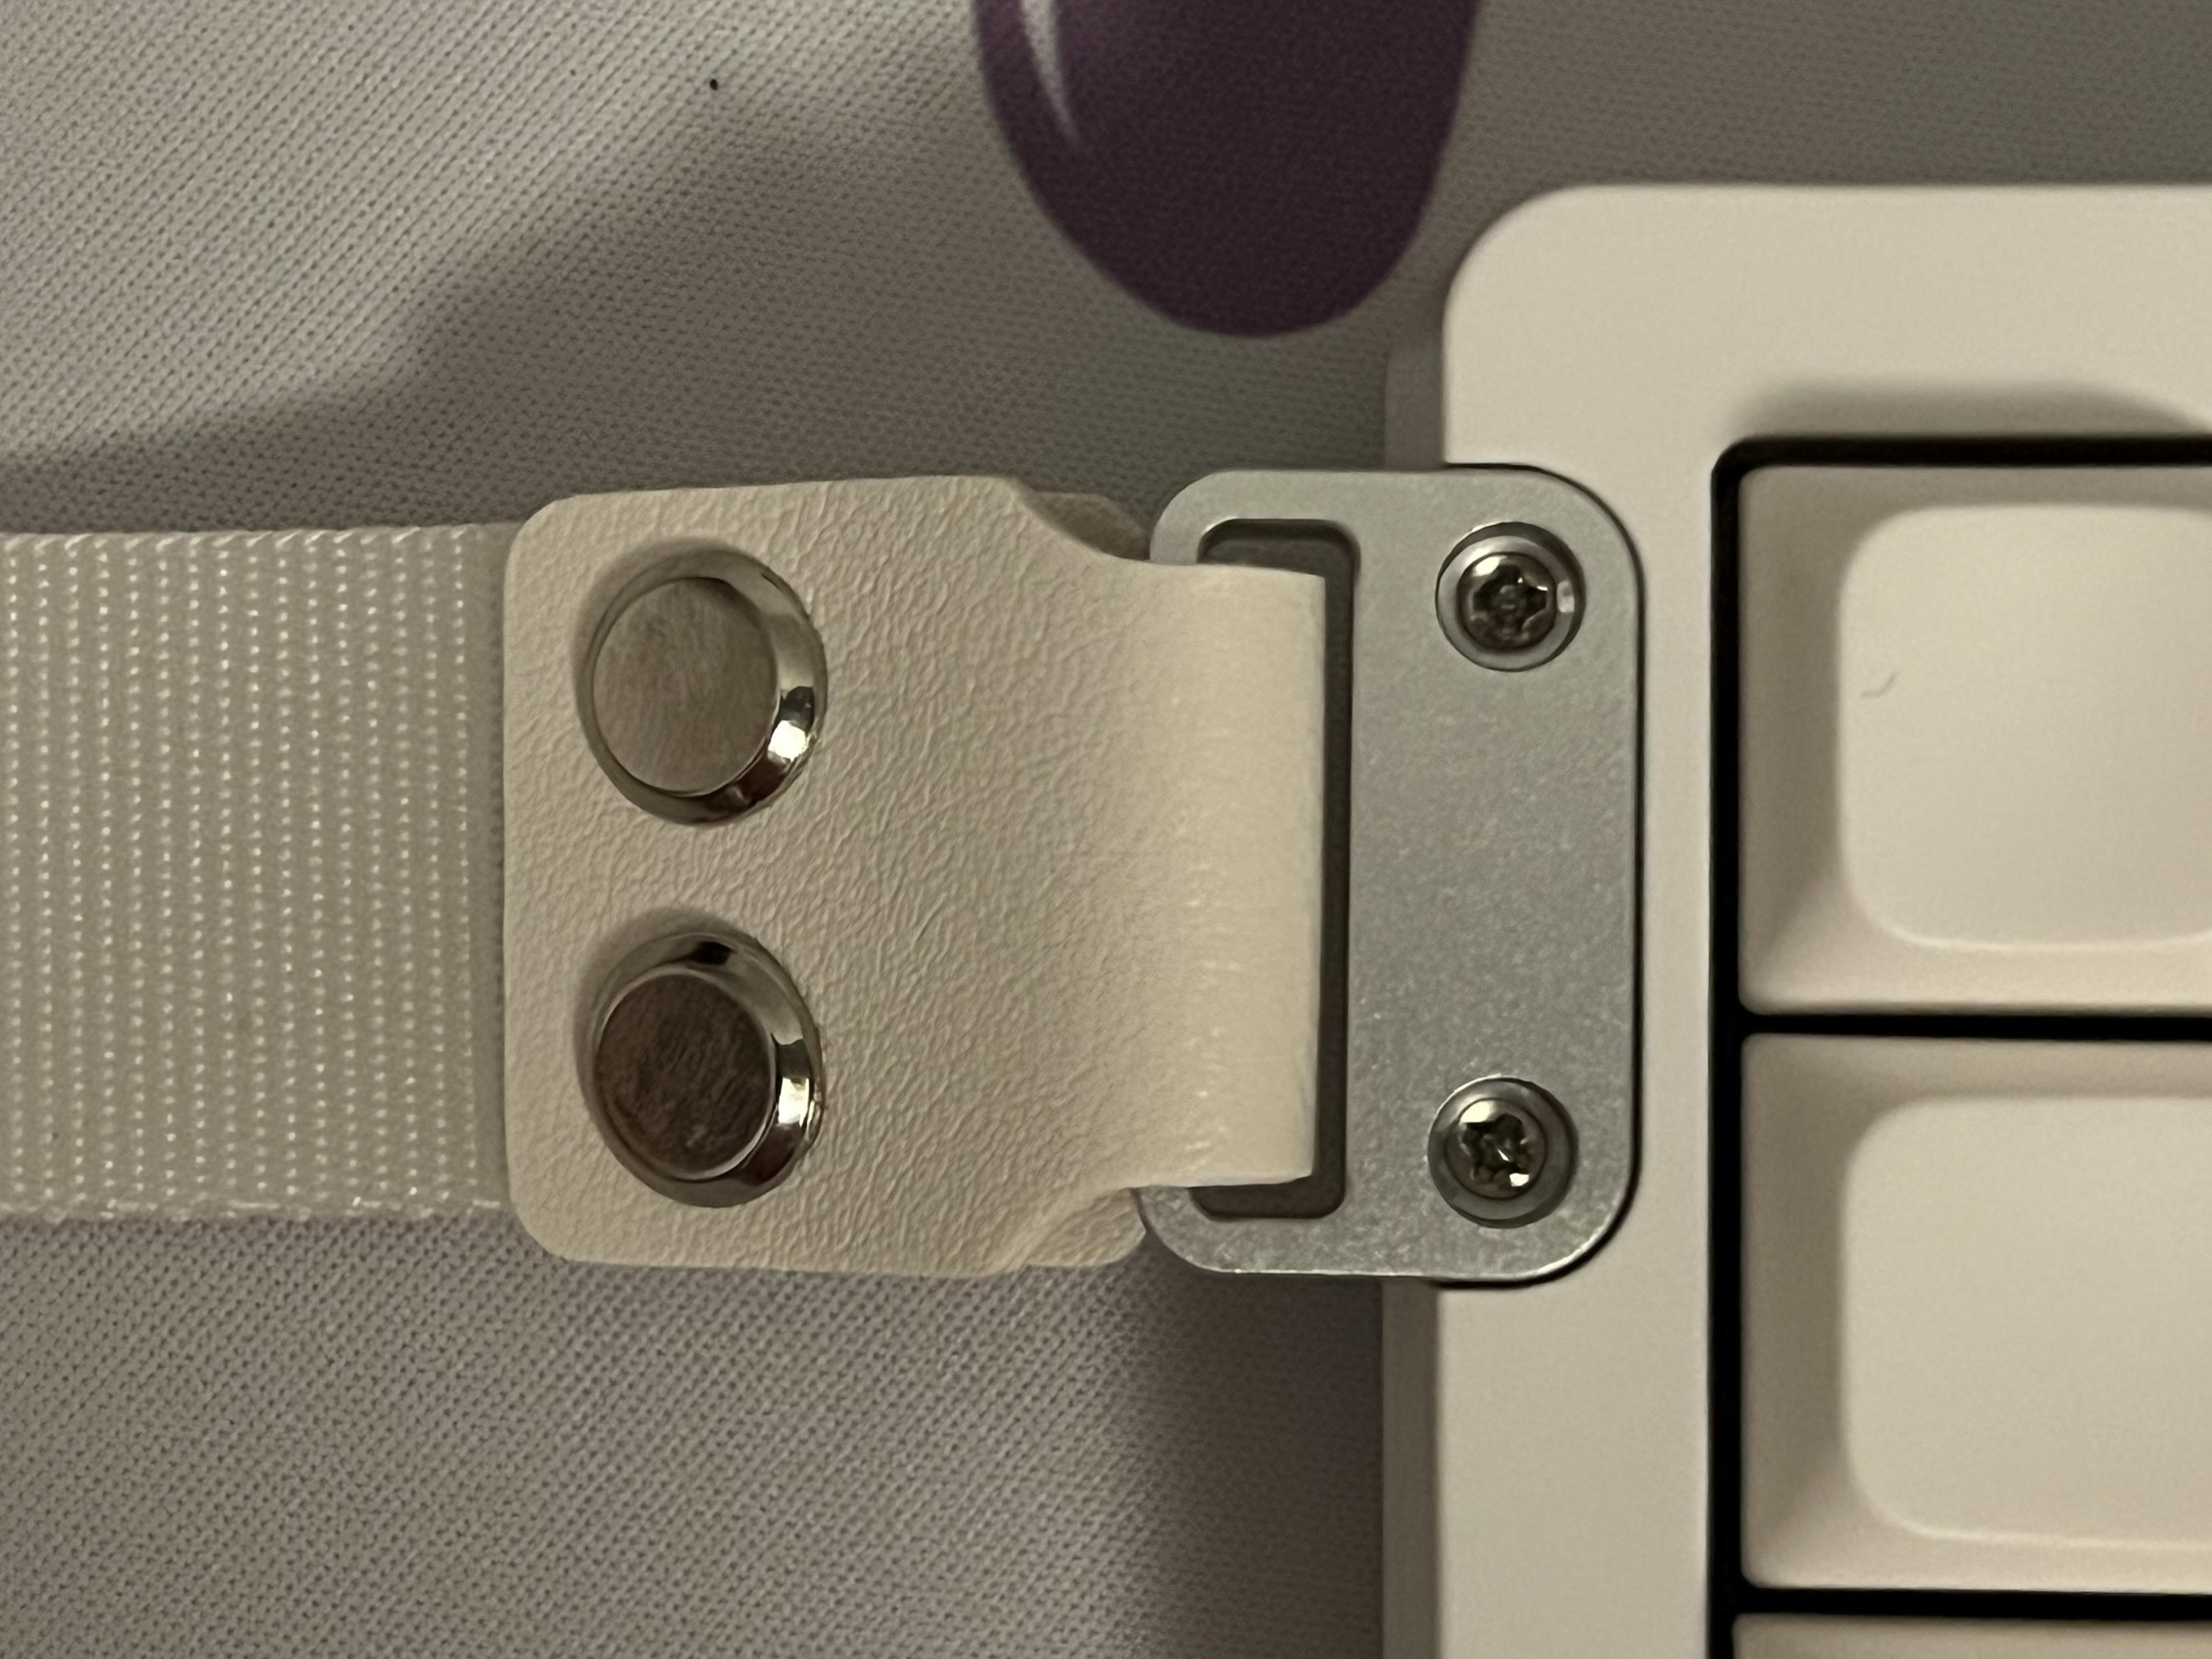
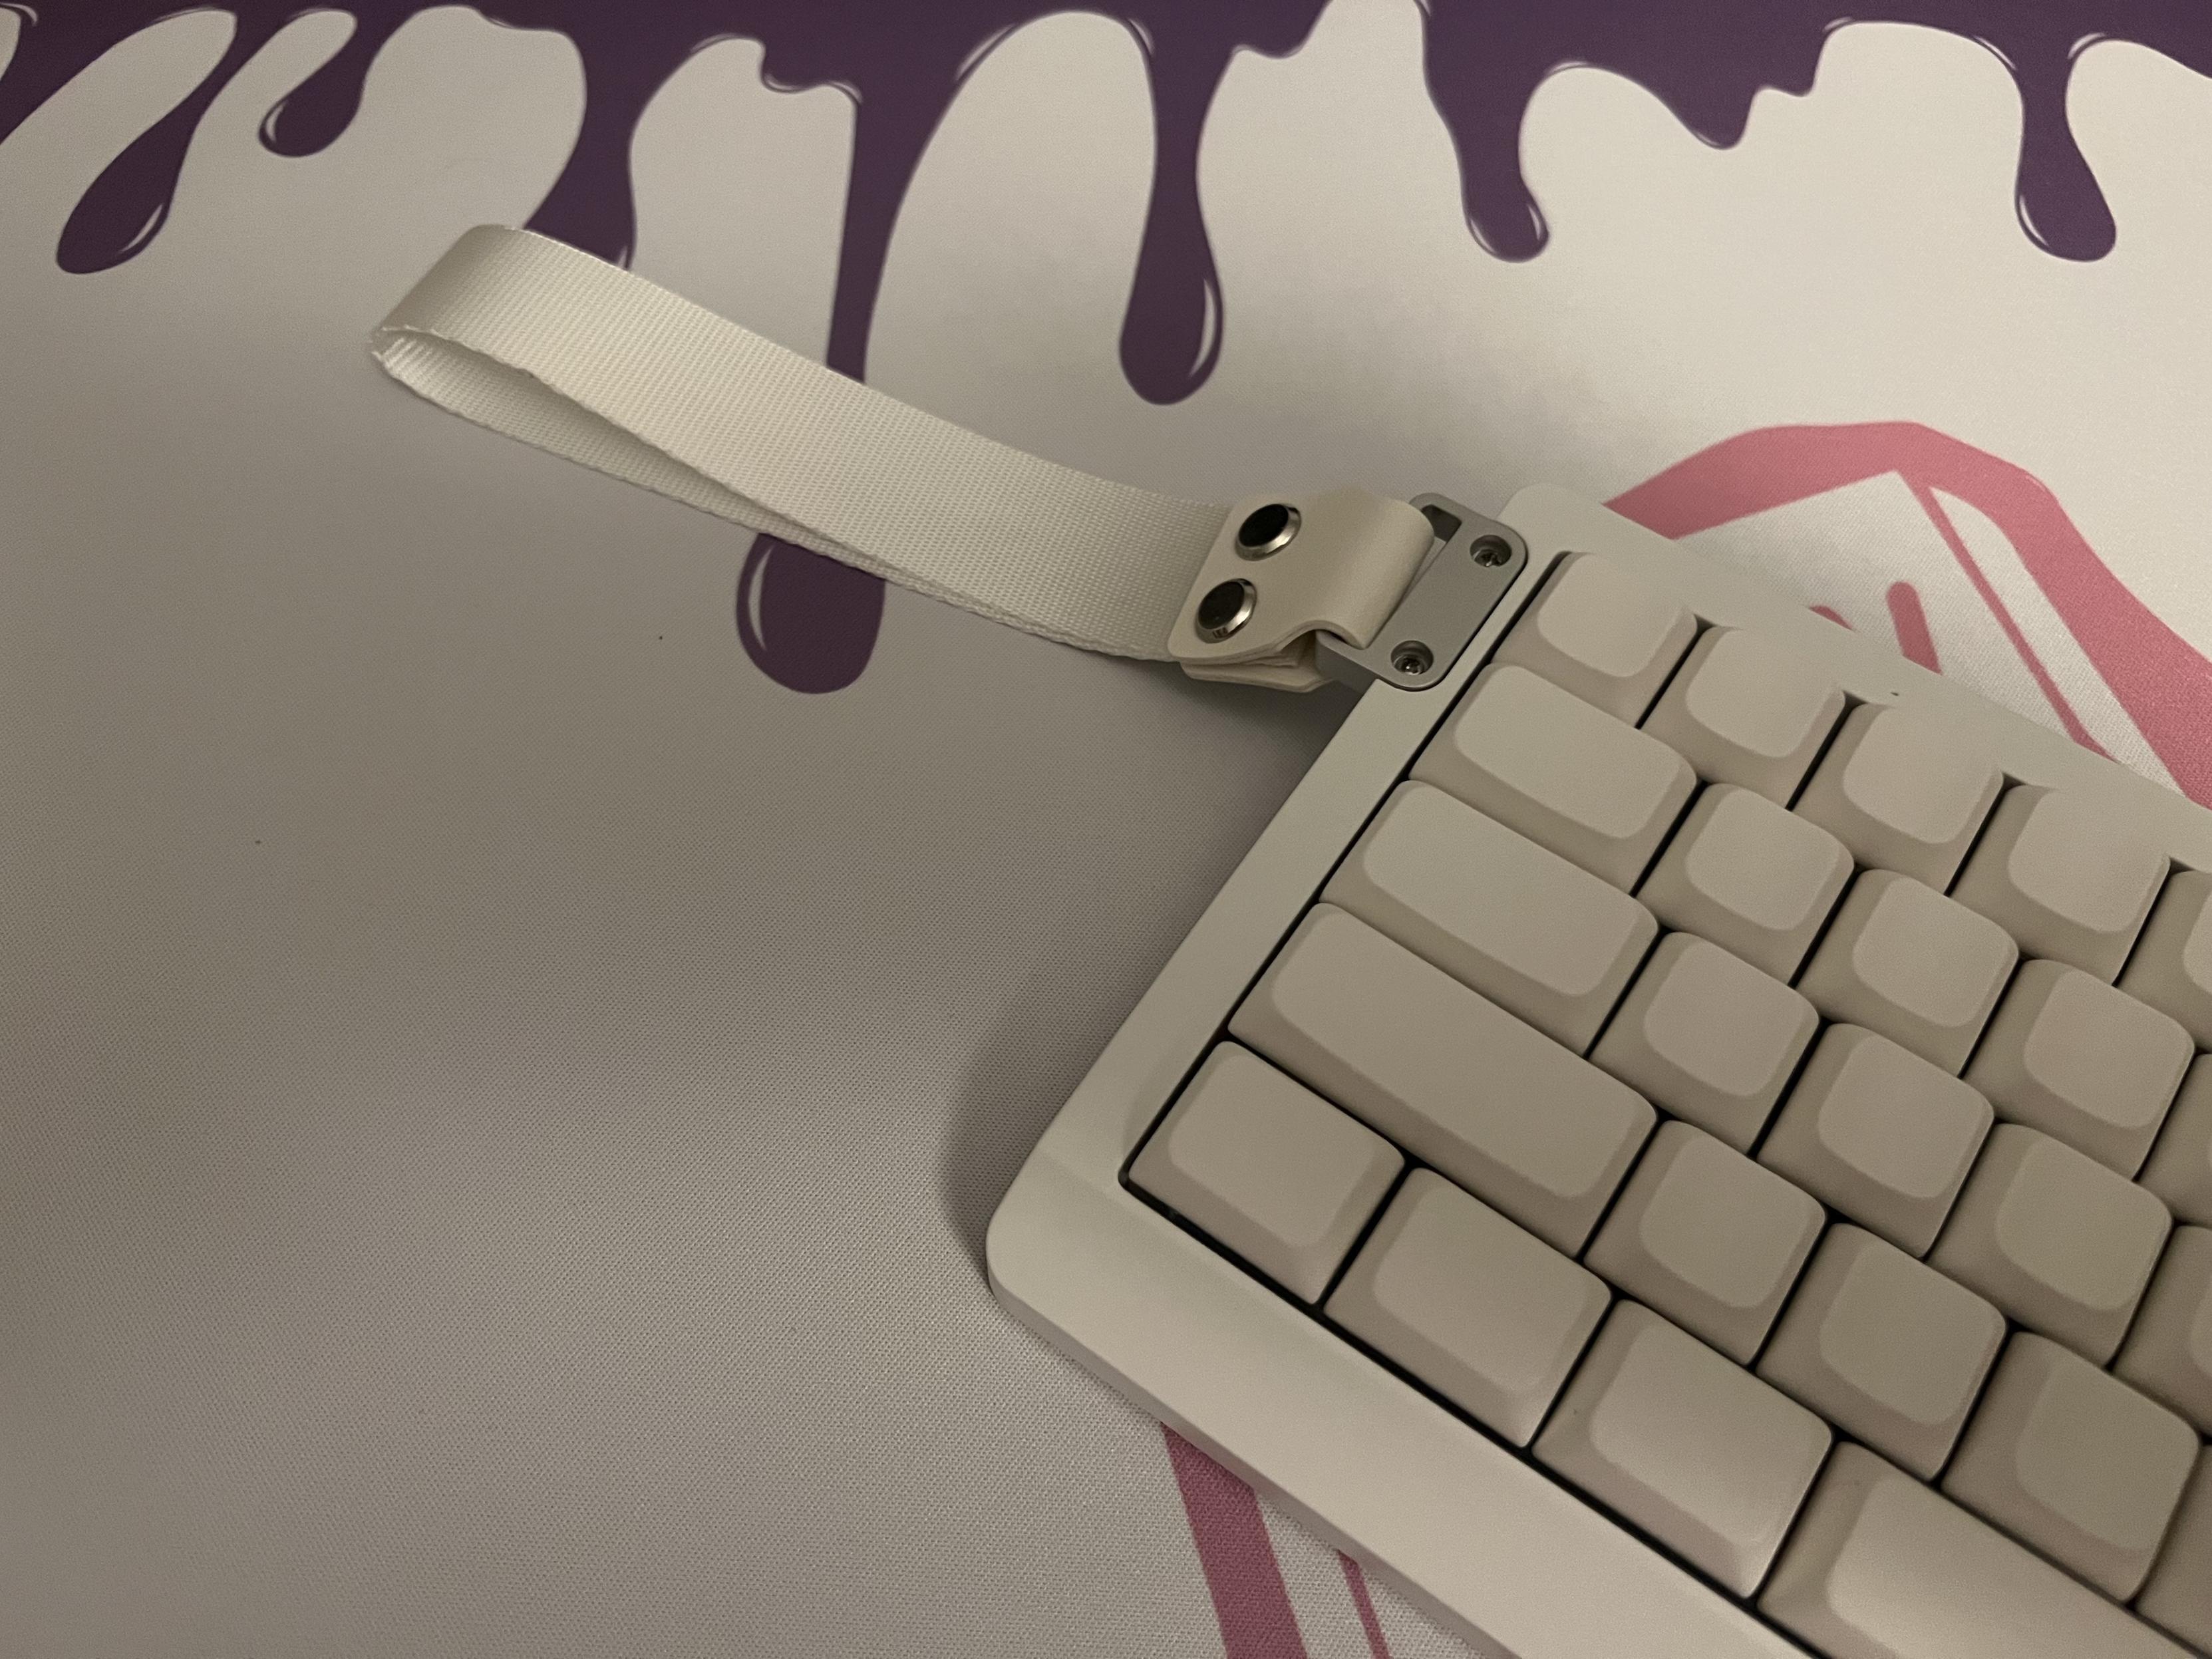
Some assembly required for the strap, it goes together nicely but the ugly undersized crosshead screws are a shame.
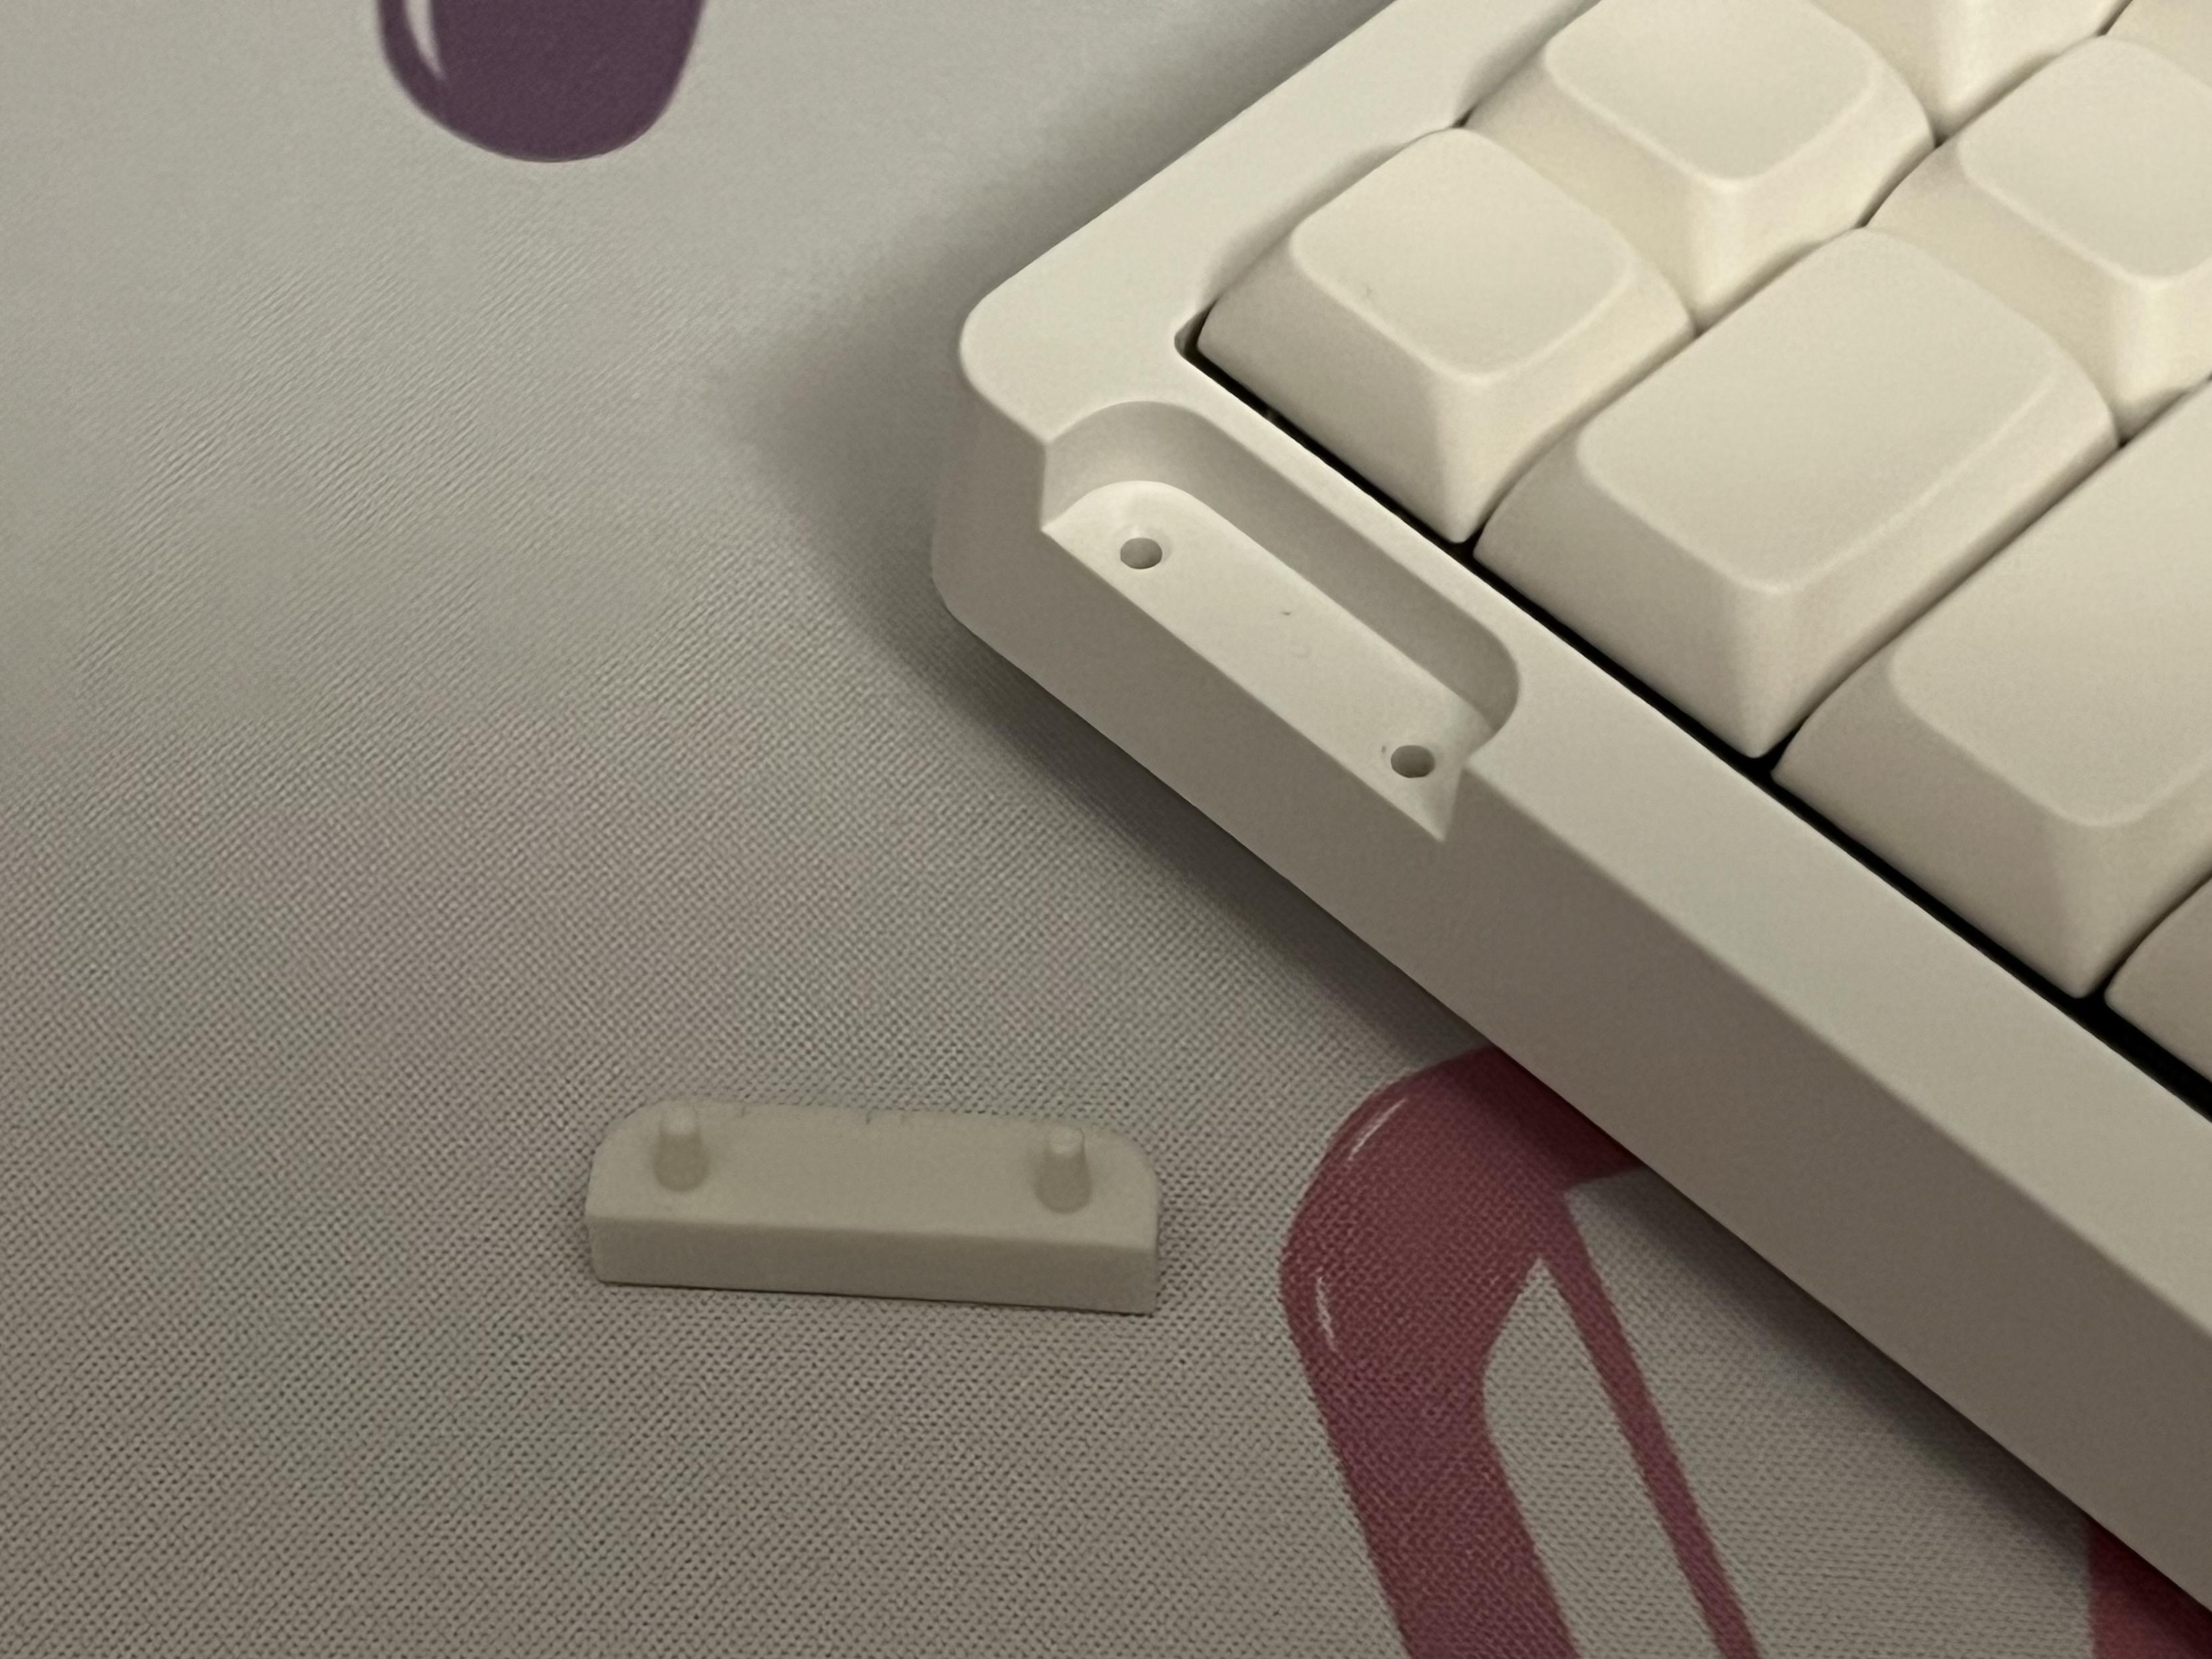
On the left-hand edge of the board is a little rubber blanking plate for the strap attachment. This is just push-fit (warning: it’s really, really hard to get back into place once you remove it) and lifts out to reveal two screw holes- right into the plastic of the board, ouch – into which a little aluminium strap holder can be screwed. Unfortunately the screws are terribly ugly crossheads and look wildly out of place. I feel the price could have afforded some prettier hex bolts here- though I appreciate they would carry the danger of over-tightening, but you need to tighten the screws pretty well for the strap holder not to wobble. Once tightened, they are solid, though, and lifting the board up by the strap (which is totally silly, let’s be honest) feels perfectly fine.
The strap comes as an assortment of parts and is assembled by pushing a leatherette loop through the metal ring. This, in turn, has some pre-cut holes which line up with those on the main – nylon – portion of the strap. What look like rivets from the product photos are just a two part screw and nut. With a little effort to secure the smooth side from turning, these can be screwed securely together to give the appearance of a riveted strap. They’re a little tricky to undo again (since there’s no way to grip the smooth side) but offer some interesting potential for customisation if you’re so inclined.
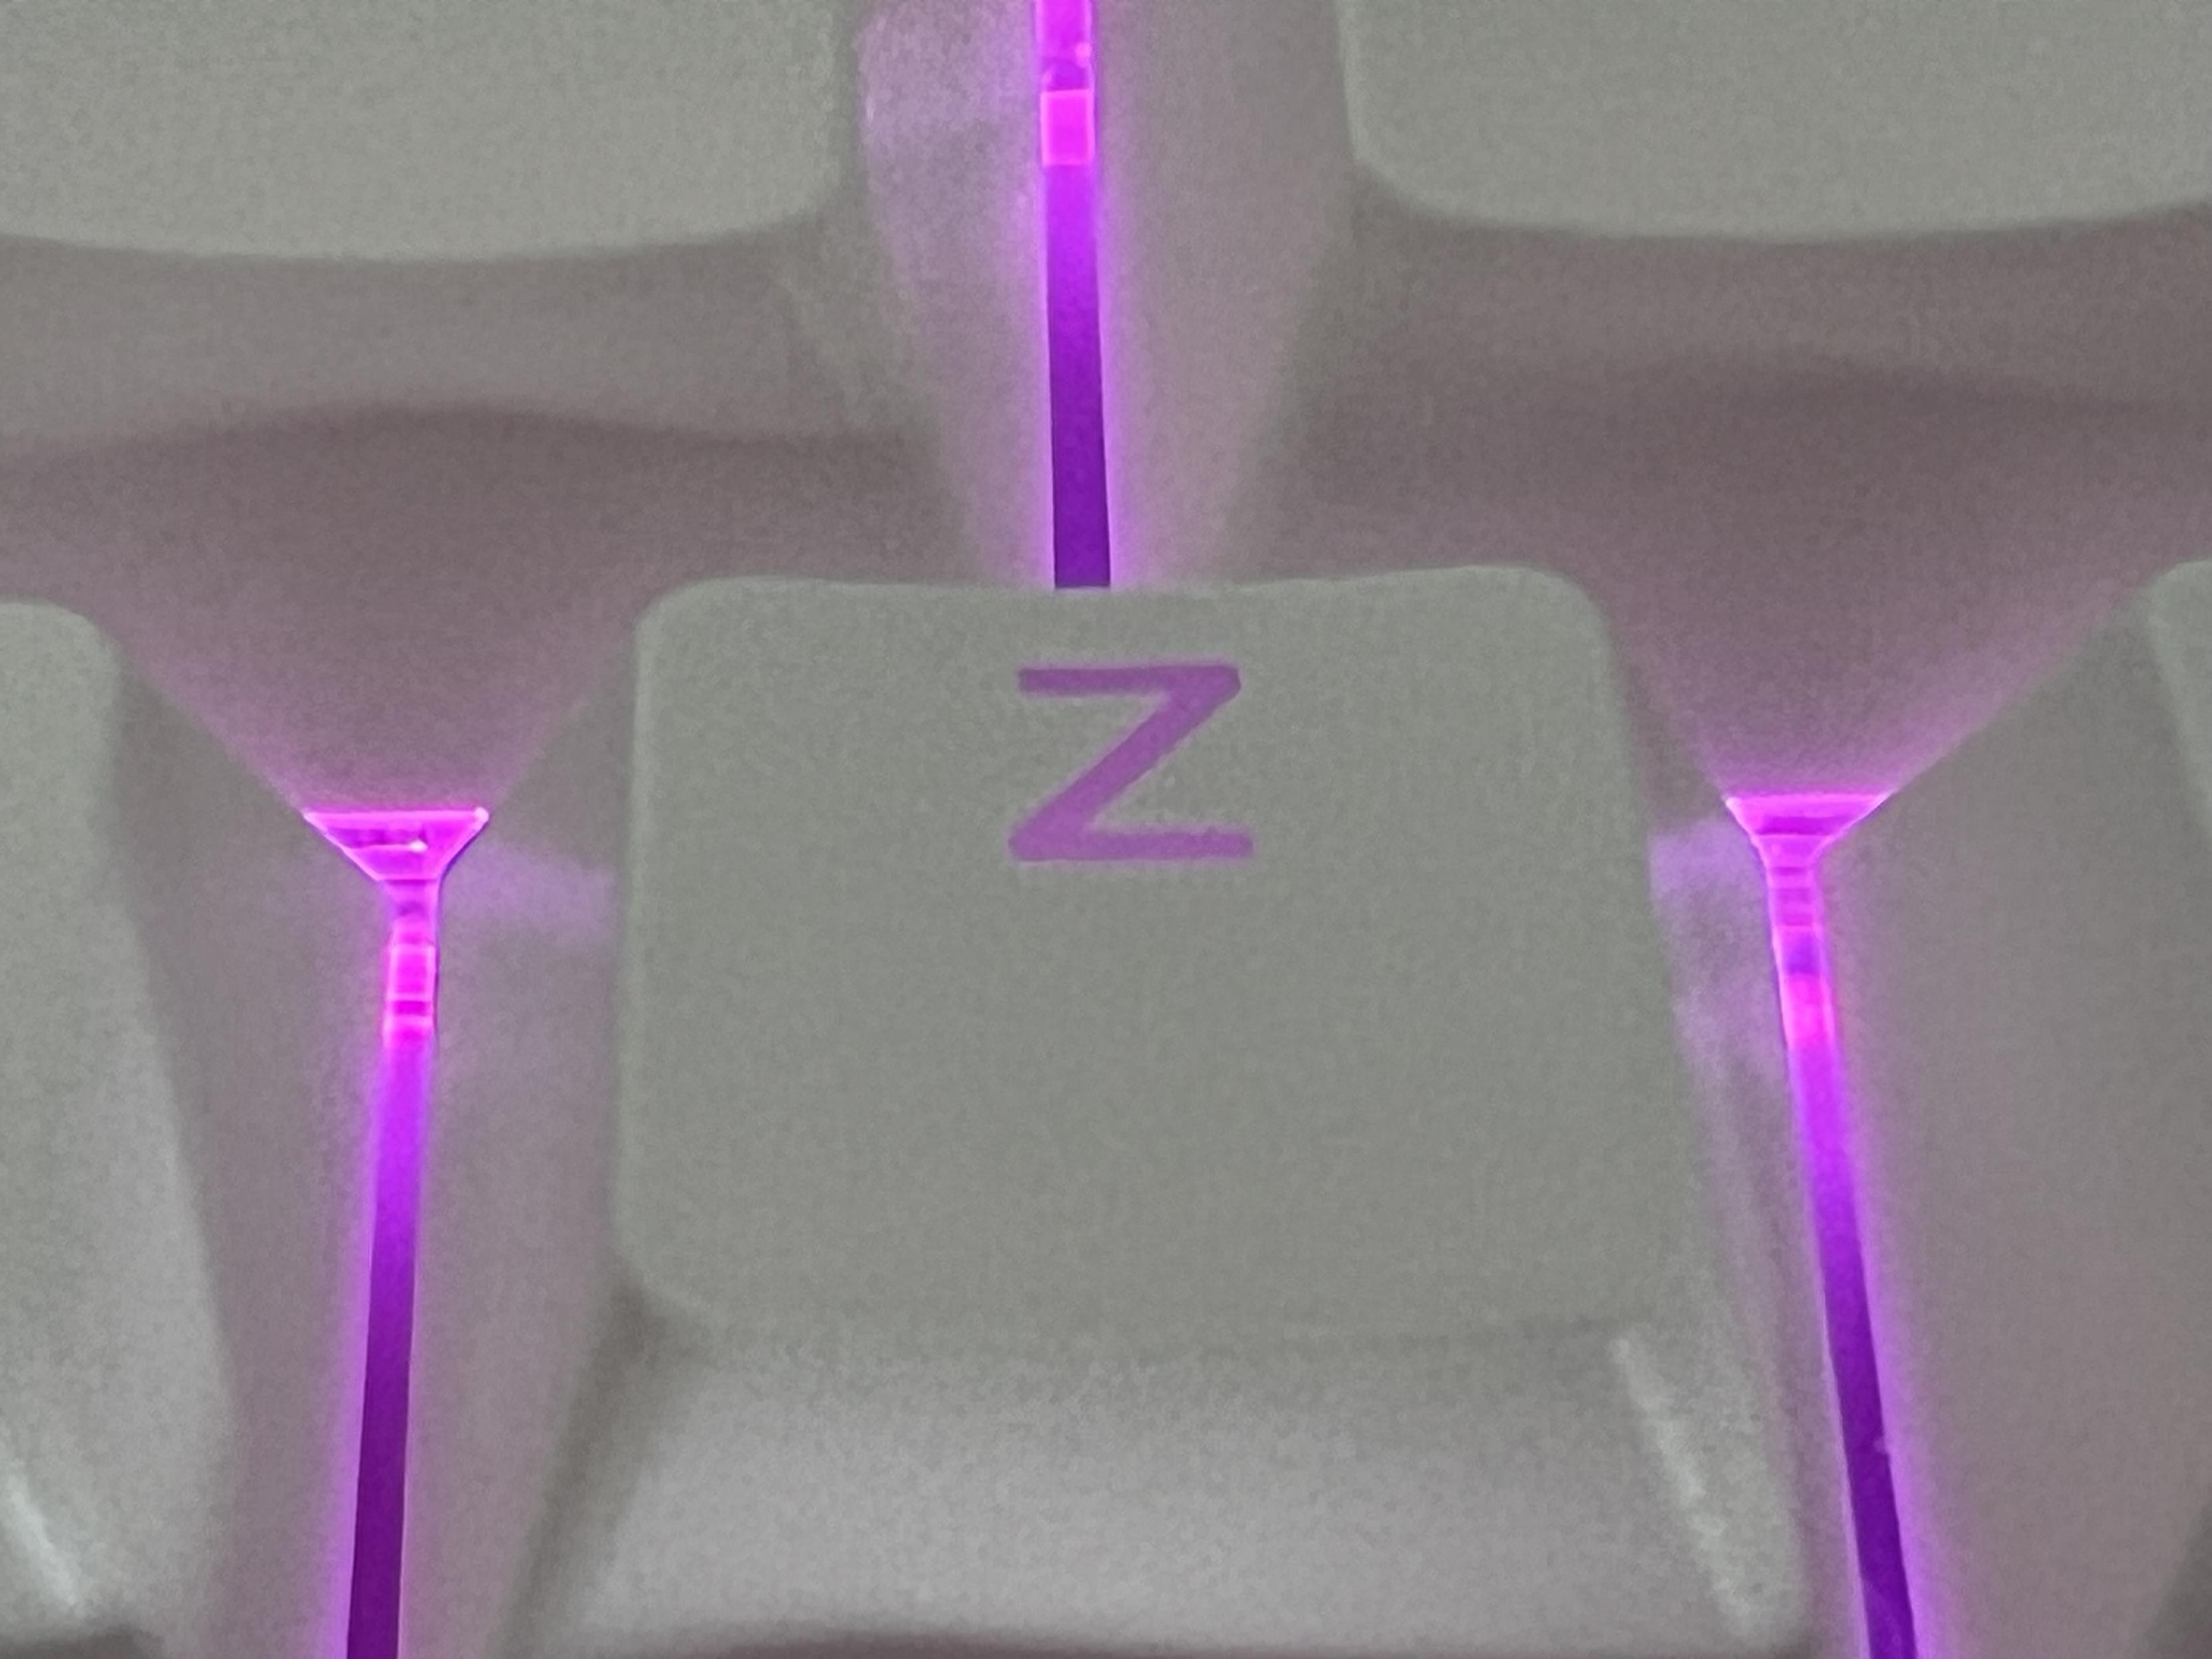
Shine though keycaps yeeesssss
Finally the keycaps are Cherry-like, your standard angular fare with a non-uniform profile that raises the number (also function since this is a 65% board) row slightly proud. They are surprisingly decent keycaps. Doubleshot moulded with shine-through legends (such a rare treat I almost forgot they were a thing) and relatively uniform text size and placement with no egregious inconsistencies. There’s a little bit of light bleed through the caps in darkness (they are white, after all) but the legends are illuminated consistently. I almost feel bad for immediately throwing on PBS blanks in their place! I’ve swapped the stock caps back on since.
Software
The software comes in the form of Epomaker’s desktop software. I’ve encountered it before with another keyboard and somehow memory holed it, since I downloaded it again and found it already installed on my mac. It’s as dizzyingly fully featured as you might ever want, with key binding, macro and lighting settings along with the more complicated settings to calibrate, tune and take advantage of the analog hall-effect switches.
Before getting into HE though, I want to take a moment to be befuddled at how well this board works with macOS right out of the box. For some reason the Cmd key is in the right place, and the function keys (accessed via Fn plus the number keys) all seem to do the right thing. I can find no setting in the software to switch between macOS and Windows mode, no physical switch nor any other clue as to the magic behind this fact. I’m loathe to change any settings because it works so well. Have Epomaker stumbled onto some detectable quirk about how macs enumerate USB? I doubt it, but I’m happy it works.
Anyway, Hall Effect! In the main Keyboard Settings page there’s a section called “Magnetic Switch Settings” with the typical actuation depth calibration. It’s set, by default, to 2mm which I find to be much, much deeper than I would prefer. While you should beware that setting this too low can have exciting consequences (all the keys triggering all the time) I found that 1mm works well for me, doesn’t result in any spurious key triggers and lets me type softly (if I remember to do so.) The available switch options are:
- GaoTe – Unknown
- CuiYu – Unknown
- Magnetic Jade Pro – 3.5mm travel, 36g – https://www.gateron.com/products/gateron-magnetic-jade-pro-switch-set
- Magnetic Jade Gaming – 3.5mm travel, 36g – https://www.gateron.com/products/gateron-magnetic-jade-pro-switch-set
- Heavenly King – (TTC?)
- Magneto – (TTC Magneto?) – 3.5mm travel, 35g
- Ice Jade – (TTC Ice?)
The first two are fairly unhelpful direct translations from Chinese and the rest require some sleuthing that finds possible but not exact matches. They all seem to be roughly the same, though, so swapping out switches might be academic.
There’s also a “Magnetic Switch Settings” page where you can, on a per key basis, choose between one of seven different supported switch types. It’s worth noting that there is some significant variation between HE switches and some of them will be physically incompatible with this board but this page is a good reference for compatible switches should you wish to swap some out. I’m new enough to HE that I don’t have a feel for what alternate switches offer, but since they have to necessarily be linear you’re probably looking only at a choice of actuation force. I’d wager higher actuation force plus lower actuation depth would result in a firm typing feel that triggers before it bottoms out.
The Epomaker software isn’t perfect- it has a habit of defaulting back to Chinese (easy to change, but irritating nonetheless) and needs to be re-launched in order to reconnect to a keyboard if you unplug it.
Switch Compatibility Revisited
In the interest of science I swapped in a Gravastar x Gateron Jade Pro, replacing Epomaker’s seemingly unnamed magnetic switch (branded HaiMu on the bottom but Epomaker on the top). While it looks different – a cross stem instead of a box stem – it feels roughly the same and works without any further configuration. The same applies to the vanilla Gateron Jade Pro from the Chilkey Slice 75, it works fine just hot-plugged right in- though in this case it feels notably firmer (which correlates with the respective feel of these boards). Suffice to say, if you’ve got your eye on a particular switch grab a sample first. The TTC “King of” looks particularly interesting, but I don’t expect it to feel much different.
Overall
HE68 Lite is an inexpensive yet surprisingly decent hall-effect board that I struggle to find fault with. Yes it’s uninspiring and plasticky, but it looks great in white with a full complement of PBS blank keycaps and even the stock caps are somehow notably decent (shine-through backlighting being a huge bonus if you’re still a hunt-and-peck typist). It types just as well as any other HE board I’ve tried and the soft touch typing that HE switches afford means it sounds as loud as you want it to. That said, it also has a very muted bottom-out sound. If you’re looking for that characteristic mechanical keyboard clack then you wont find it here. If you’re looking for something quieter, though, then this might be it.
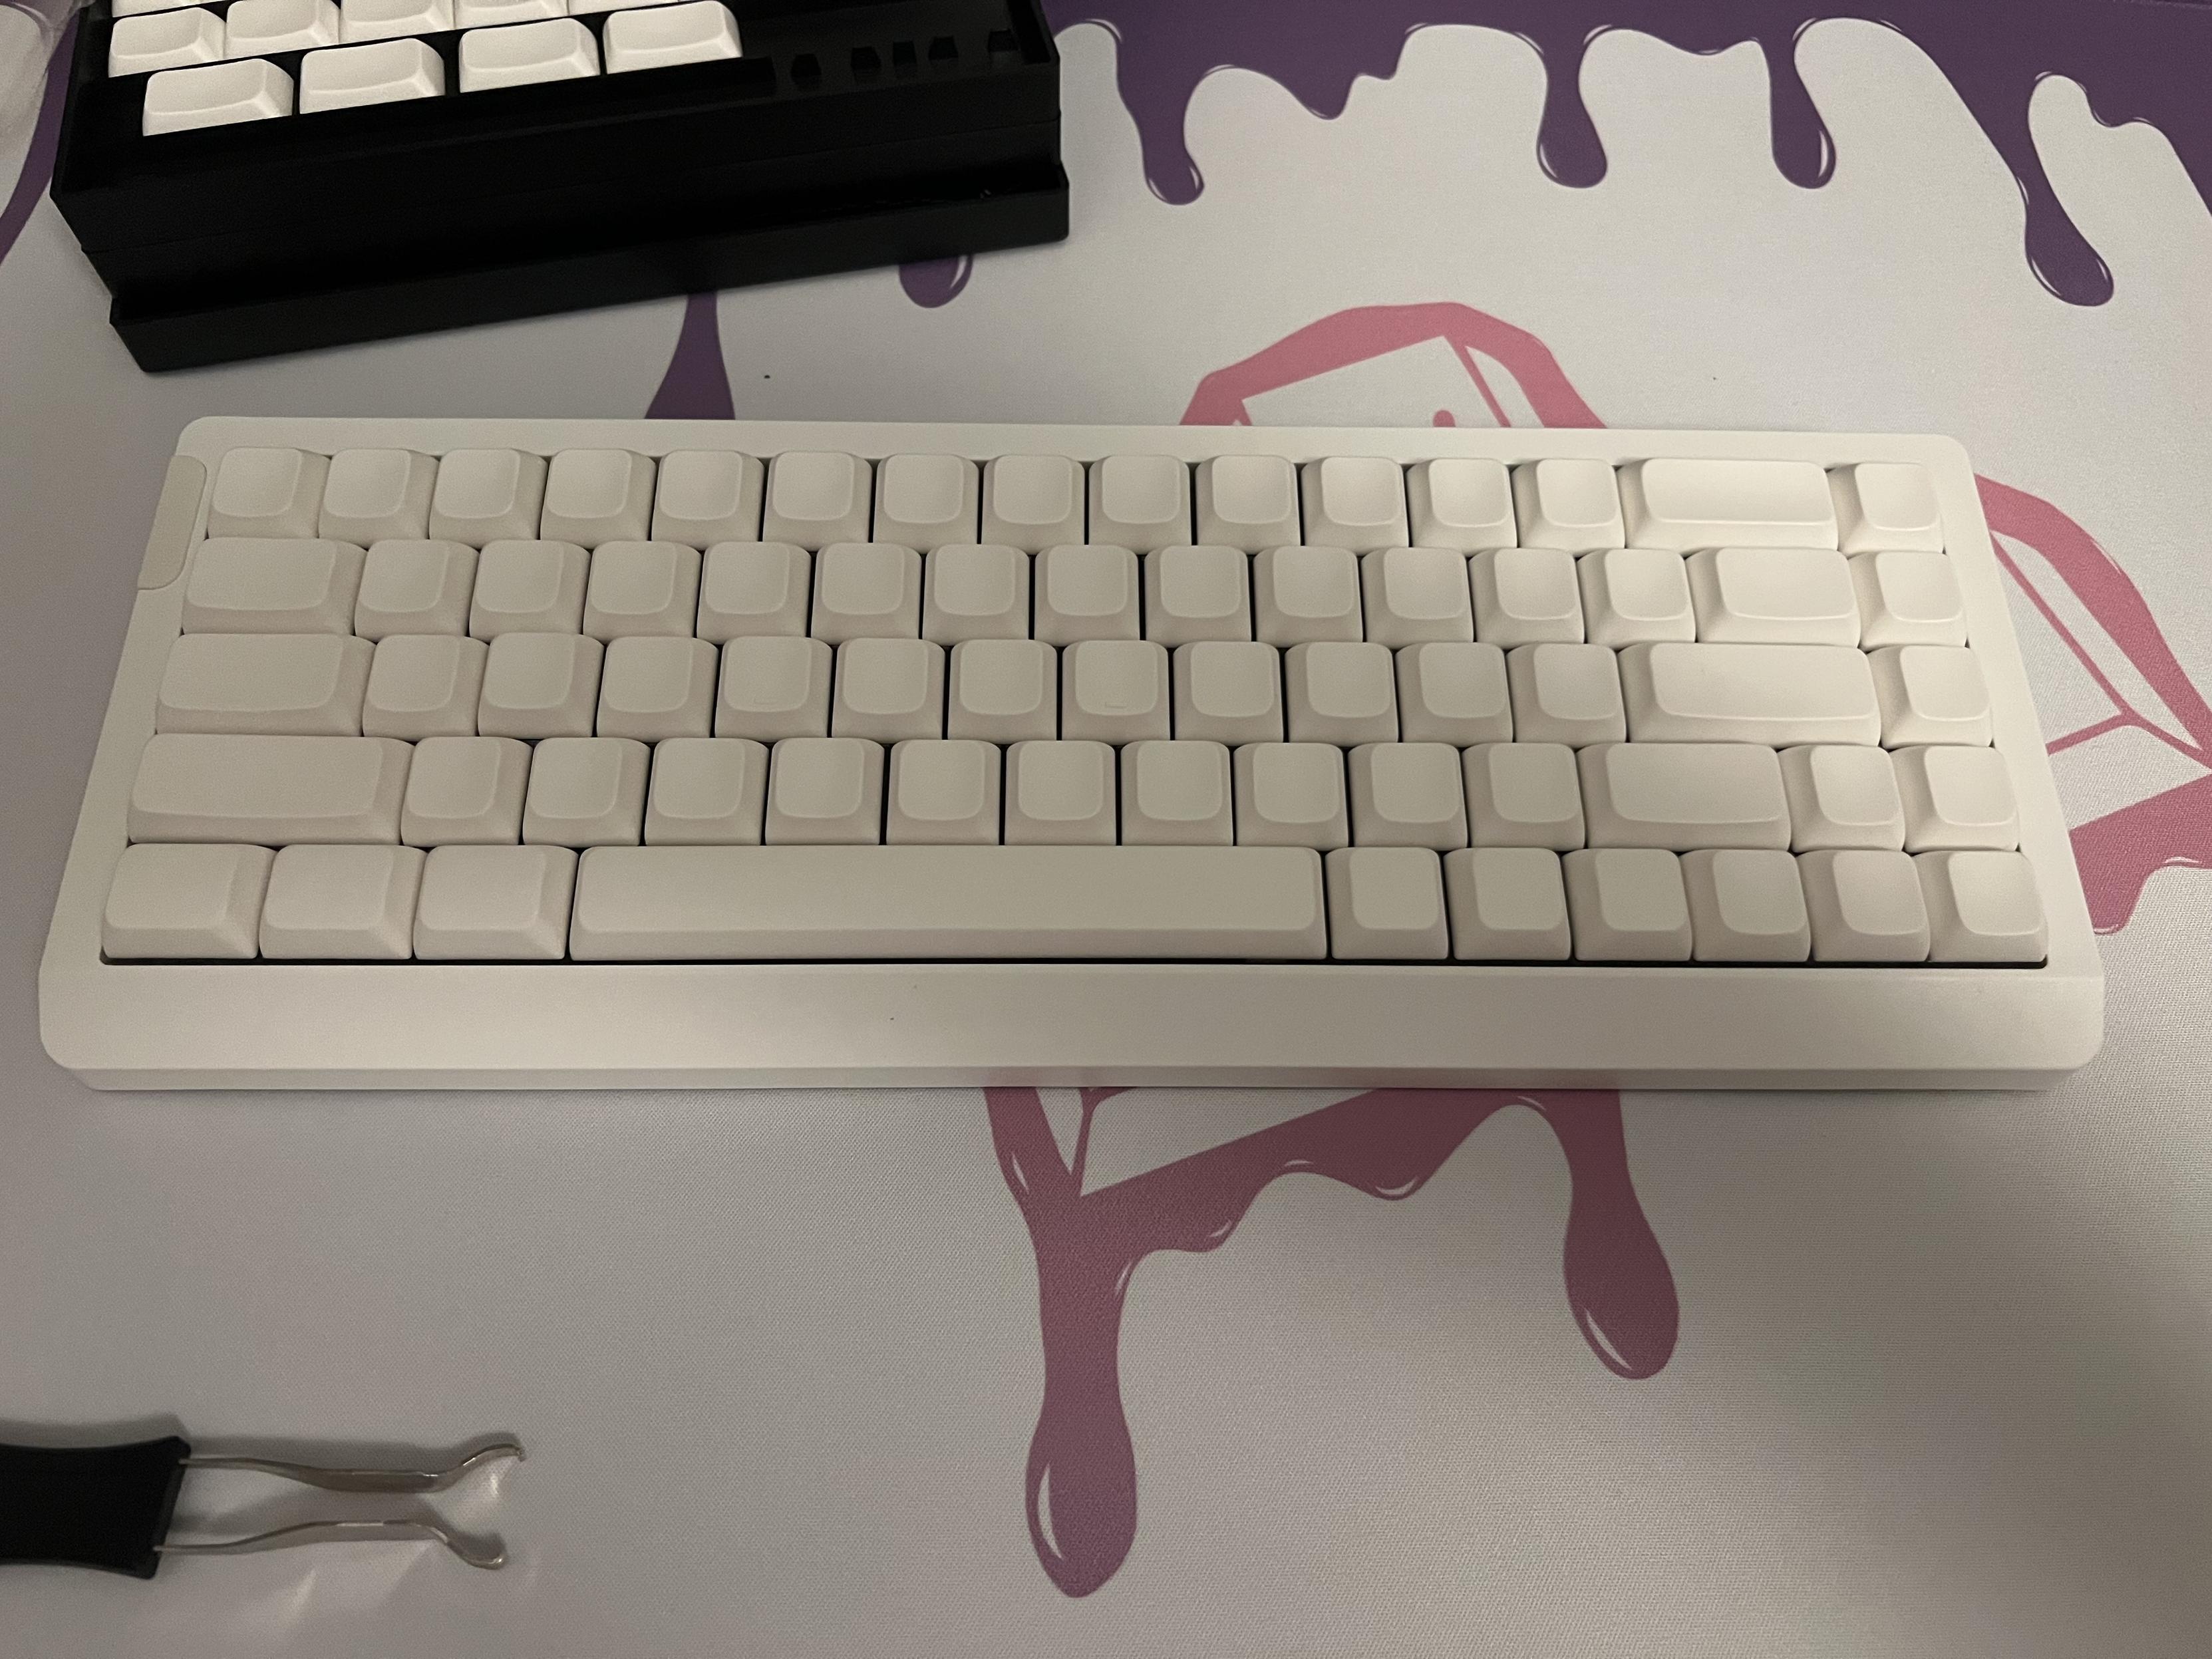
This board looks fab with PBS blanks though…
If I weren’t spoiled by bigger, better and significantly more expensive keyboards I would be quite happy typing on this thing and – in fact – I am doing so right now. I cannot overstate how good it looks and feels with some PBS blanks keycaps- caps that, I should add, cost more than the board itself. Yikes. I’m keyboard min-maxing to the limit here. That said – and these reviews get a bit weird chronologically as I play with different things and go back to make edits – I have now swapped back to the stock caps because I can count the number of shine-through sets I have on one hand, and I’m going to get the most out of these.

Pink
I still have no earthly clue why this keyboard works so well with macOS out of the box… nonetheless this is both perhaps the cheapest and one of the best Epomaker boards I have tested to date (with the notable exception of the Galaxy 80 which still holds a special place in my heart). If you want hall-effect in a no-frills starter board then it delivers.
You can pick up the HE68 Lite from Epomaker for fifty smackaroos.