Epomaker Hack59 HHKB-inspired Mechanical Keyboard
Epomaker’s Hack59 is one of three in a recent lapse of judgement where I request-all-the-cute-small-keyboards-from-Epomaker. It is the second of three that I’ve been surprised by. Pleasantly surprised, that is.
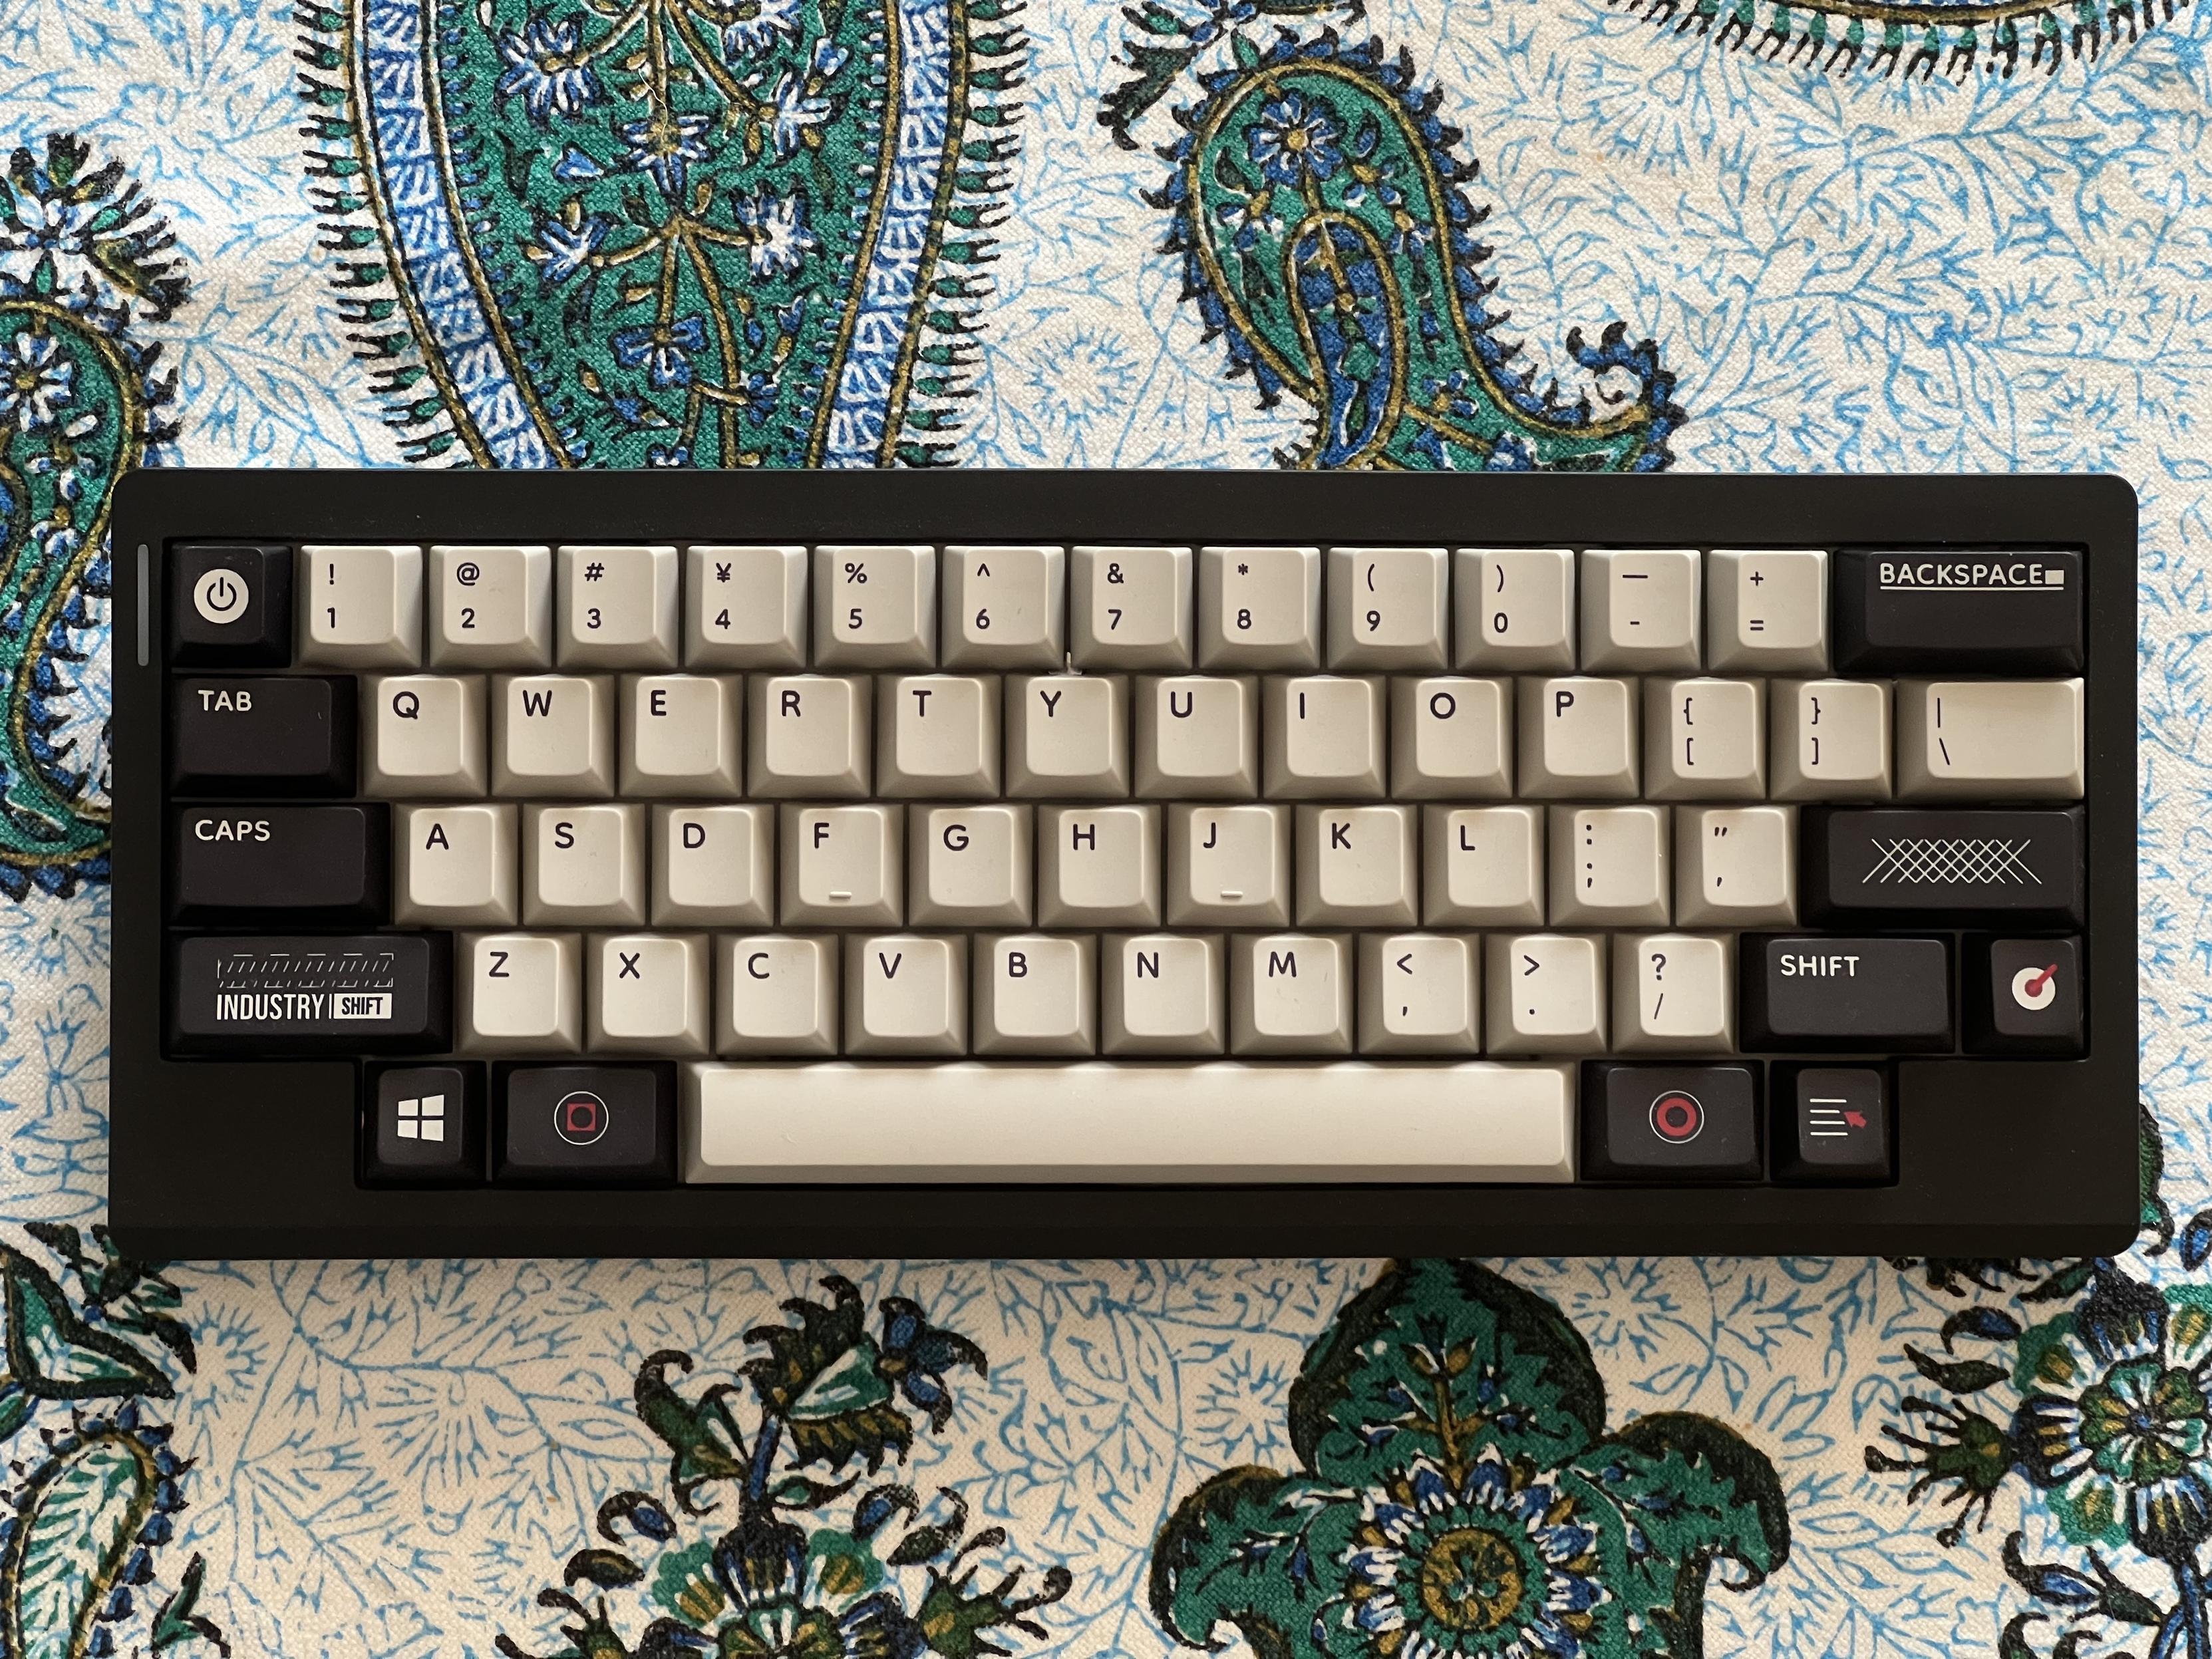
Despite being cheap, plastic and more than a little bit weird; Hack59 is entirely competent, pretty nice to type on and looks bloomin’ awesome with some KAT Cyberspace keycaps.
But let’s rewind back to the weird-
Hack59 is inspired by – but doesn’t fully recreate – the Happy Hacking Keyboard – HHKB for short – layout. Designed in 1996 by Japanese computer scientist Eiiti Wada, HHKB was a clean, compact and simplified antithesis to the increasingly complex and varied layouts of computers at the time. Its most striking feature – captured also on the Epomaker board – is the lack of the Ctrl/Alt/Win or Control/Option/Command keys flanking the spacebar. Its second is perhaps the two 1u keys in lieu of what would be a 2u backspace. Epomaker opted to stick with a single 2u backspace, perhaps a carefully considered compromise to ease casual typists into an HHKB-like layout. And, let’s be honest, it works. I am not the most accurate typist and having that backspace key within easy reach makes this diminutive board so much more accessible.
The Hack59’s stock keycaps aren’t terrible but they leave much to be desired.
Continuing the trend of weird, Epomaker have displaced many of the alternate functions present on a standard ANSI HHKB layout in order to preserve their standard backlight controls. For instance the up/down/left/right arrow keys (there’s no dedicated arrow key cluster to be found here) have been displaced from the right-hand side of the keyboard to… no, not the familiar WASD (since W is one of the wireless mode shortcuts), but rather SZXC. Once you get accustomed to this, it’s not tricky, but it’s not intuitive either. As a reminder I’ve placed the arrow keys from KAT Cyberspace (thankfully compatible with row 1) in place of Z, X and C and left S since the up-arrow would be just slightly the wrong shape.
Caps-lock – normally Control on HHKB – has maintained its primary function as the key which you will never intentionally use, and adopts a long press to function as control, versus a short tap to toggle Caps-lock on and off. In VIA the key function is named “CA_TR_CT” which is presumably bookended by “CAps” and “ConTrol”, though I can’t guess at what “TR” means. I find it easier just to remap this to Left Control, with Caps-lock as the alt function I will never use.
G, H, J, B, N and M become Insert, Home, Page-up, Del, End and Page-down respectively. The function key to make all this magic happen is tucked right over to the right of the board beneath enter. As a side-effect of this there are few practical key combinations accessible with one hand; since the backlight controls hog most of the right side of the board. That said, since the board uses VIA (I just ignored their instructions and went to the vanilla usevia.app website) you are free to remap these.
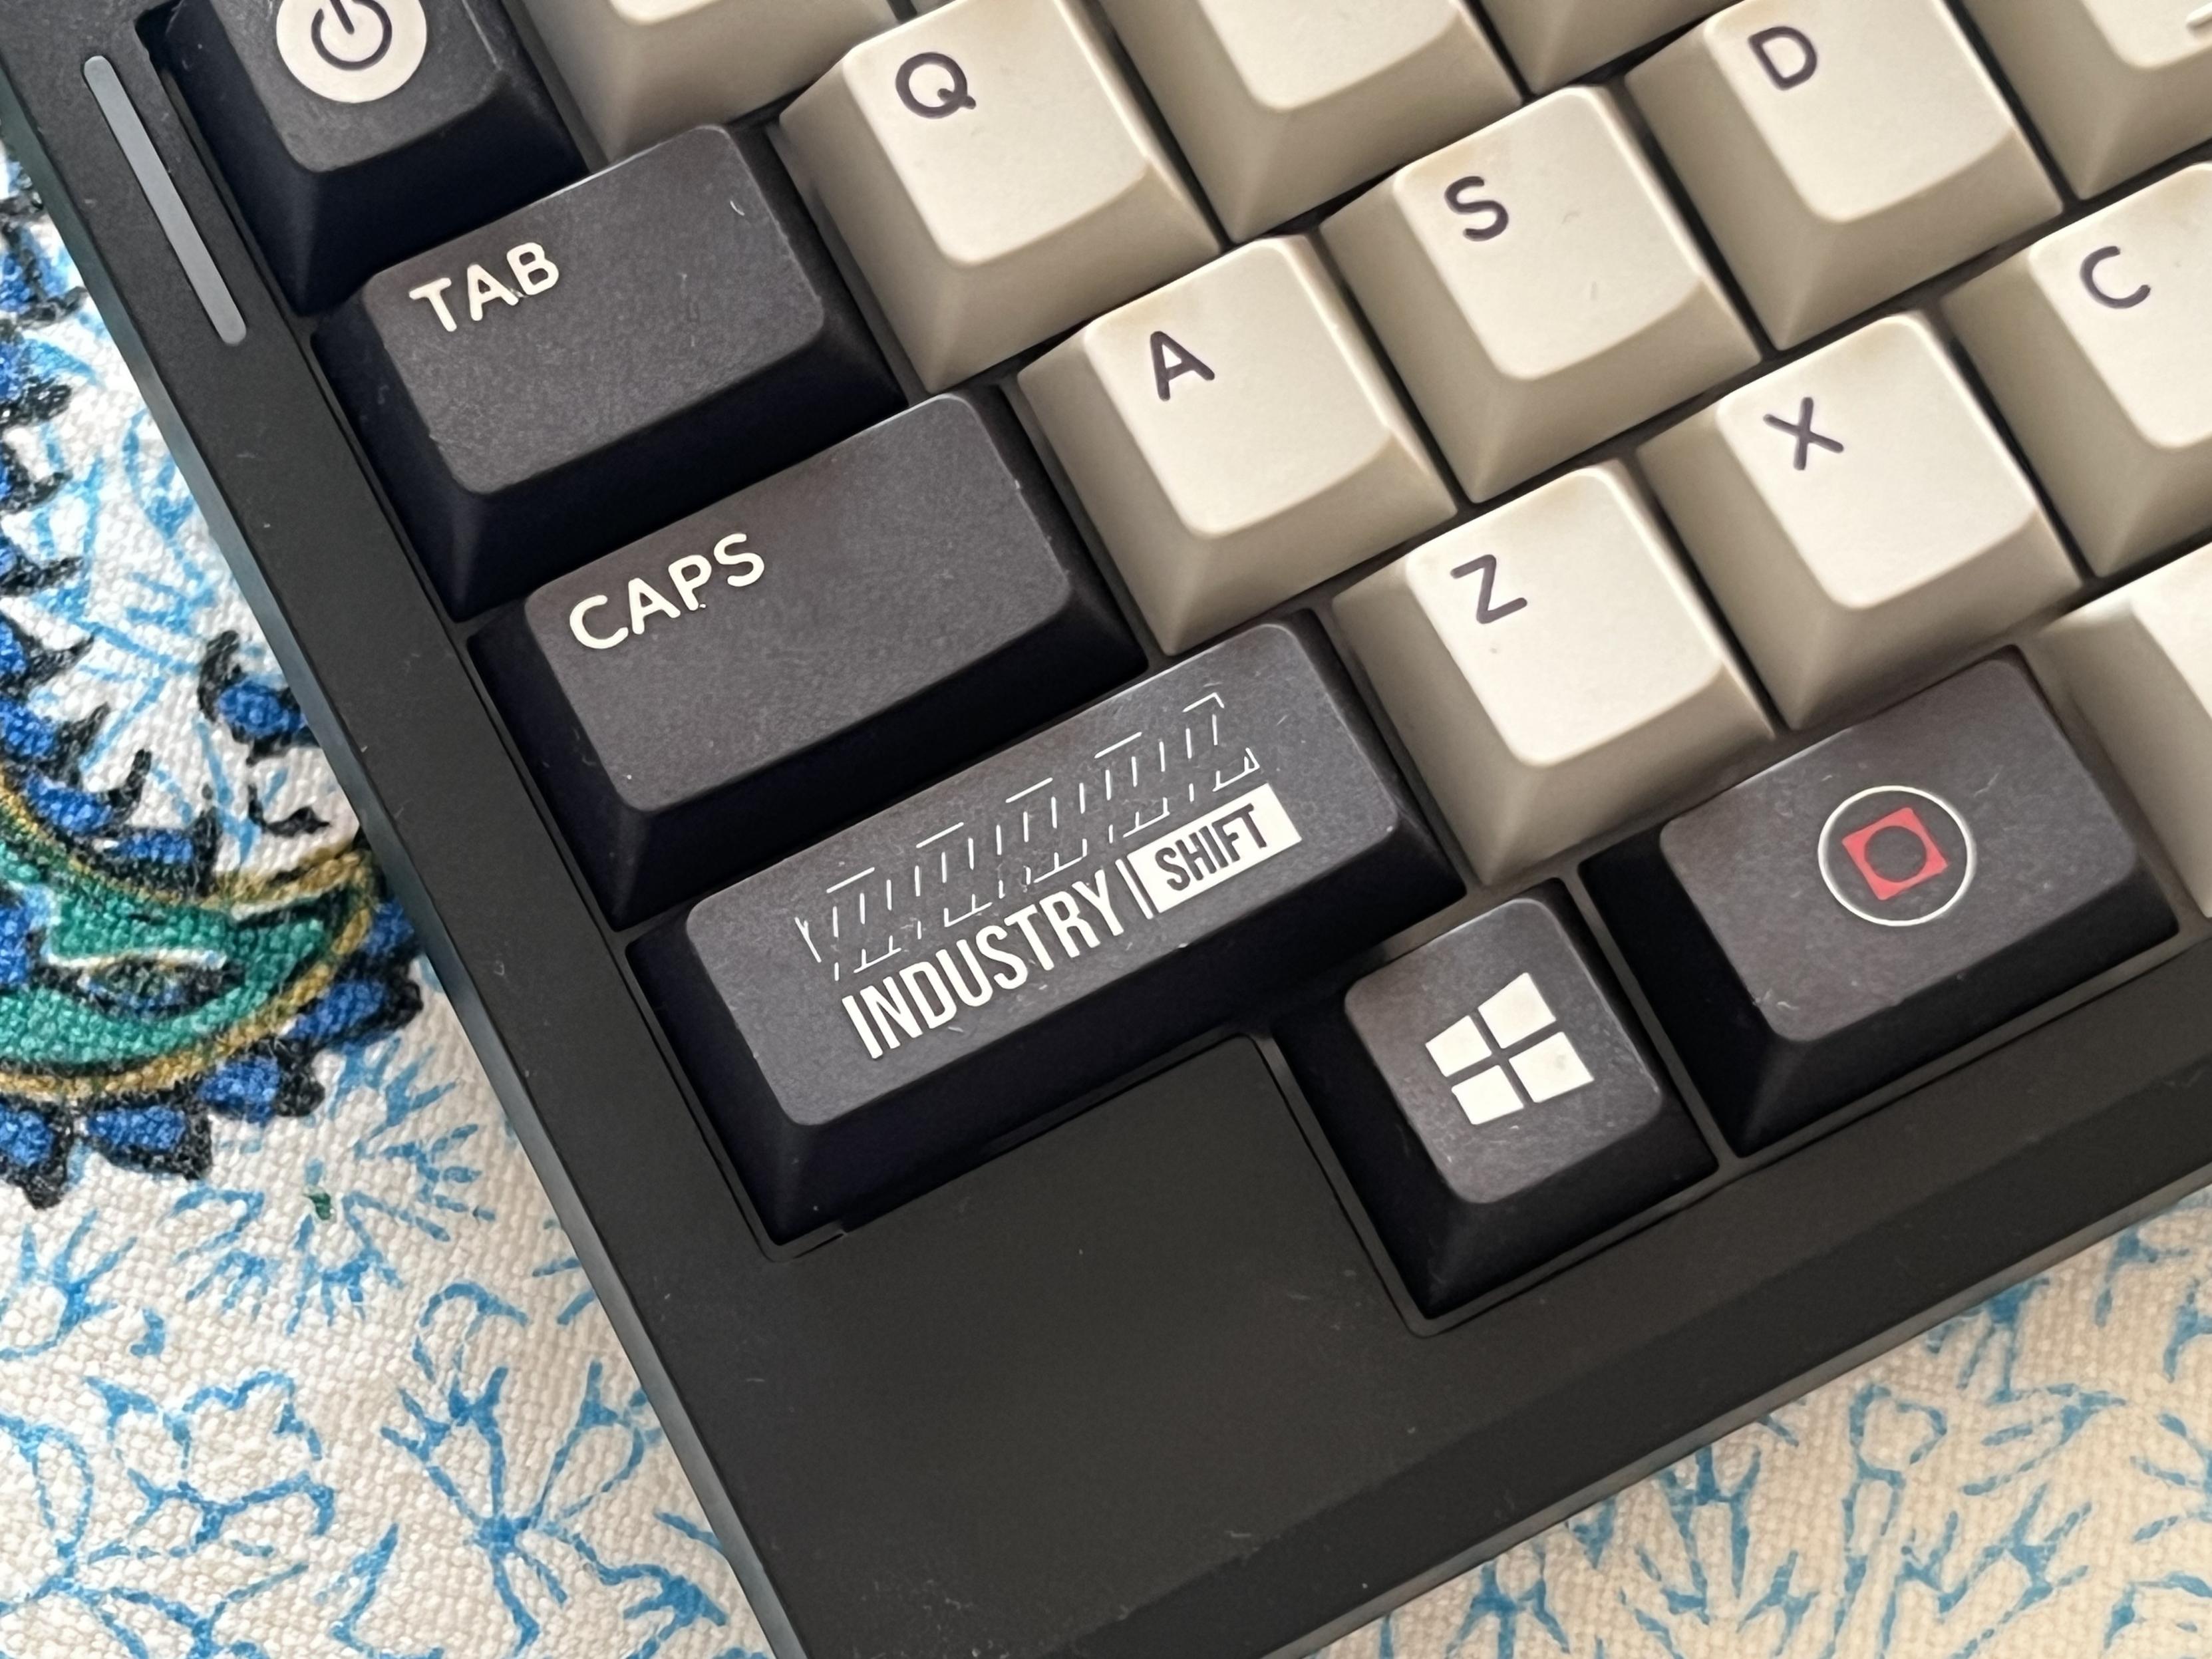
I don’t know what industry shift is, but presumably it’s … industrial?
Another quirk of Hack59’s compact layout and Trimode/RGB focussed default layout is that both left and right shift have Fn alternates that make it impossible to access the shift state of a second layer key. For example if you stick backtick and tilde on Fn + Esc (I use these a LOT for programming so they are vital) then you’ll need to remap left or right shift to… y’know… just shift otherwise you can’t access tilde.
As is typical of these tri-mode VIA boards, Layers 0 and 2 are set up for Windows and layers 1 and 3 for macOS. In the case of Hack59, though, there’s no dedicated switch between these modes- relying instead on Fn + i and Fn + o. This means there’s nothing to contest you remapping all four layers to be ideal for your OS of choice. In fact I’d go as far to say that getting the most out of Hack59 requires you to play with key remapping extensively and it’s a great board for a cool, condensed layout, capturing some of that happy hacking vibe.
This requirement to rebind is probably most acute for macOS users, where the number row doubles as function keys (Fn + 1 is F1 and so on), preventing you from accessing normal macOS controls like brightness, volume or window management. You will need to nominate another whole key (or two) to give you access to extra layers, and suddenly a split backspace looks like a very tantilising idea.
Build
The Hack59 is another plastic through-and-through board with no real attention given to repairability or customisation. It’s particularly troublesome to pry apart, with five plastic clips along the front edge, and another five along the back. It’s so stubborn that I couldn’t find anywhere to slither in even a thin, metal pry tool (uh, well, actually I was using one of my Cricut stencil weeding tools) but eventually got enough leverage on a loose corner and was able to get it apart.
Inside Hack59 tells the same old story, a stock standard black PCB, the ever-present mystery meat “Miller” microcontroller (probably an STM32 clone for low-friction QMK compatibility), a second chip for wireless and the usual array of hotswap sockets (QMSEN branded), reverse-mount addressable LED’s and a sprinkle of passives.
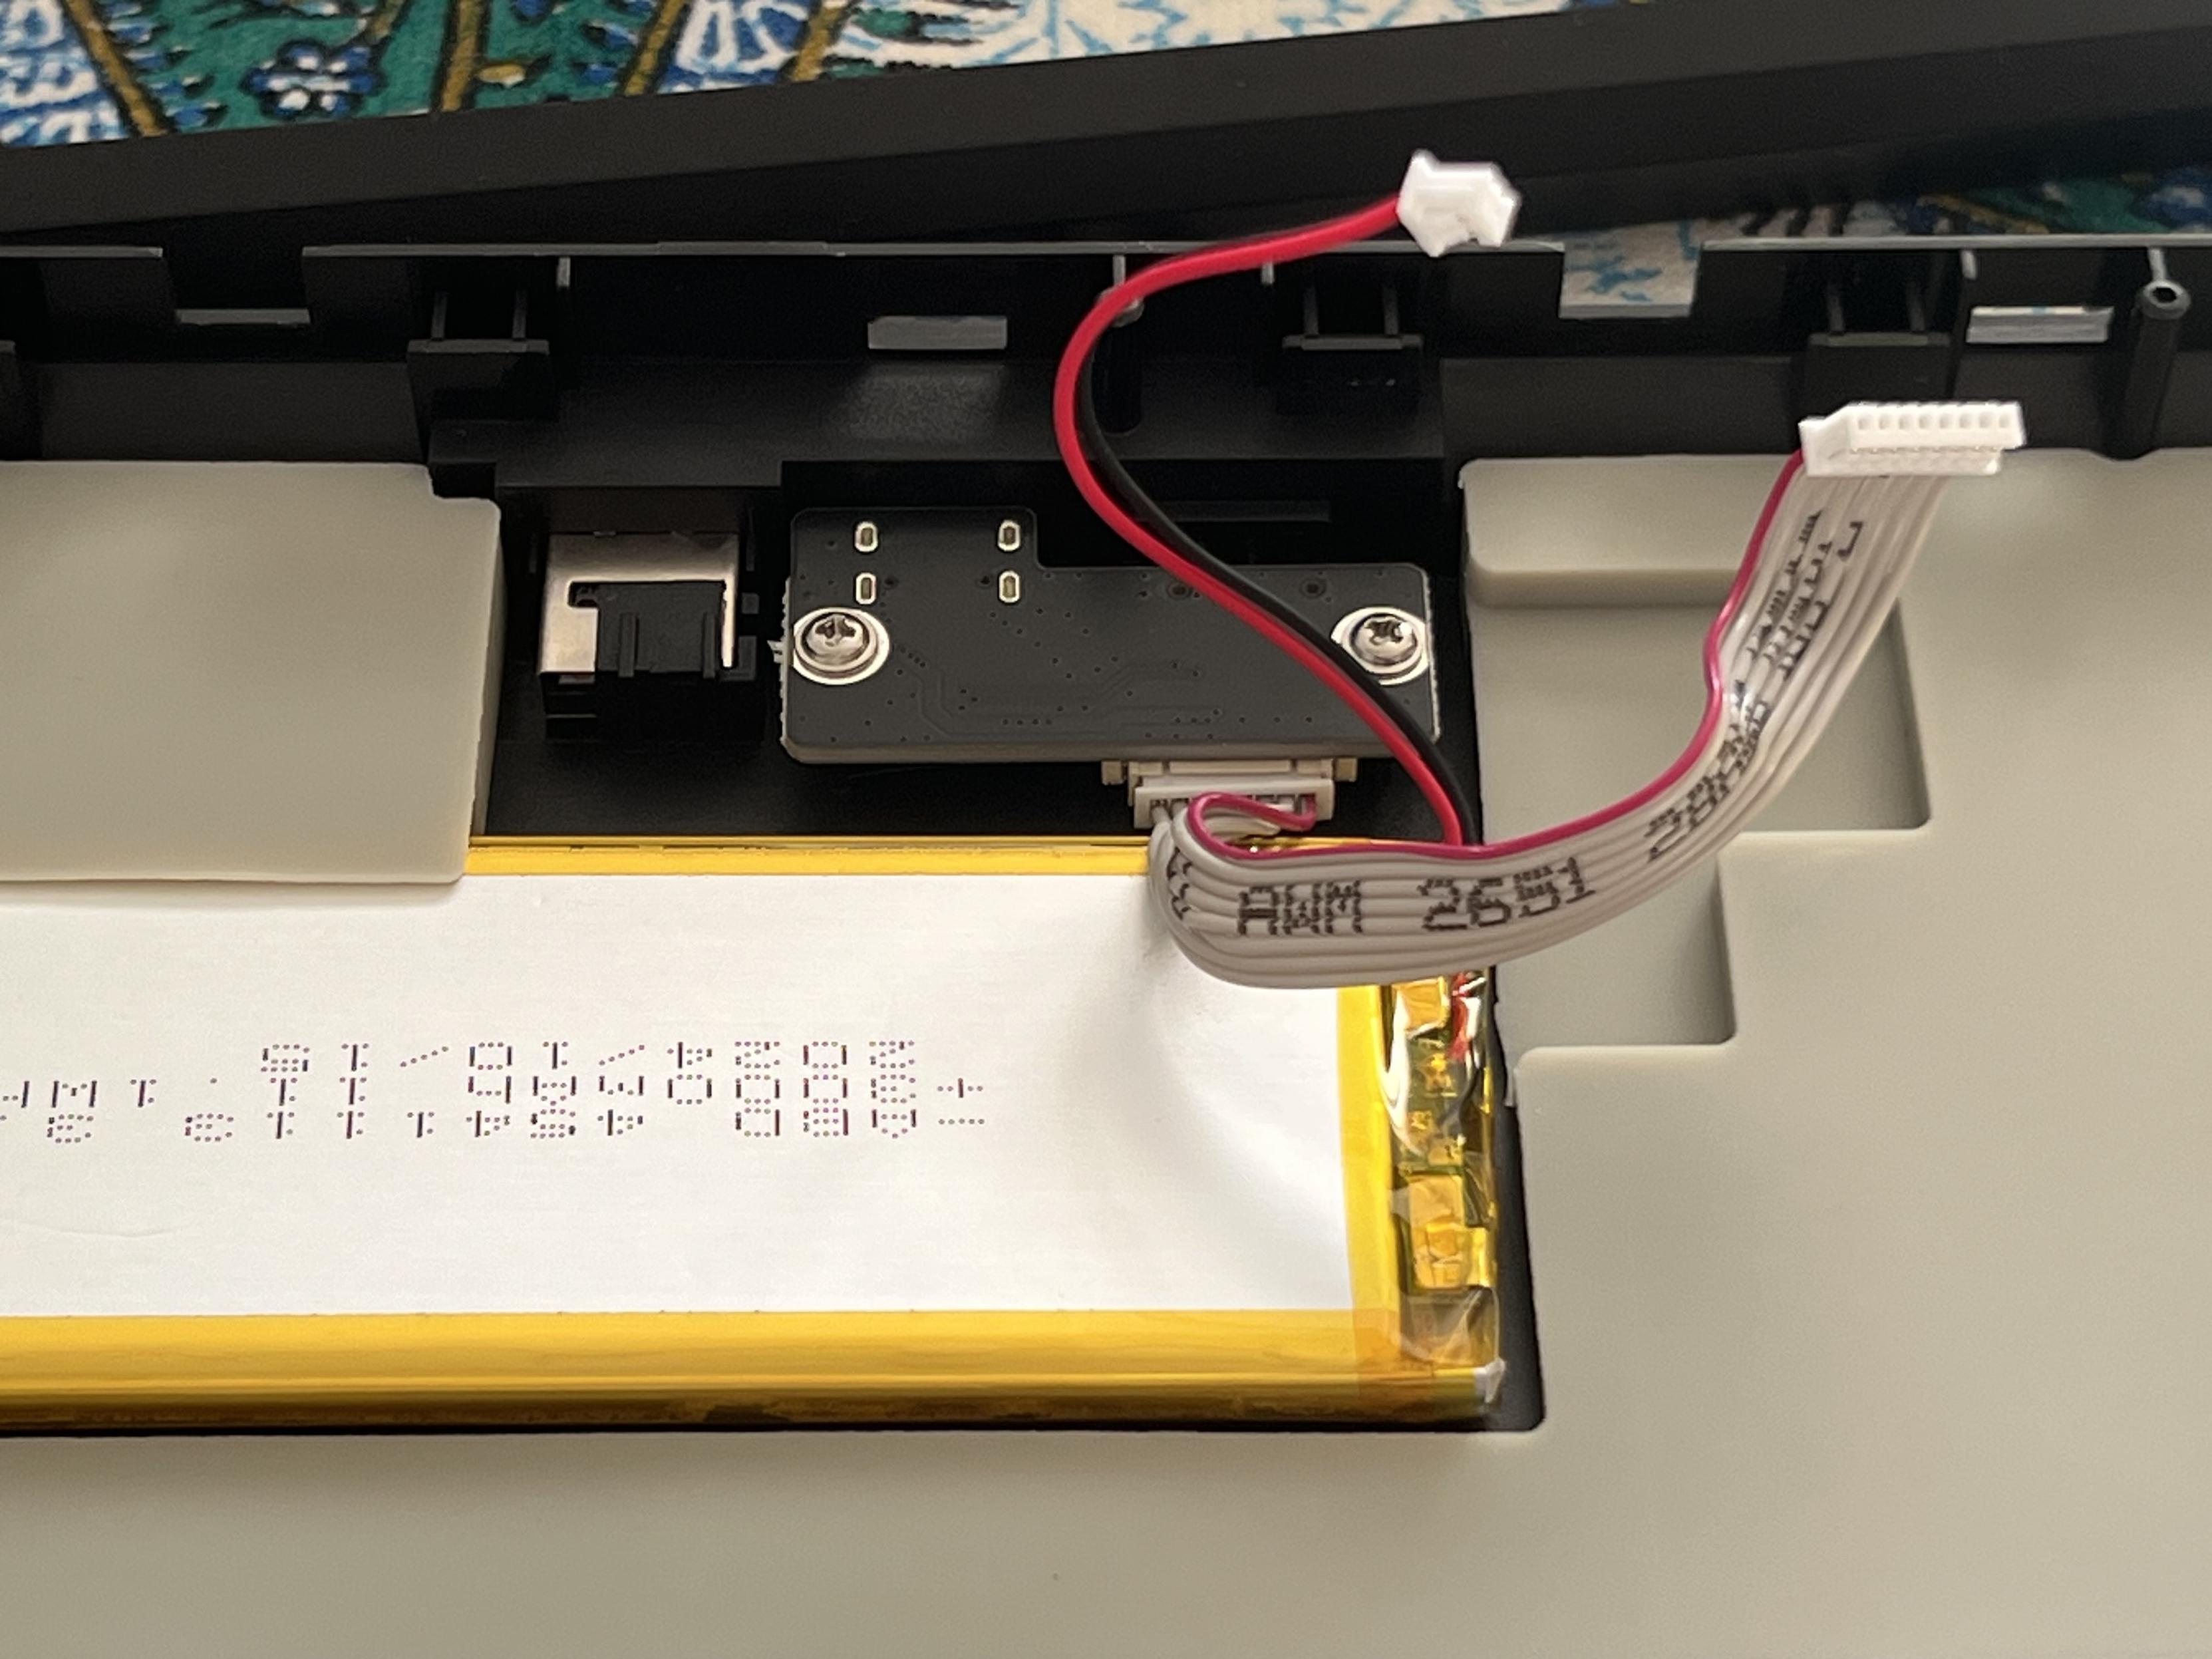
A familiar picture - glued in battery, JST cable, ribbon for the USB.
The 3000mAh LiPo is connected via a small two-wire cable terminating in a JST, and the mode-switch / USB Type-C daughter board is connected via an 8-wire ribbon cable, also with a removable JST connector. The LiPo is glued into the plastic bottom of the board, and surrounded by thick silicone padding that dampens the bottom shell, adds weight and serves to somewhat protect the battery from the PCB bottoming out. Albeit not much. A layer of foam padding between the battery and PCB seals the deal.
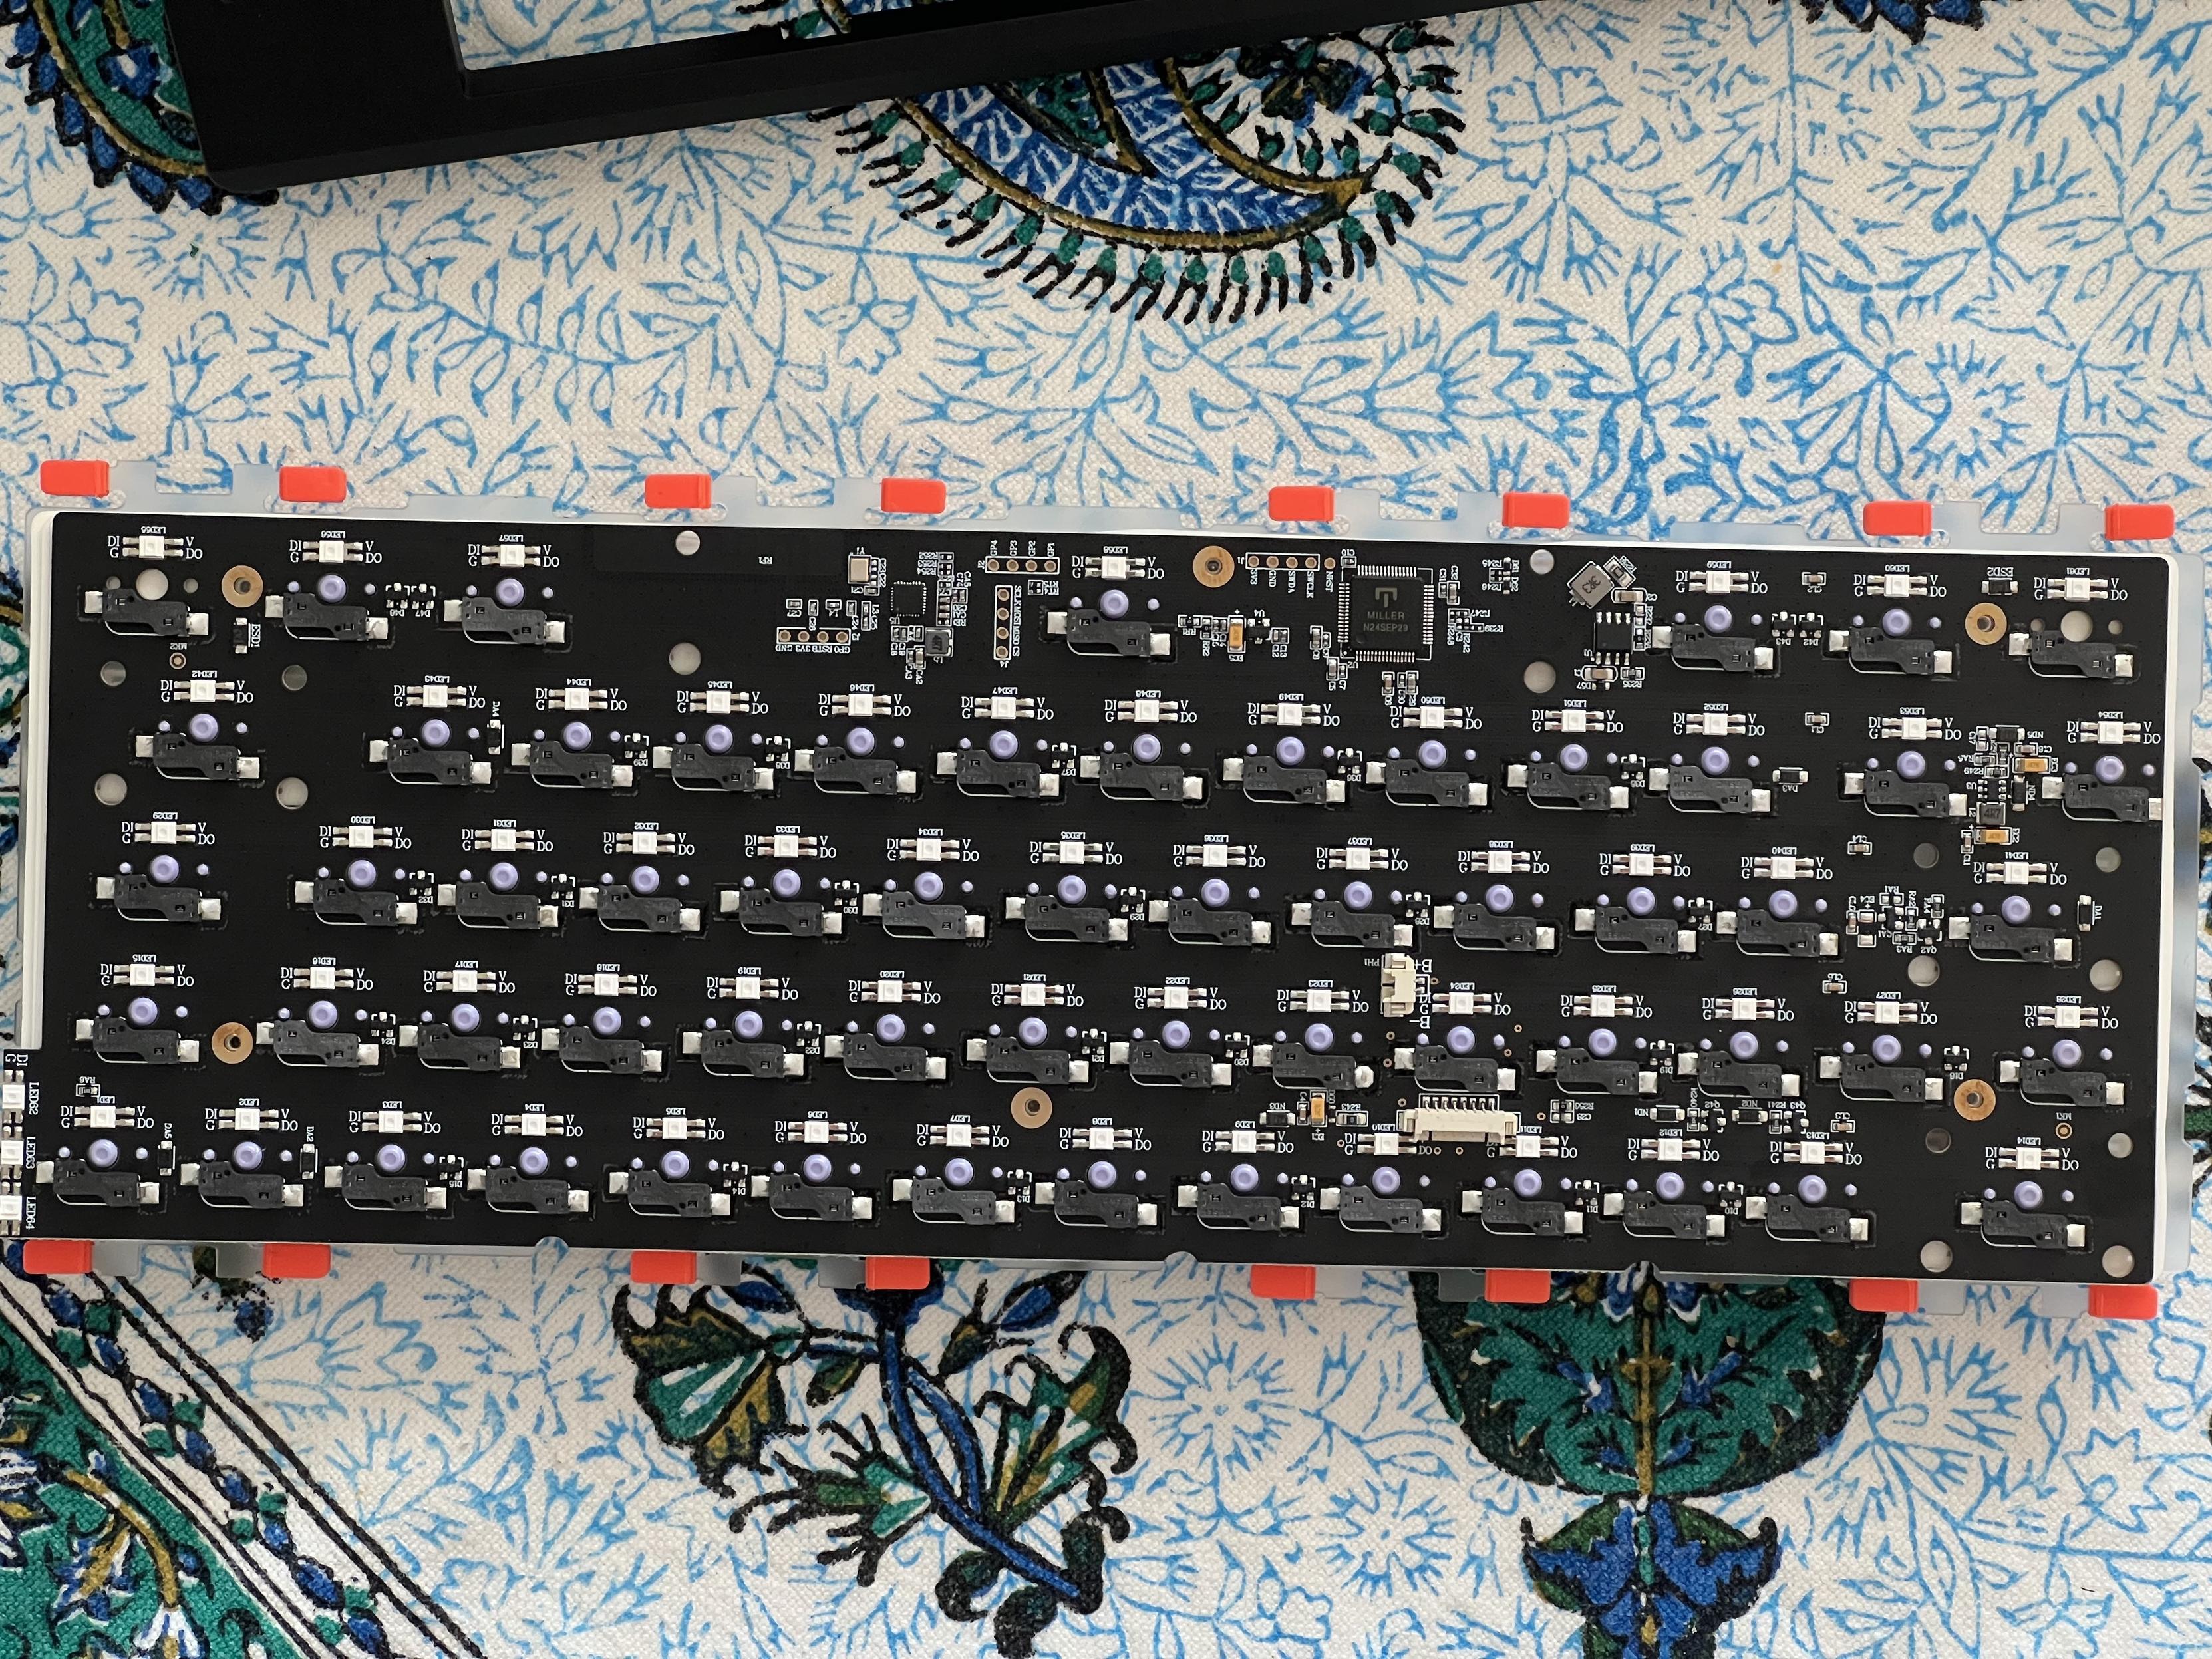
The PCB is pretty standard. Nice cantilever mounting system on the plate though!
The PCB and plate assembly is mounted inside the case via a cantilever system on the polycarbonate plate itself. This comprises eight pairs of L-shaped protruding arms dampened with silicone “gaskets” which, in turn, rest on the bottom shell of the case. It’s a tried and true system that I’ve never had an issue with, and it’s executed as well as you can hope here.
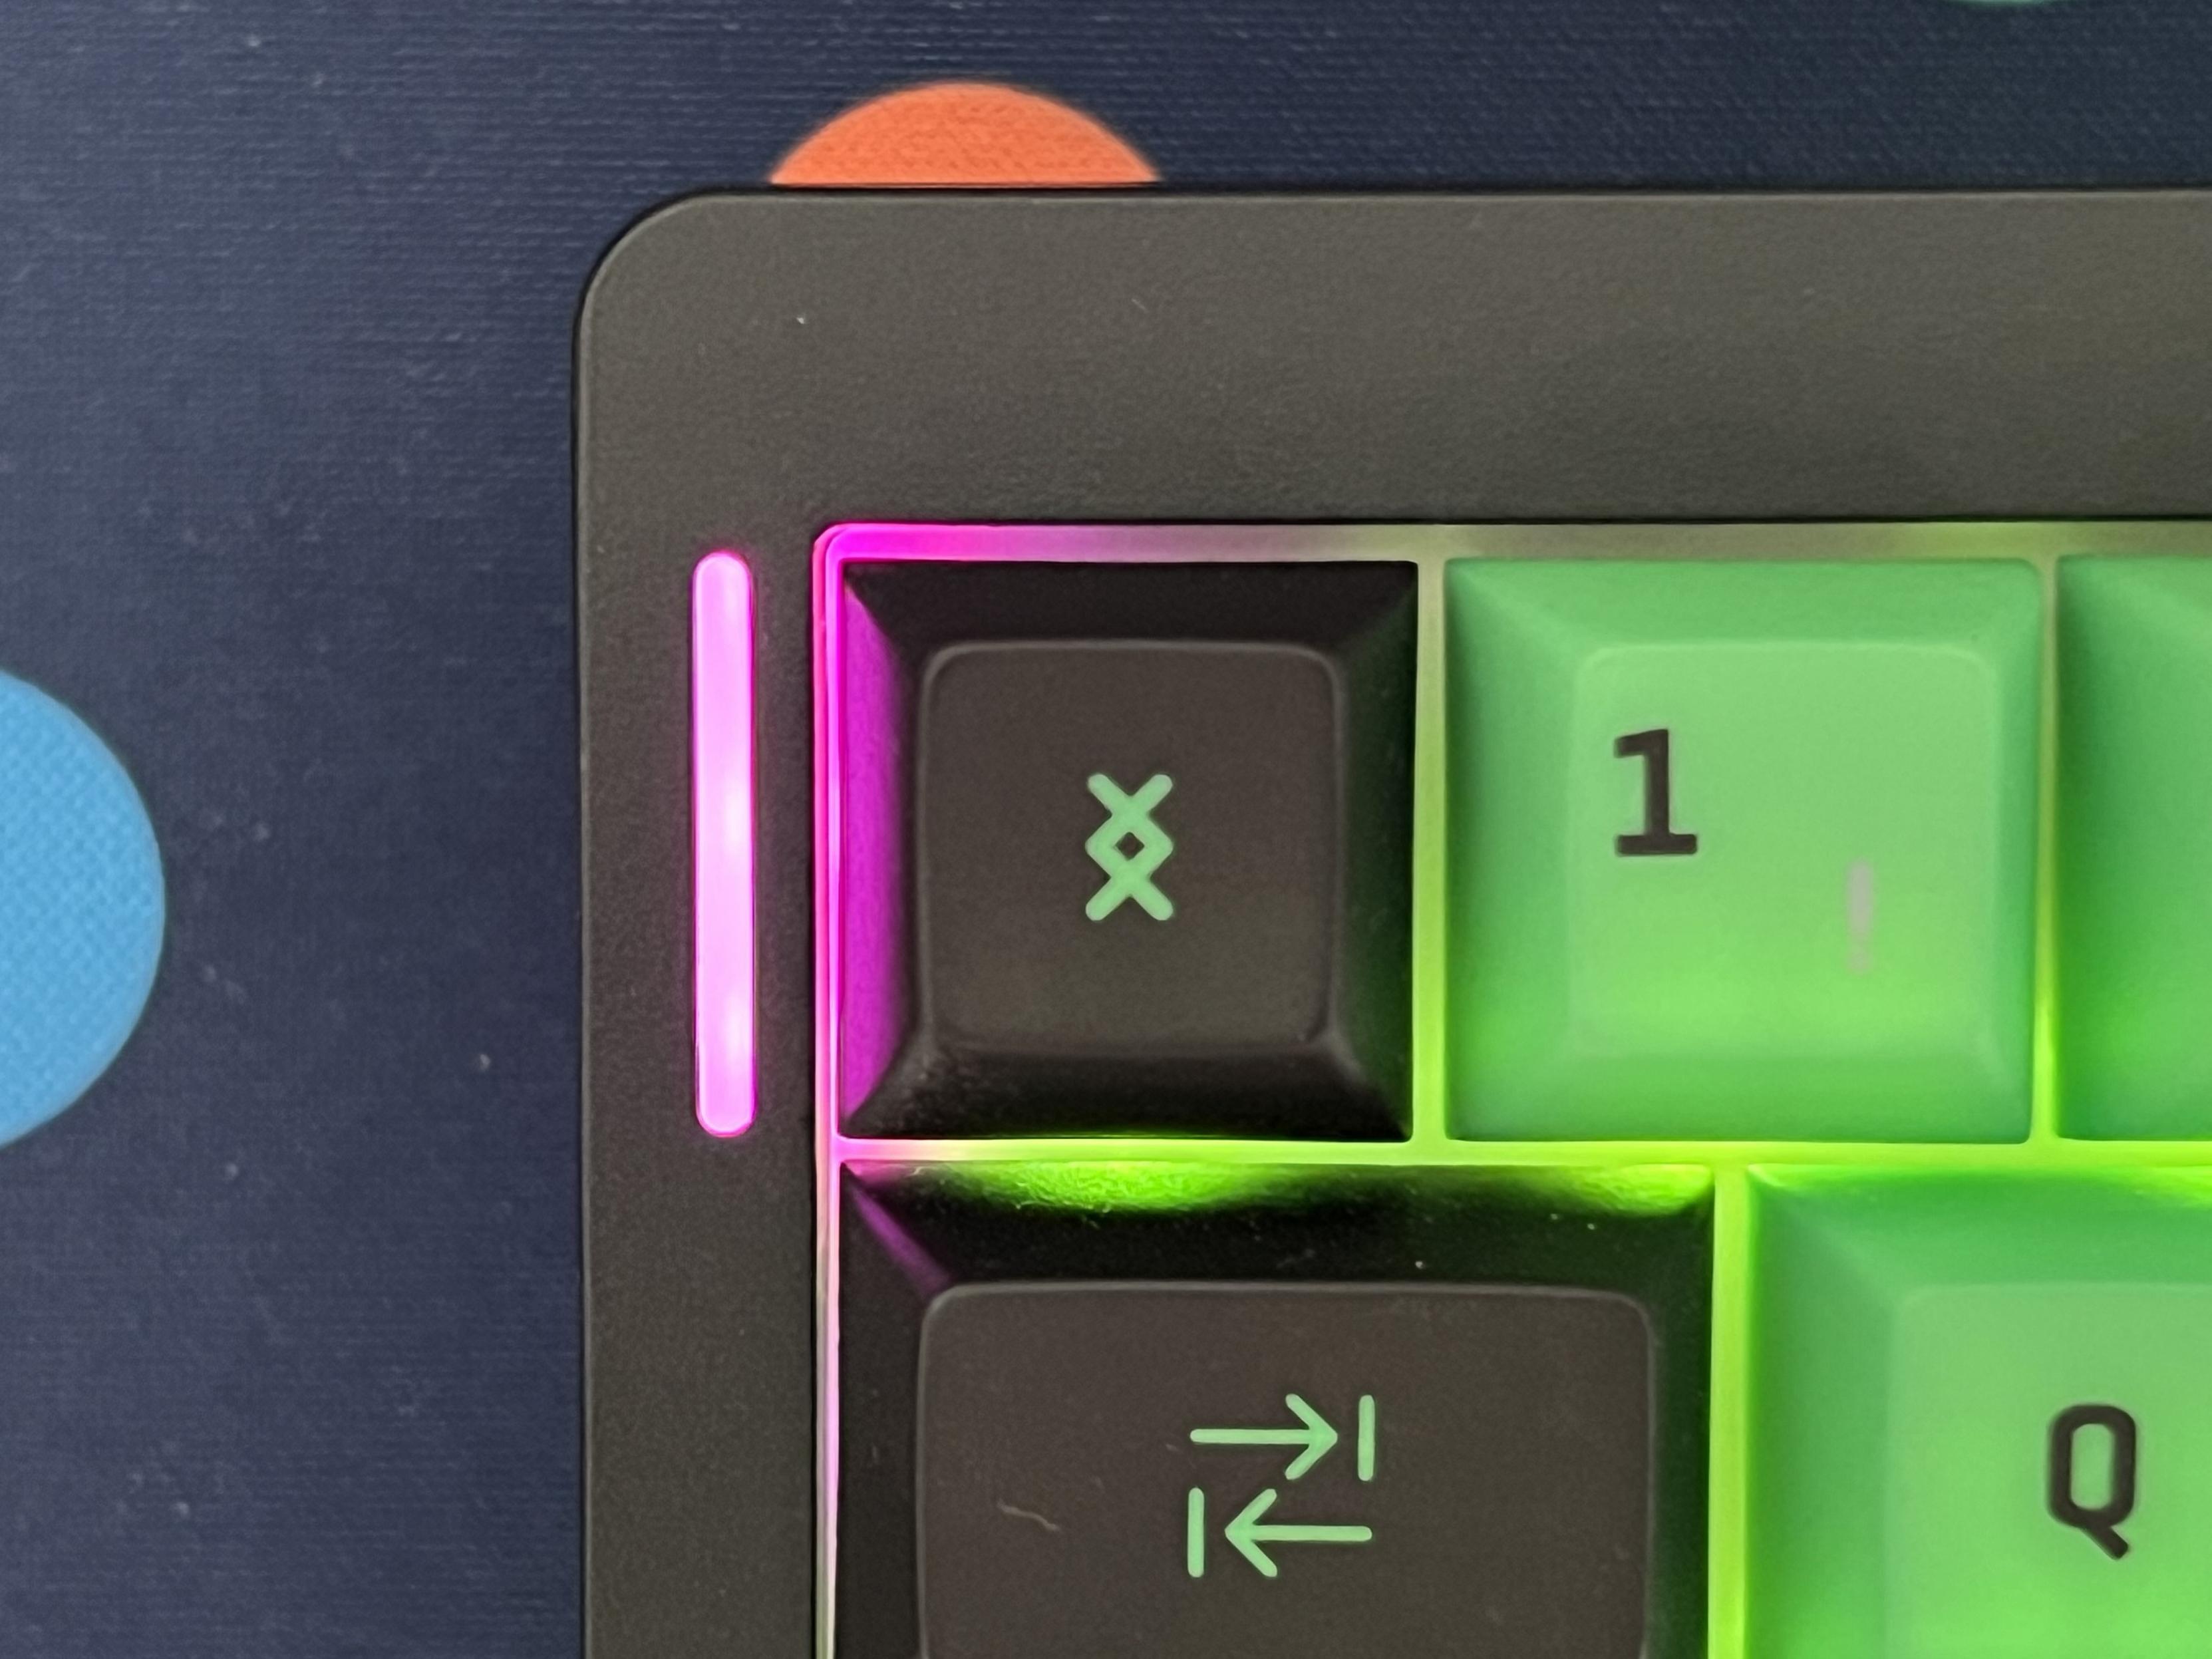
The little light derail (illuminated by three LEDs internally) serves no real purpose… but it’s cute, c’mon neon pink and green!
A little protrusion on the left-hand edge of the PCB carries three reverse-mount RGB LEDs that serve to illuminate the little LED feature on the left of the board. It’s unnecessary and doesn’t communicate any useful information, but it’s cute nonetheless.
Software
It’s VIA and QMK again. I’m not going through this again. Please don’t make me go through this again. If you don’t know the score, go and read the Software section of my Epomaker Shadow S review or something.
I think the crucial difference between other keyboards I’ve reviewed with QMK/VIA support, and the Hack59 is that you’re almost certainly going to want to customise the Hack59. It’s a board that’s borderline unusable without a little tweaking so if you’re not comfortable jumping through the (admittedly relatively minor) hoops to get VIA working (sideloading JSON… yaaay) then you’ll probably be frustrated by this board.
The saving grace of QMK/VIA boards is that the software is web-based, so it’s easy to access from macOS or Linux via Chrome or Chromium.
Overall
Again, I keep expecting to find these compact, cheap boards from Epomaker to be thoroughly disappointing or terrible in some way… and honestly despite a couple of boards I’ve really disliked (and given away, sorry recipients) Epomaker seem to be competent. Hack59 is pretty much that- a competent, fun little board that presents something a little different for the curious to experiment with. It’s a clean, unassuming board with no real major flaws, albeit a few minor ones mostly due to lack of keys and presence of Trimode causing a lot of contention for key bindings.
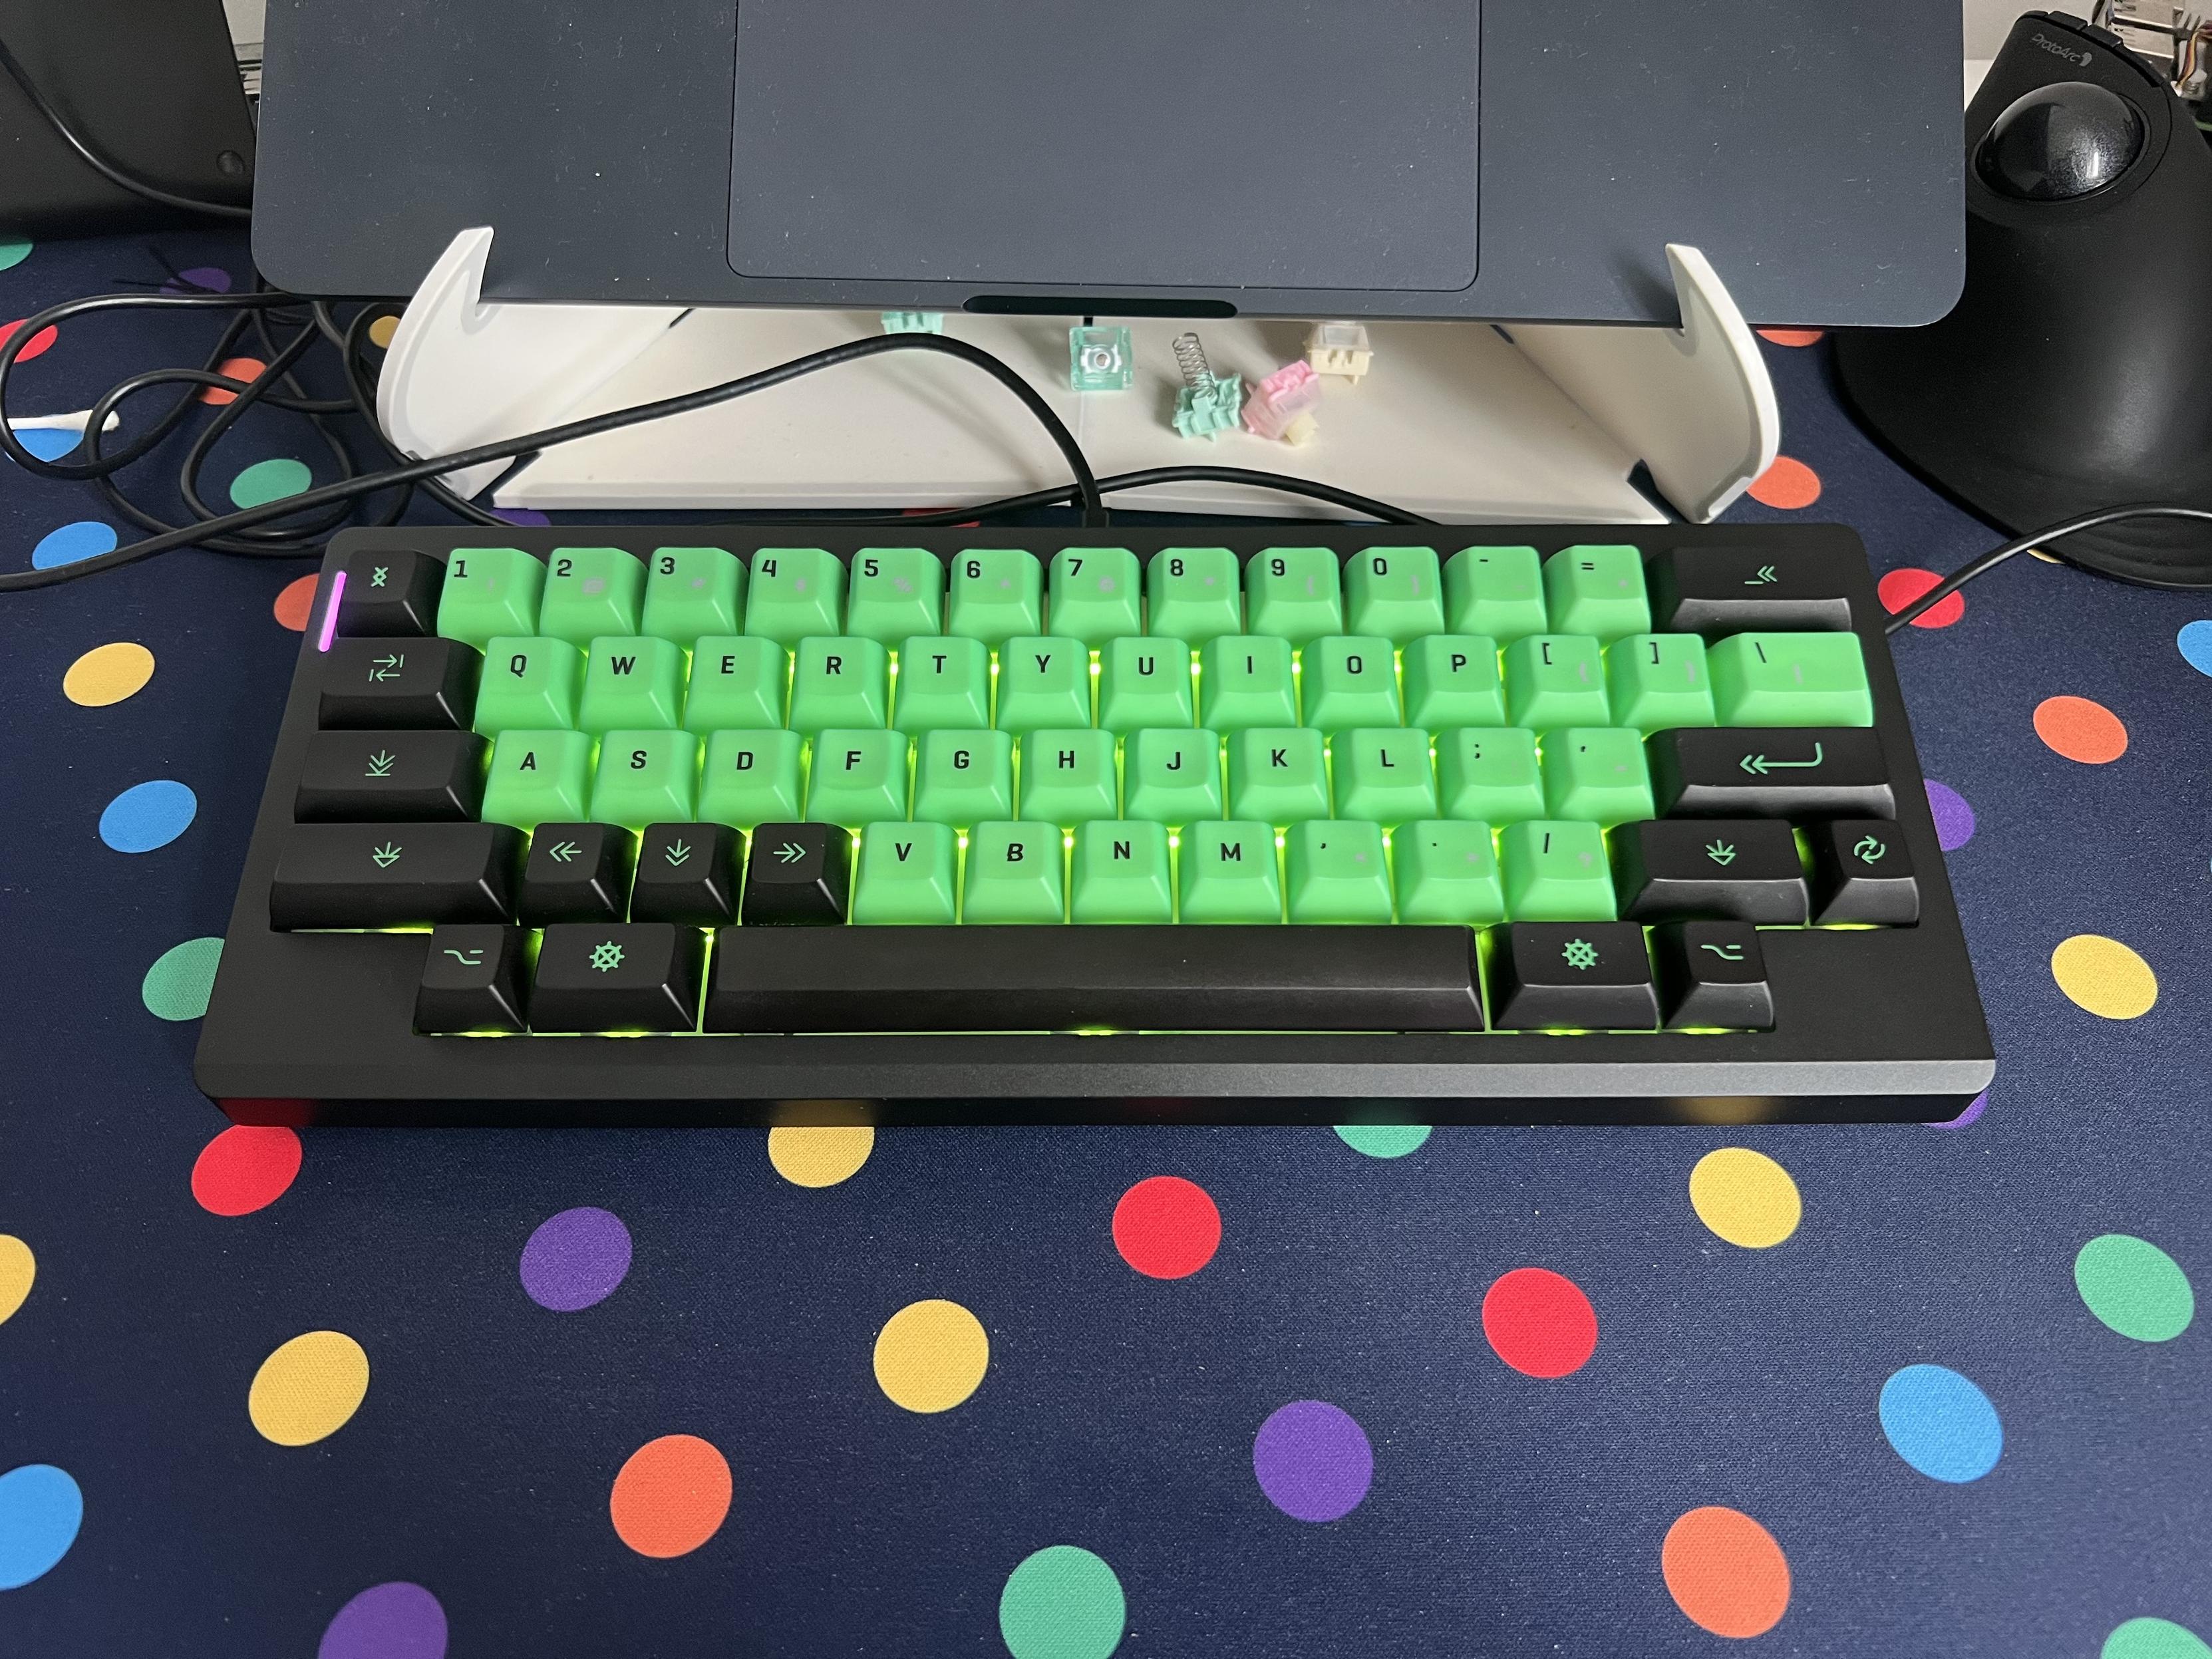
EpoMaker’s Hack59 with KAT Cyberspace caps, it’s quite a min-max setup but looks cool as heck!
Split backspace pls…
I probably wouldn’t make it my daily driver, but it’s a wonderful showcase for my KAT Cyberspace caps and good practice for fiddling with layers and key-rebinding.
You can pick up a Hack59 direct from Epomaker for for $70.
I look forward to a Hack60 with a split backspace.
Oh and did I mention it has flip-out feet on the bottom, too? Sometimes a cheap, plastic board can feel like a luxury. Ha!